
Back in 2010, I had plans to publish a second book as a companion to A Psimple Psaltery, detailing some of my more advanced designs and building techniques. Given how much work goes into publishing a book, these plans never materialized.
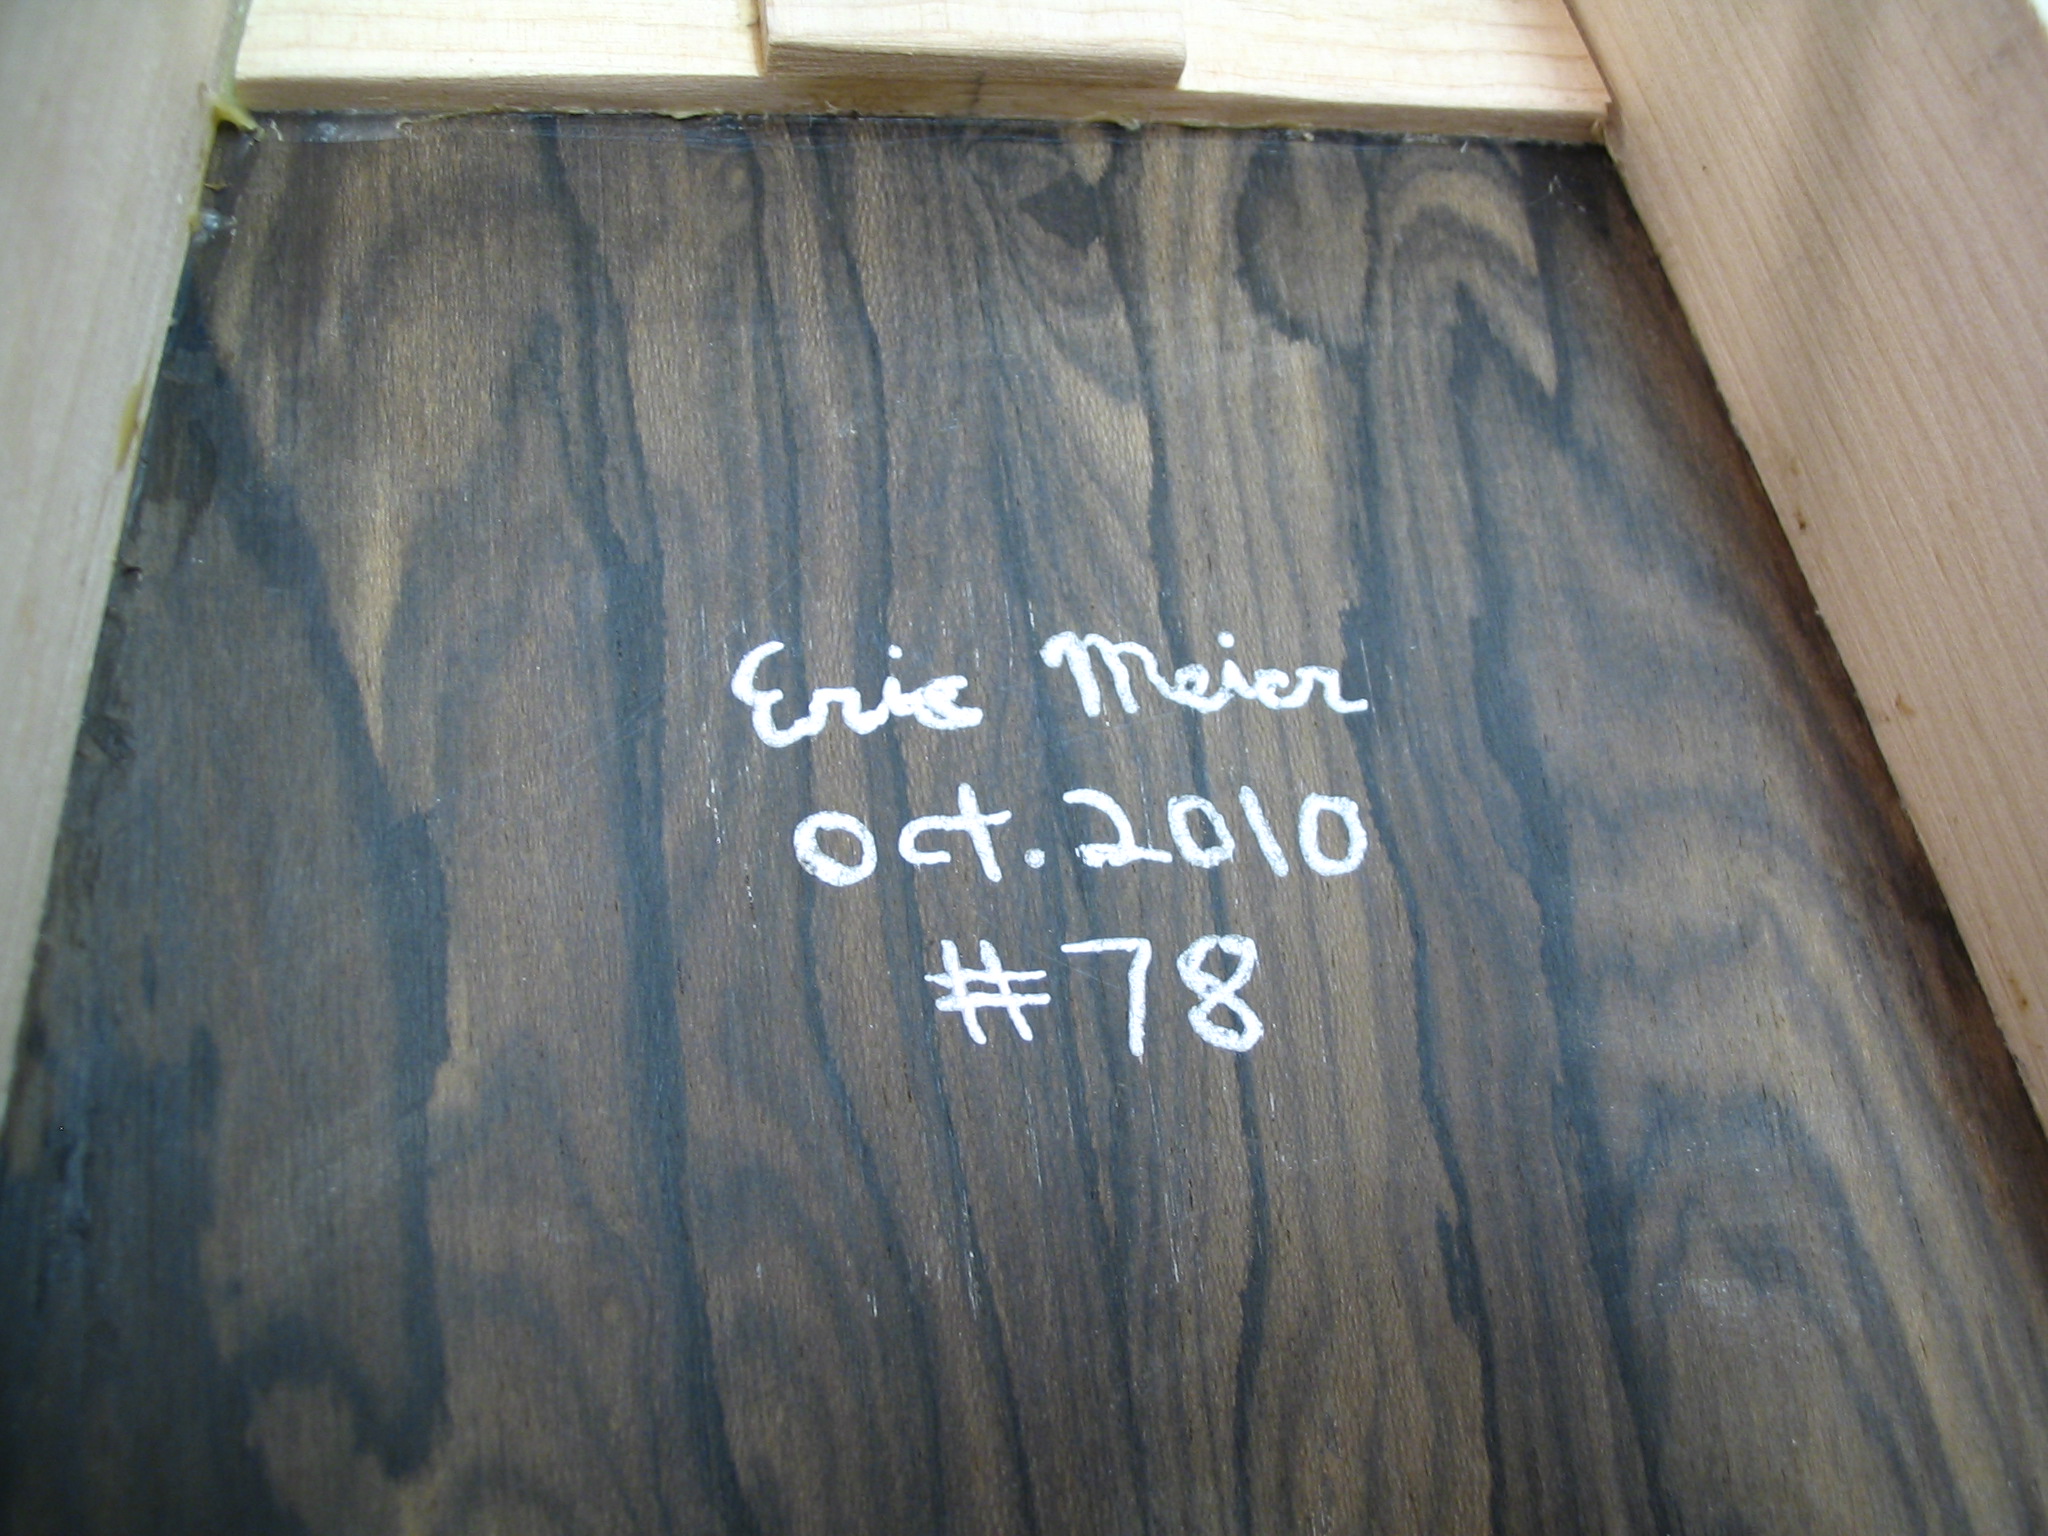
Nonetheless, I do have a number of the original pictures that I took that were intended to be used in the second book. Now ten years later, it’s clear that this book will never come to fruition, and so I publish the pictures here in the hopes that they will aid and inspire future builders. Hopefully others can build upon the knowledge that I gleaned in the 3-4 years I spent making psalteries.


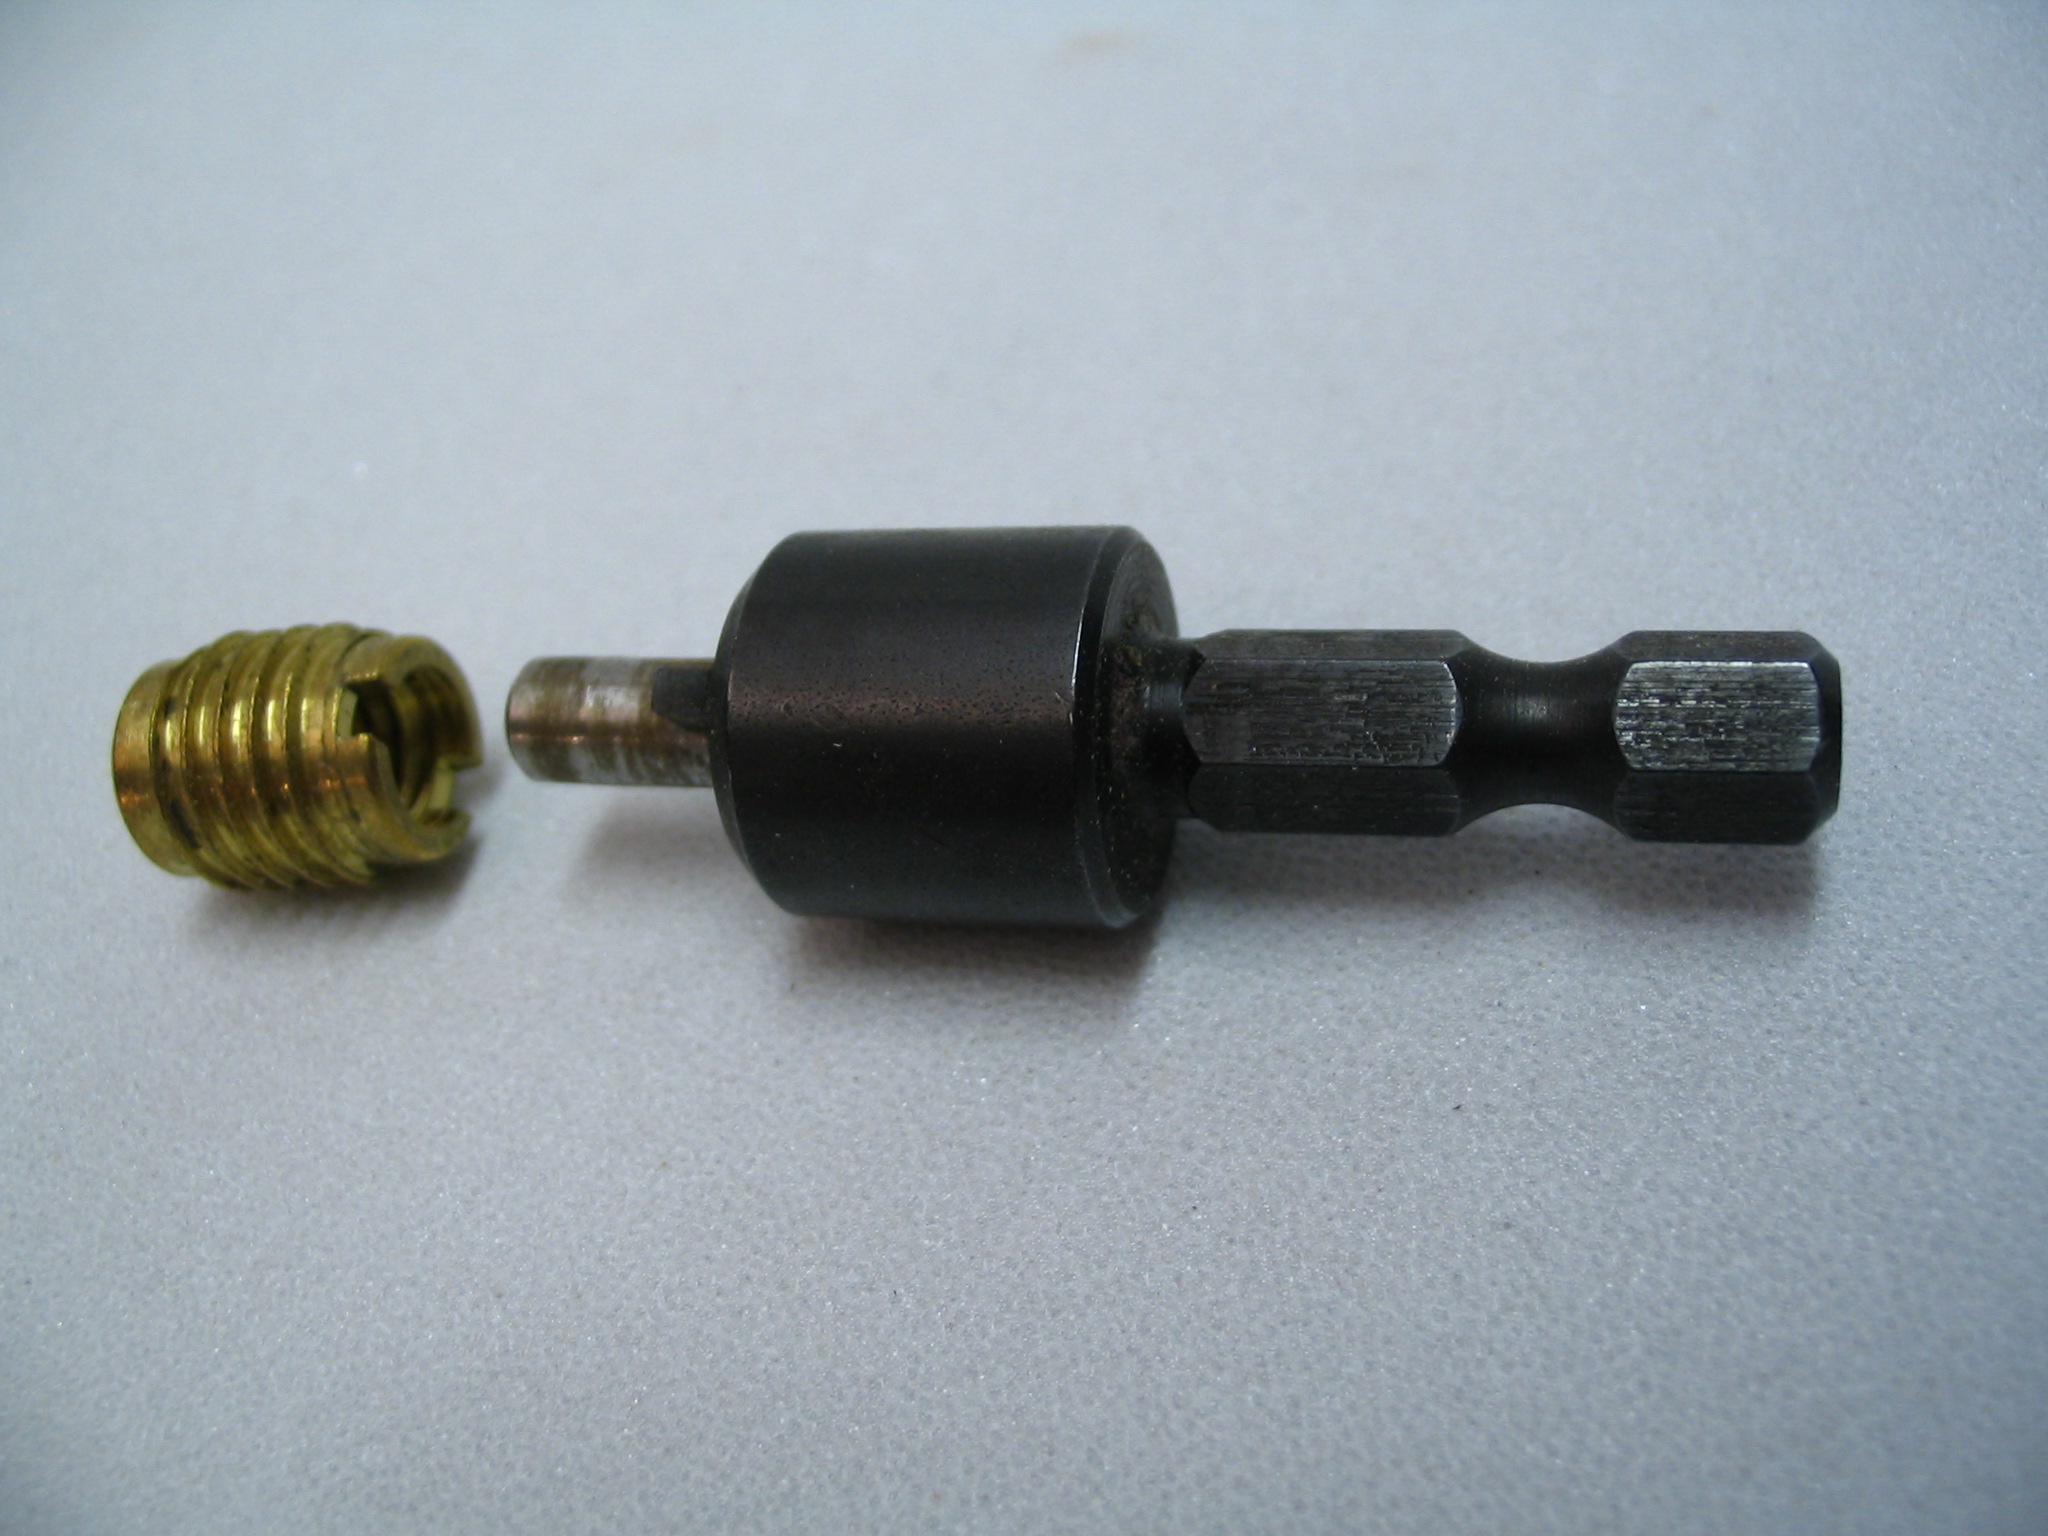
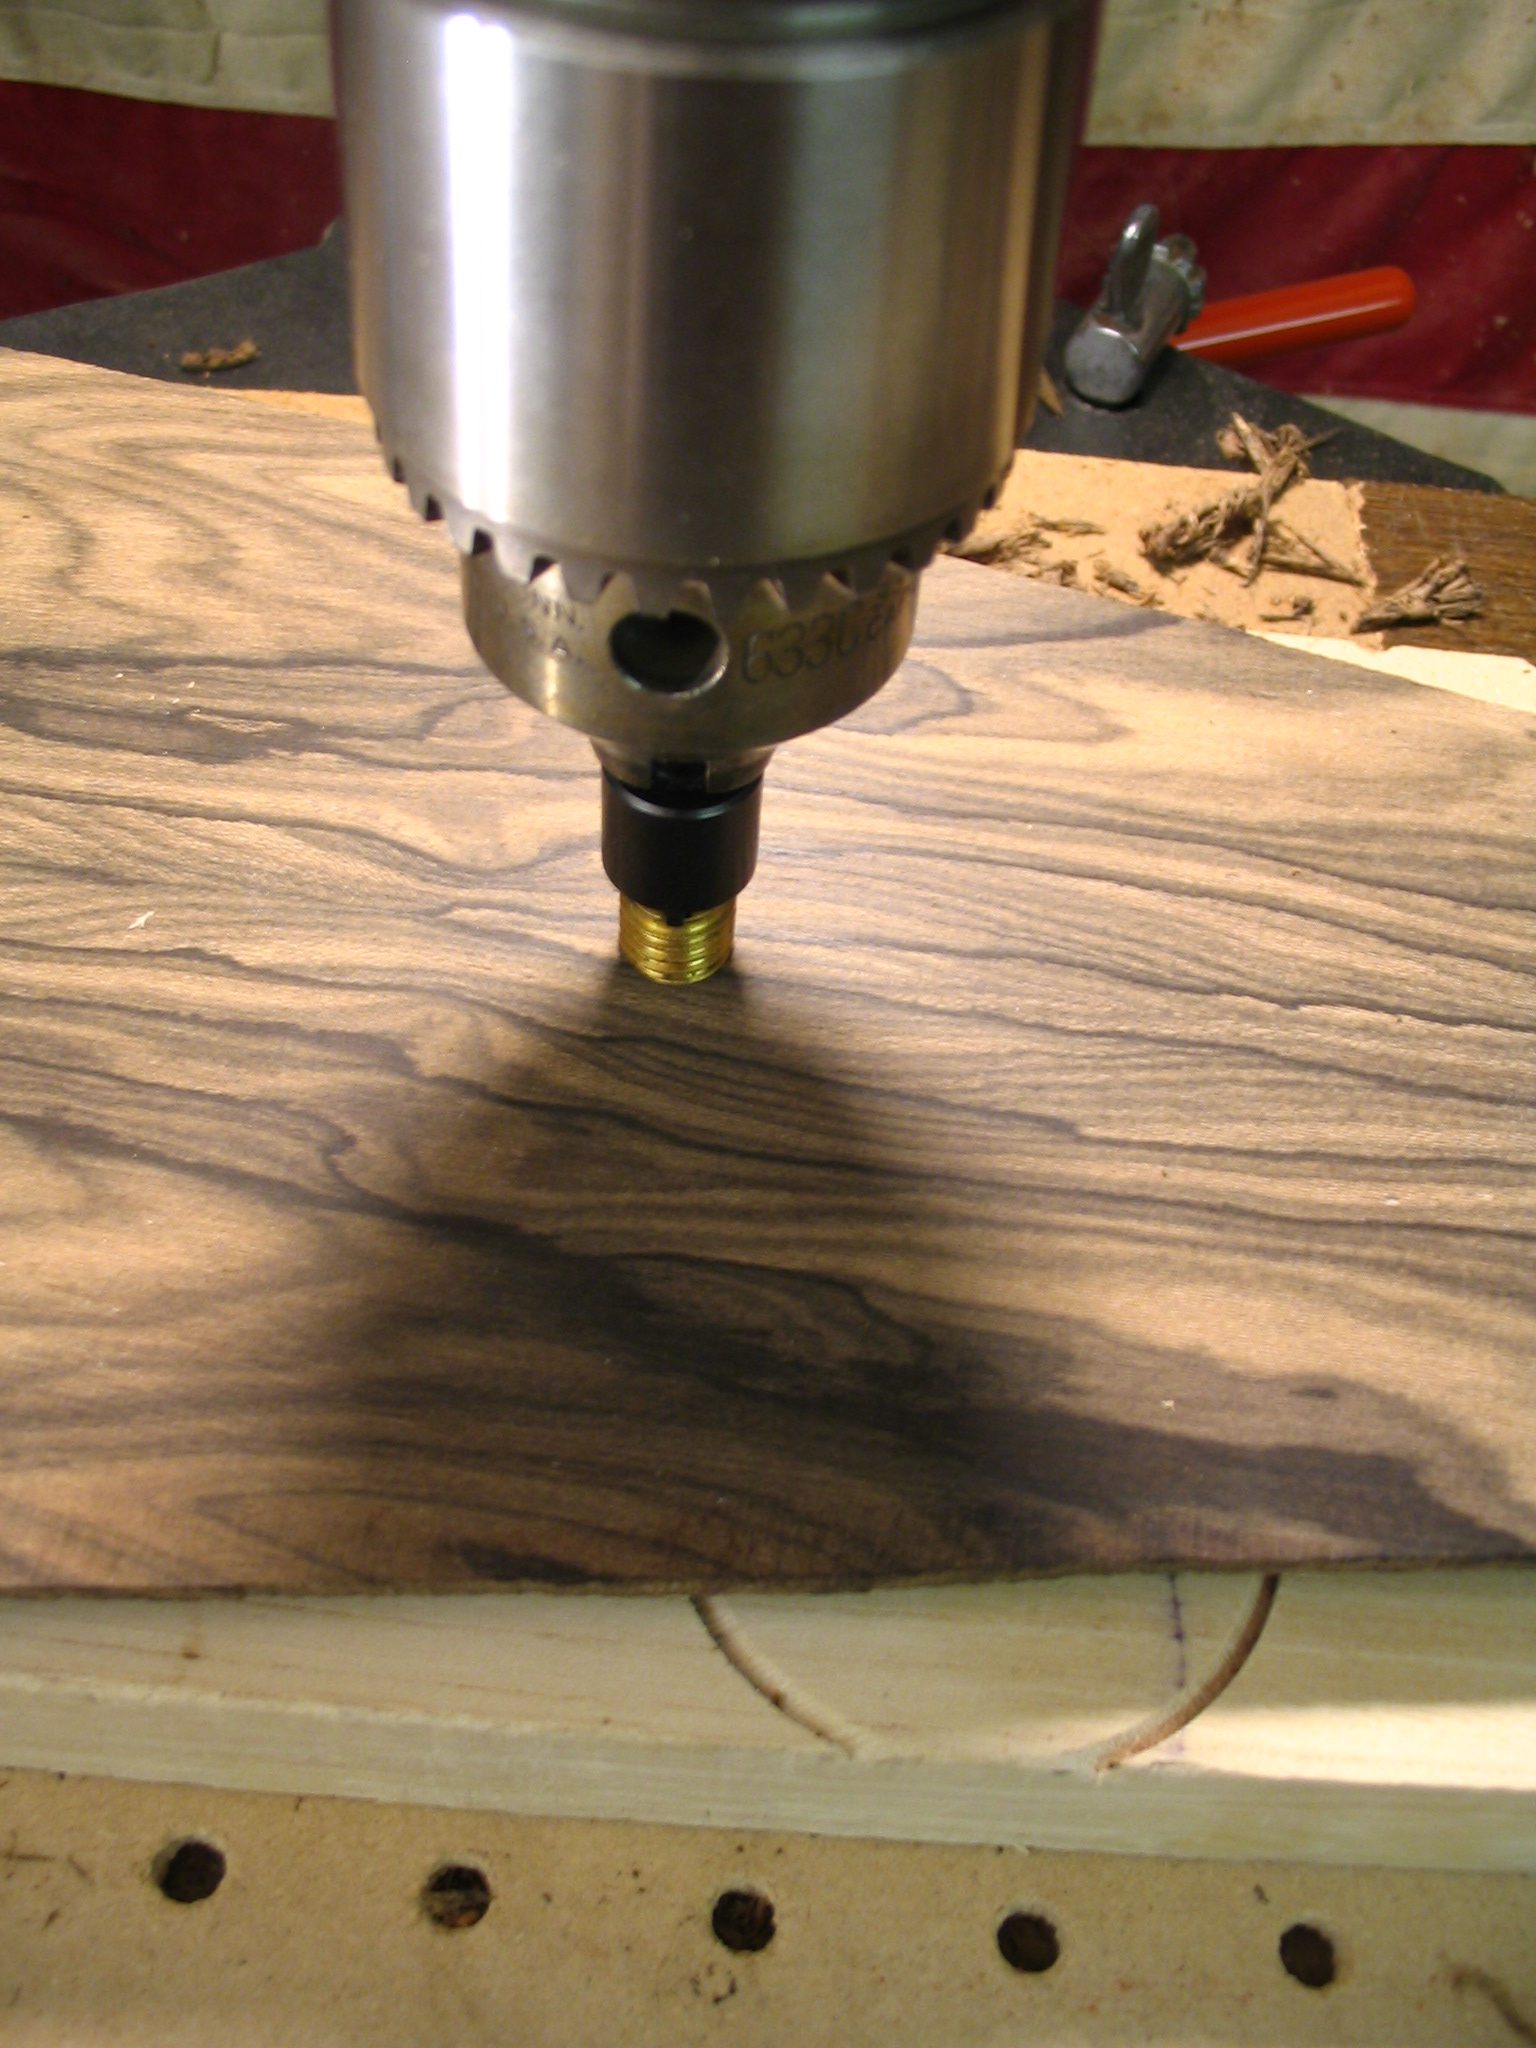
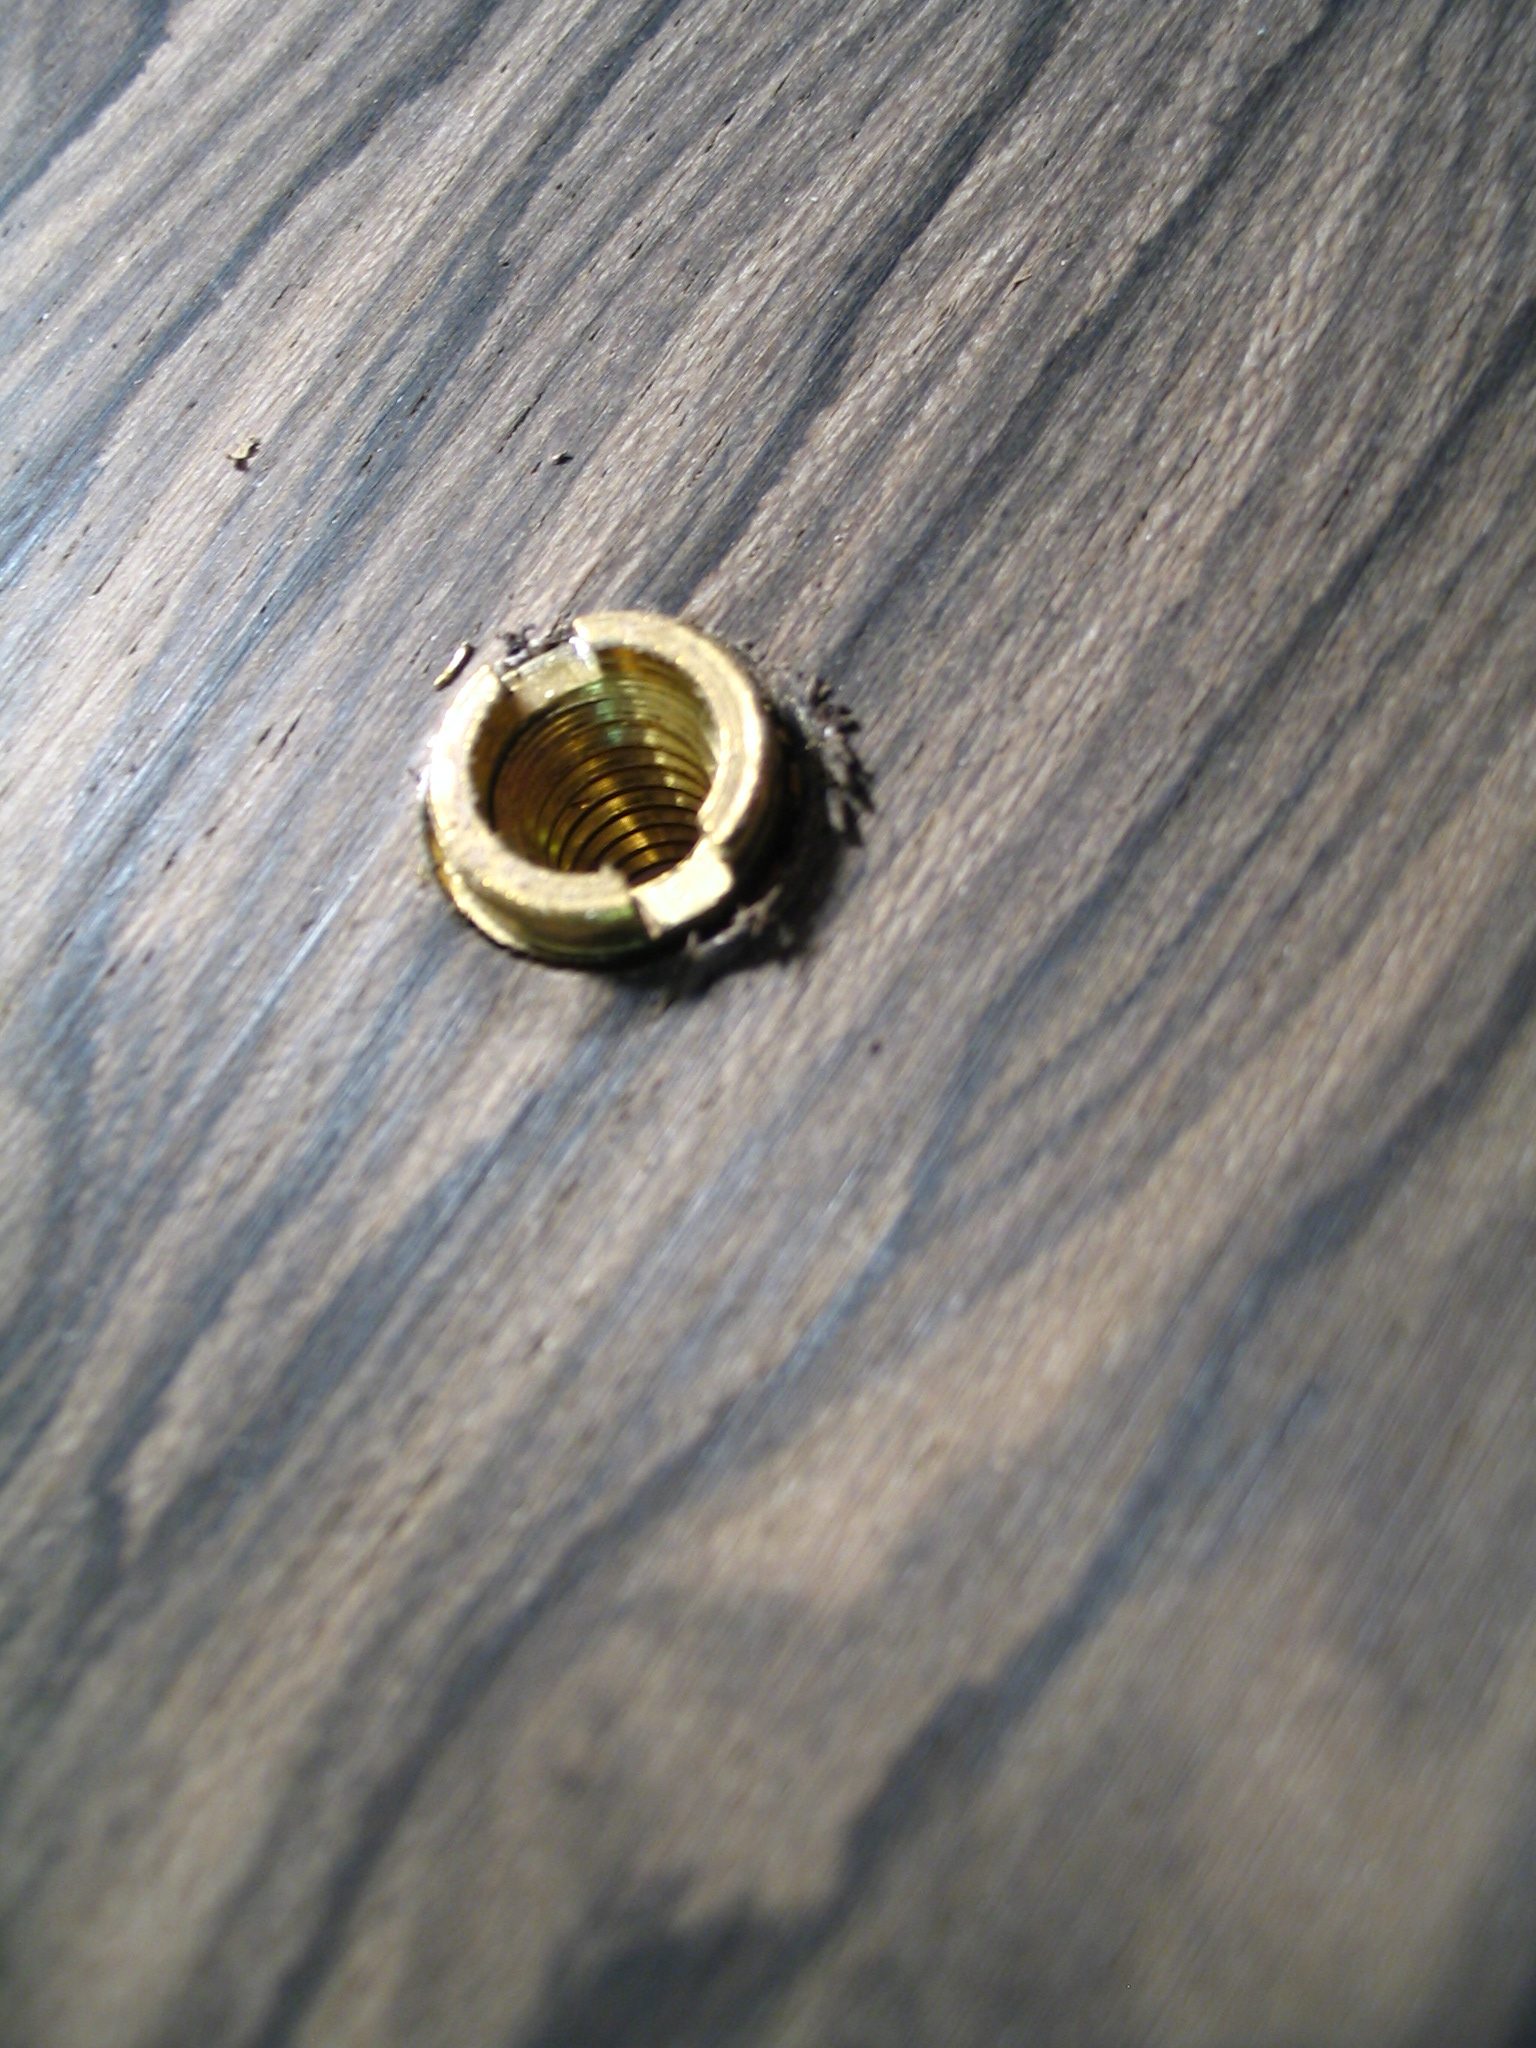
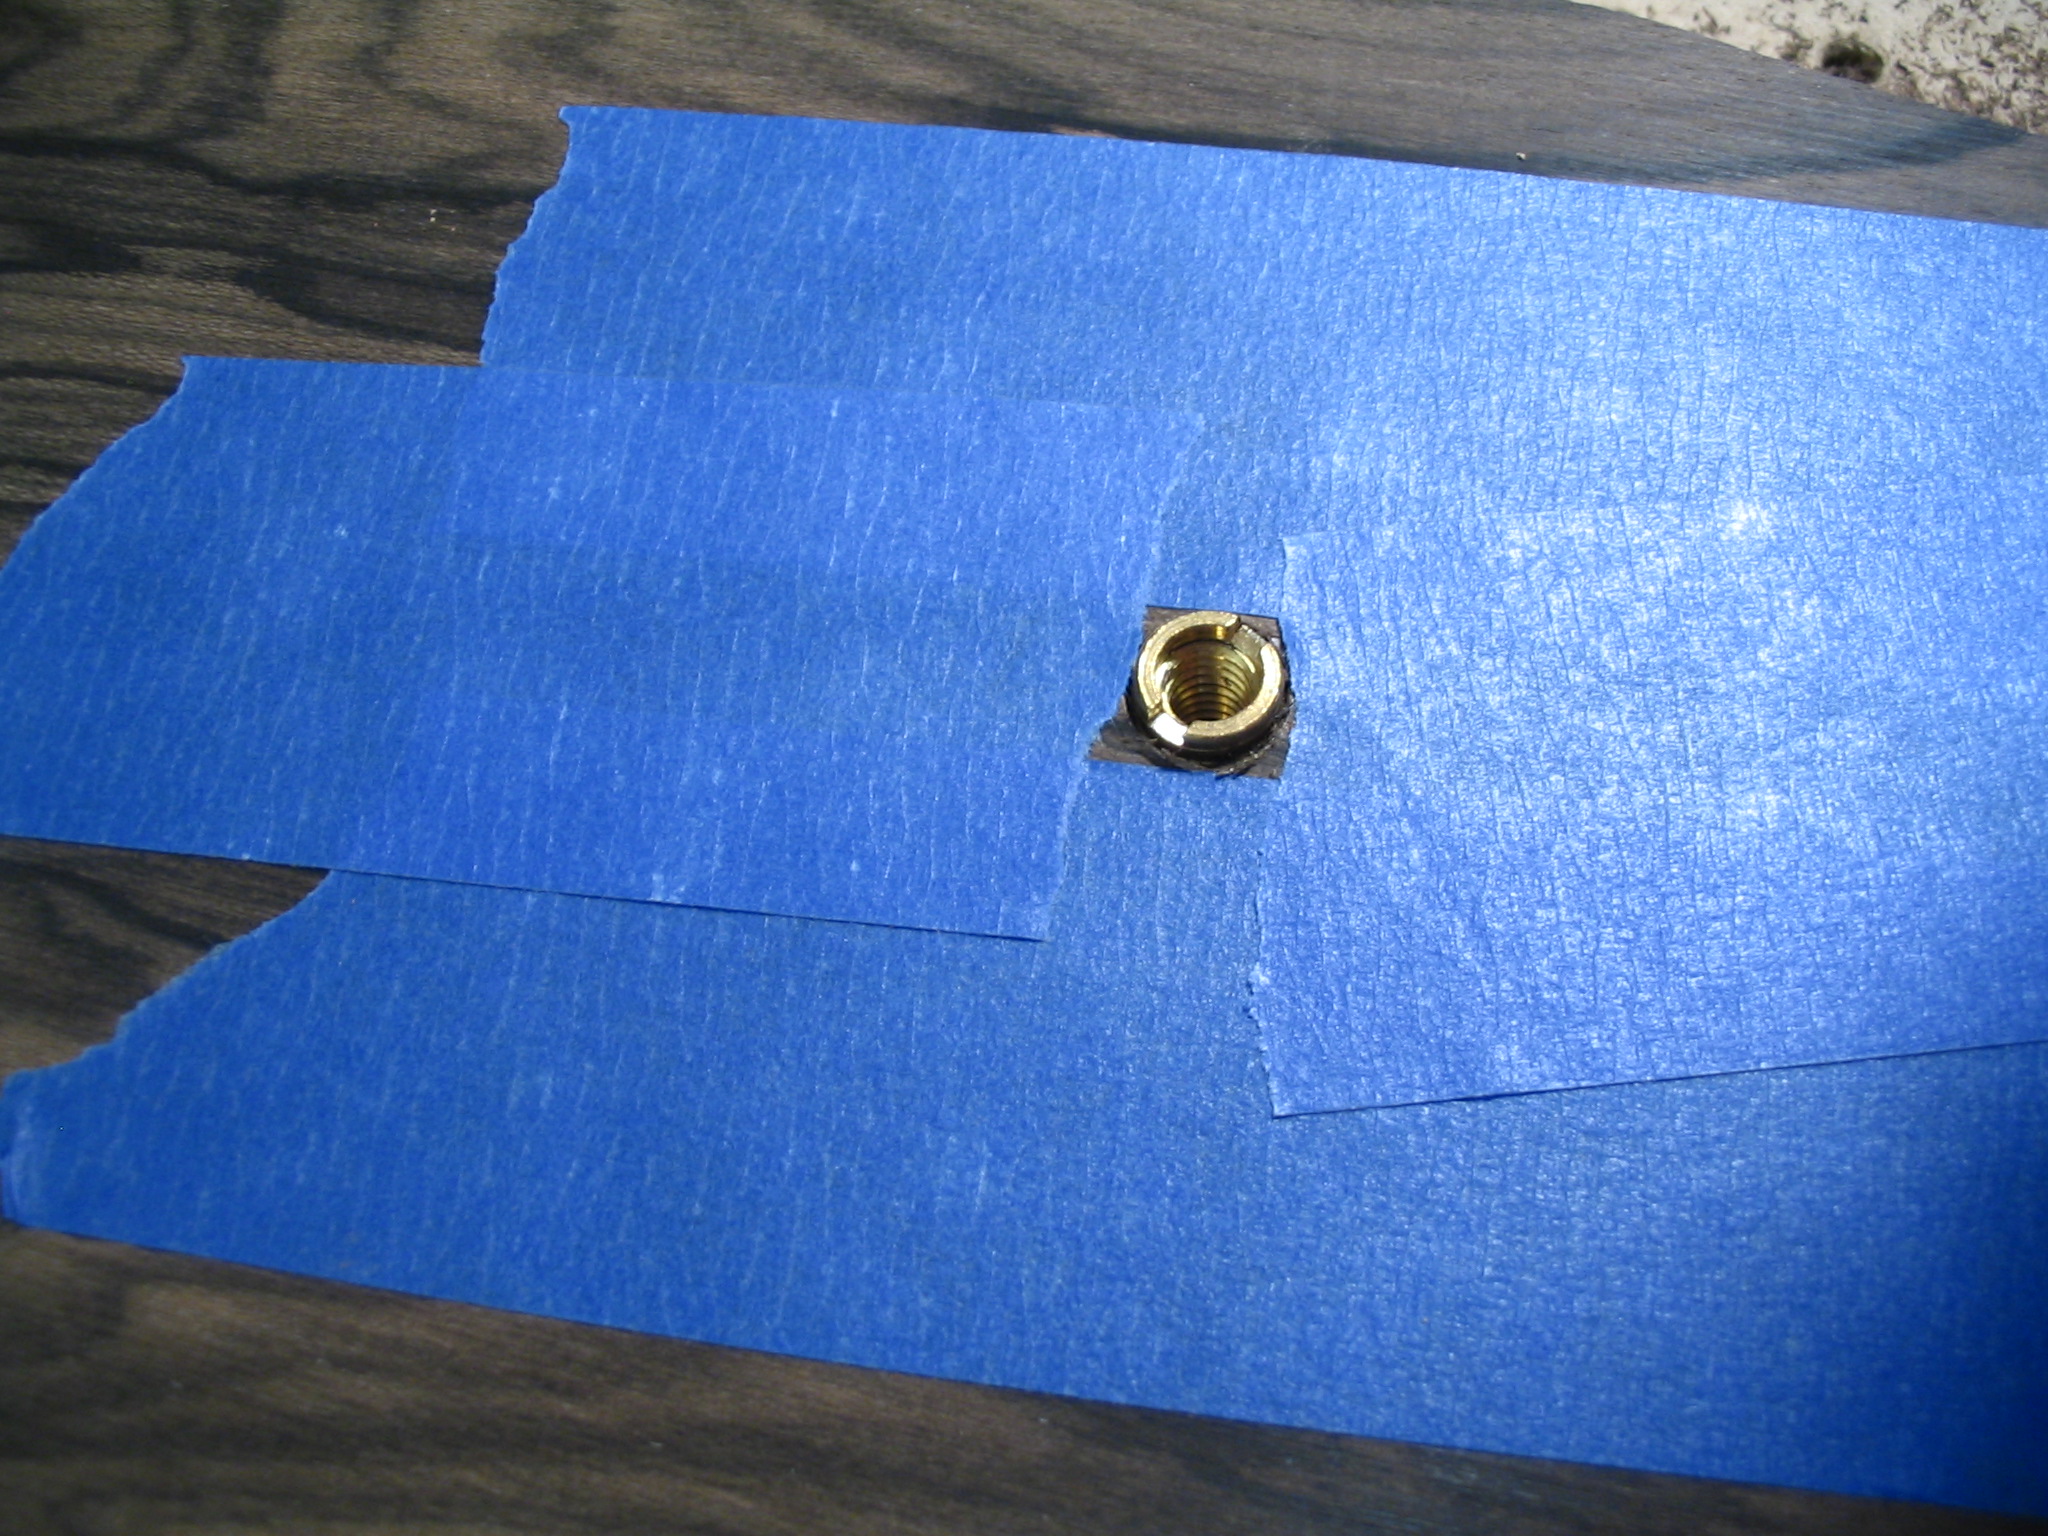
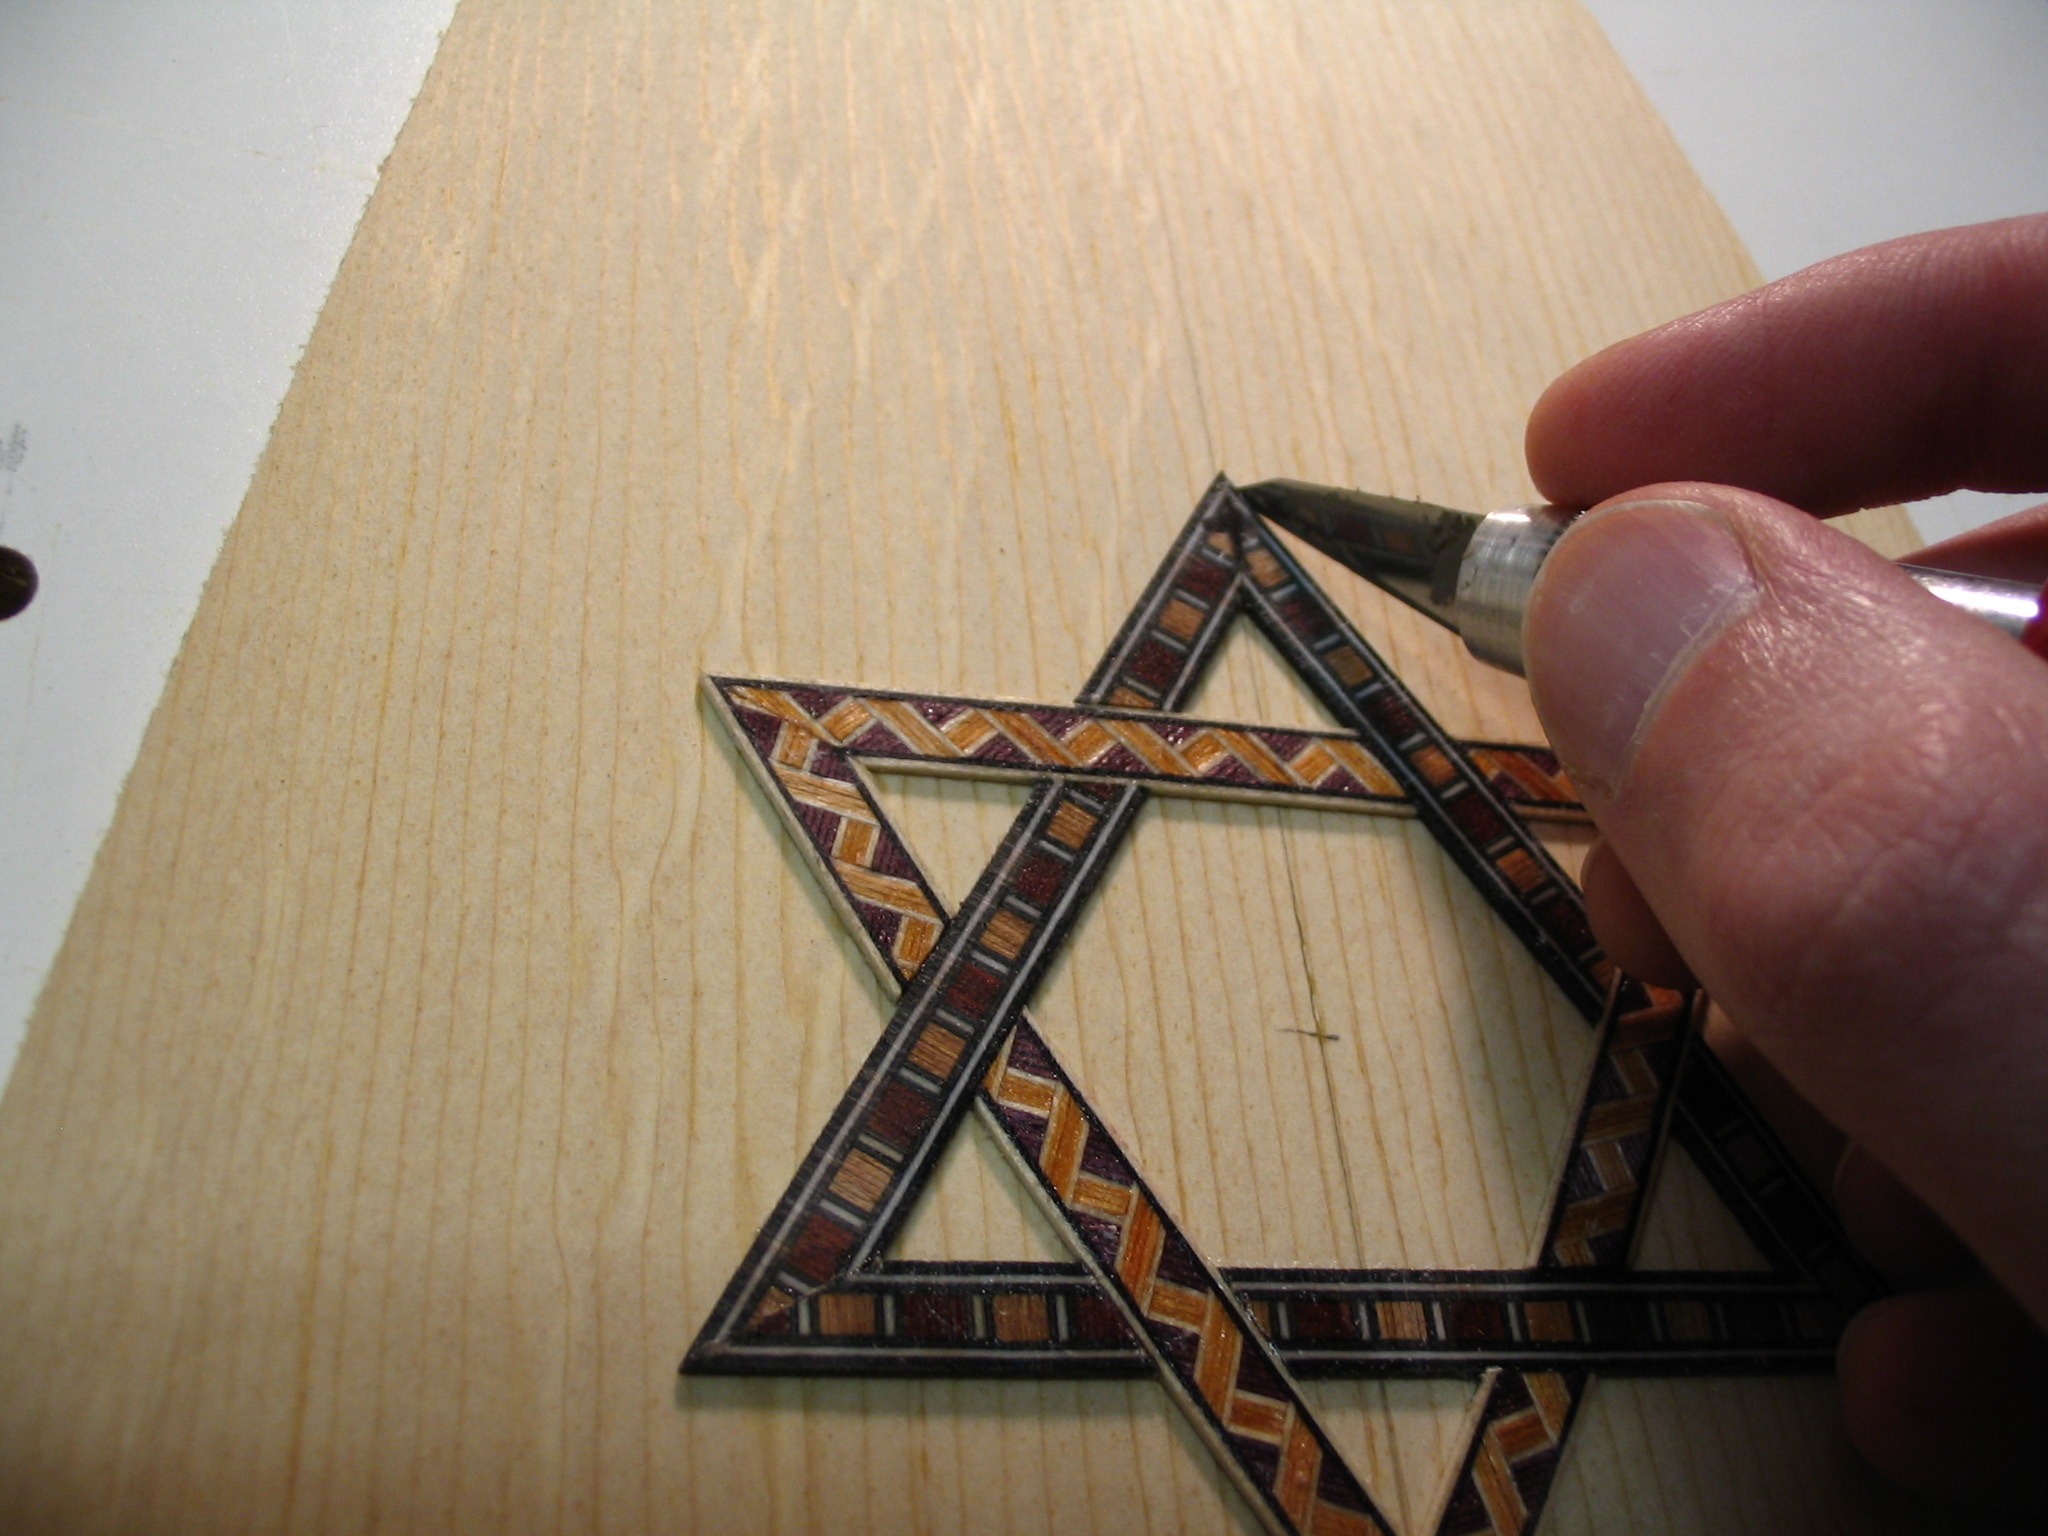
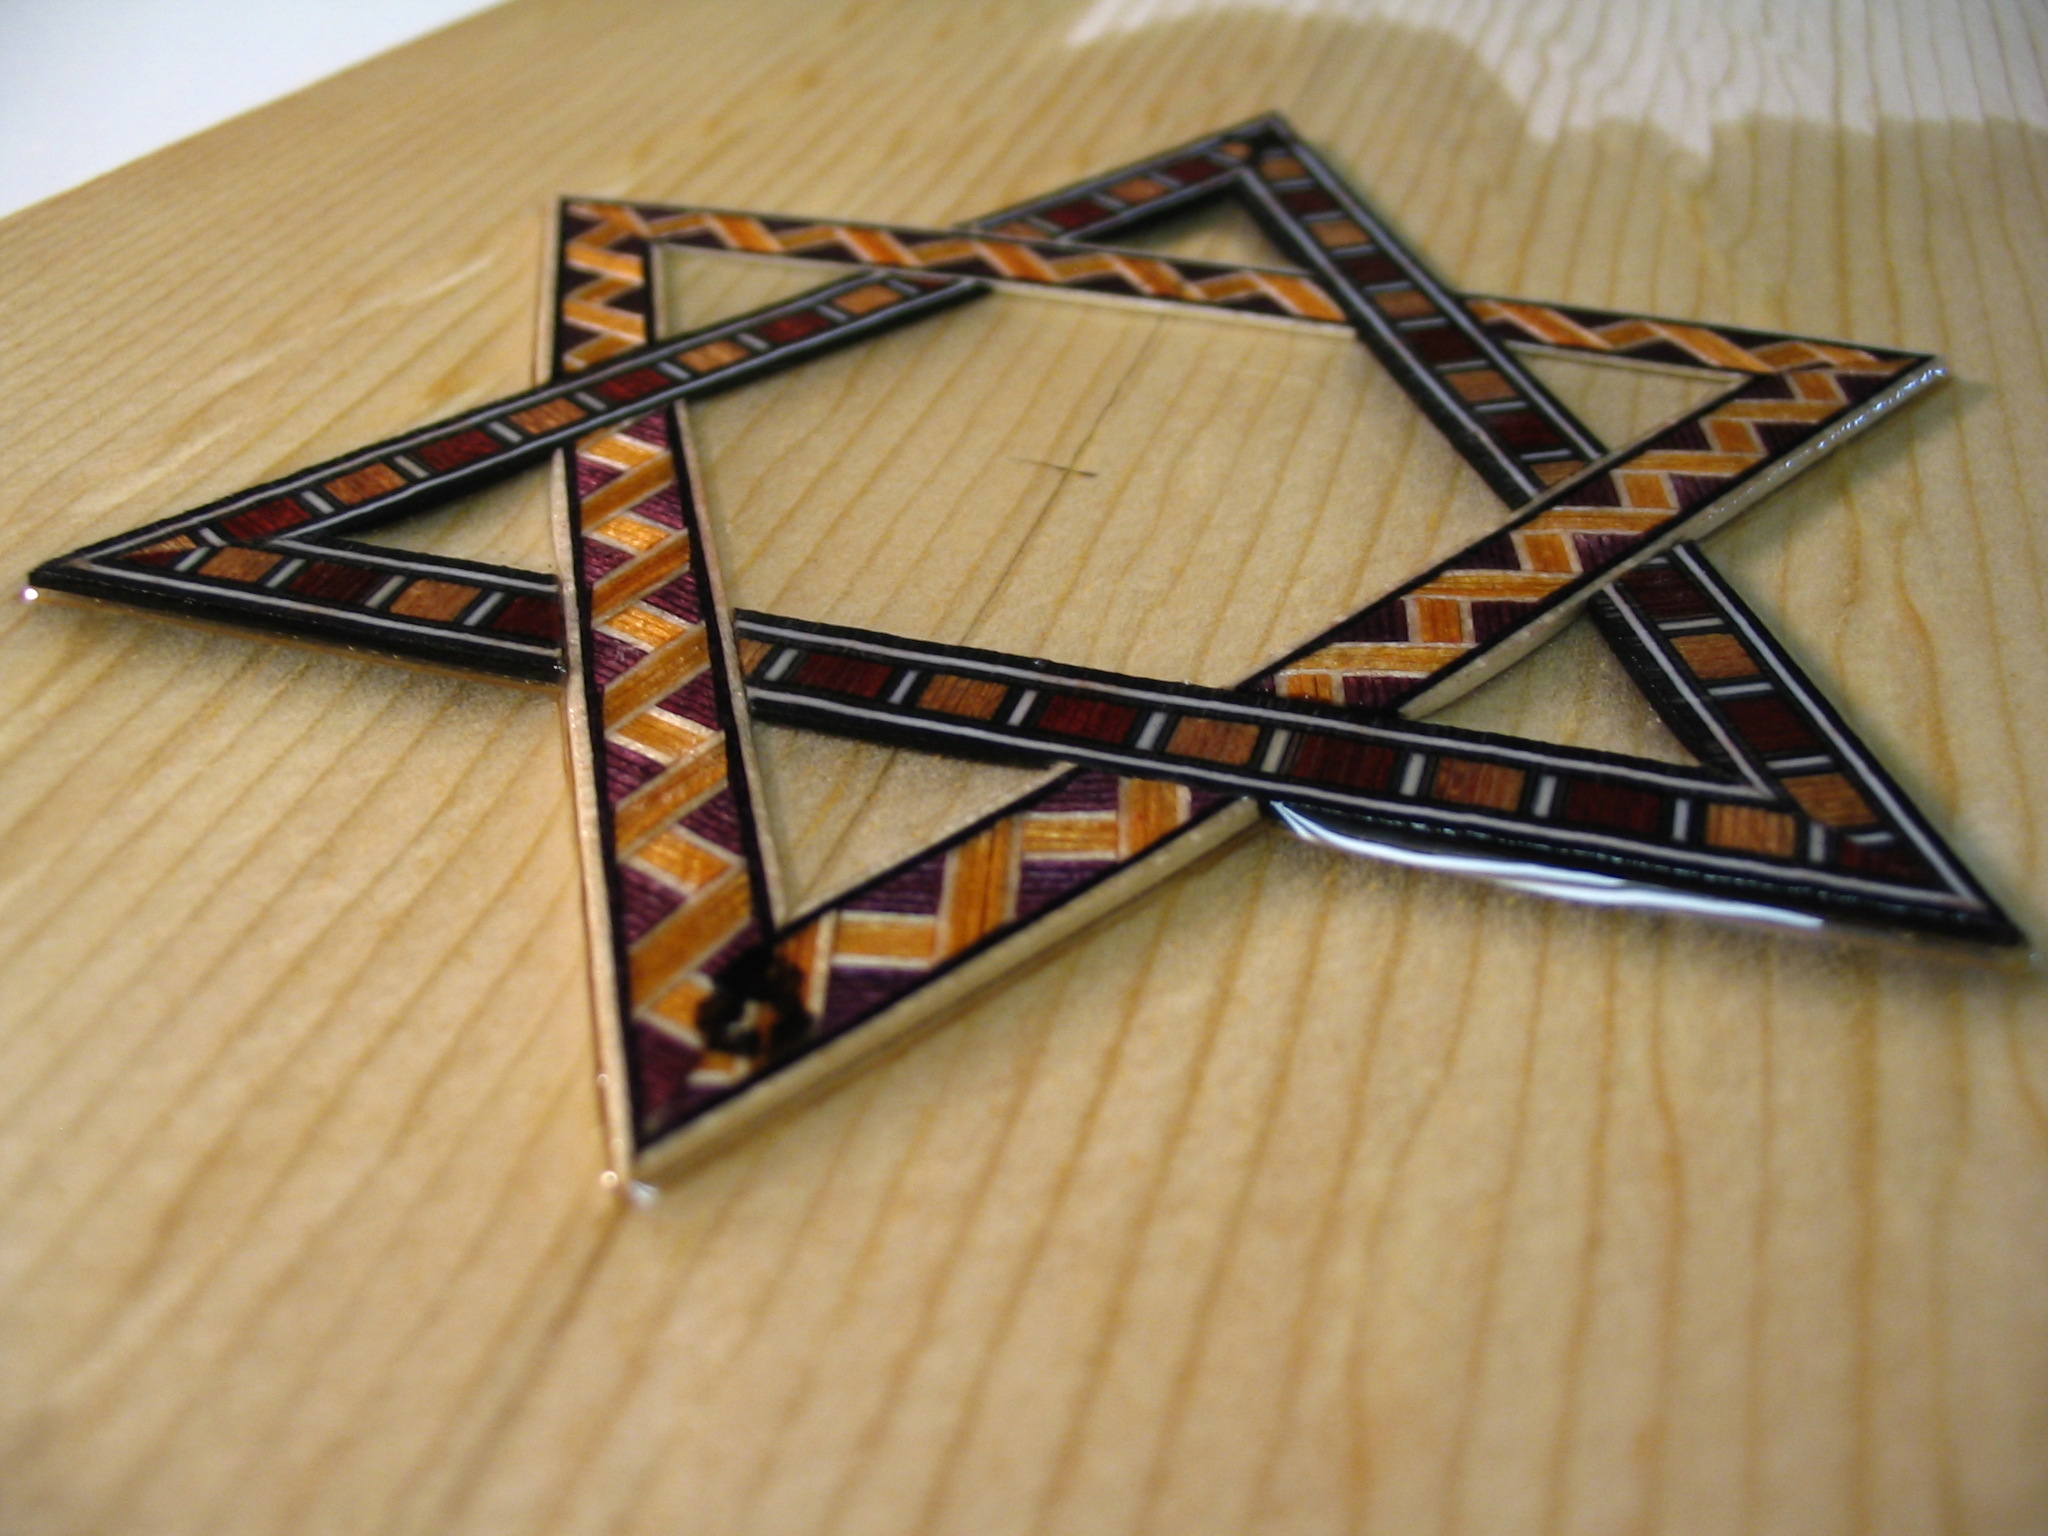
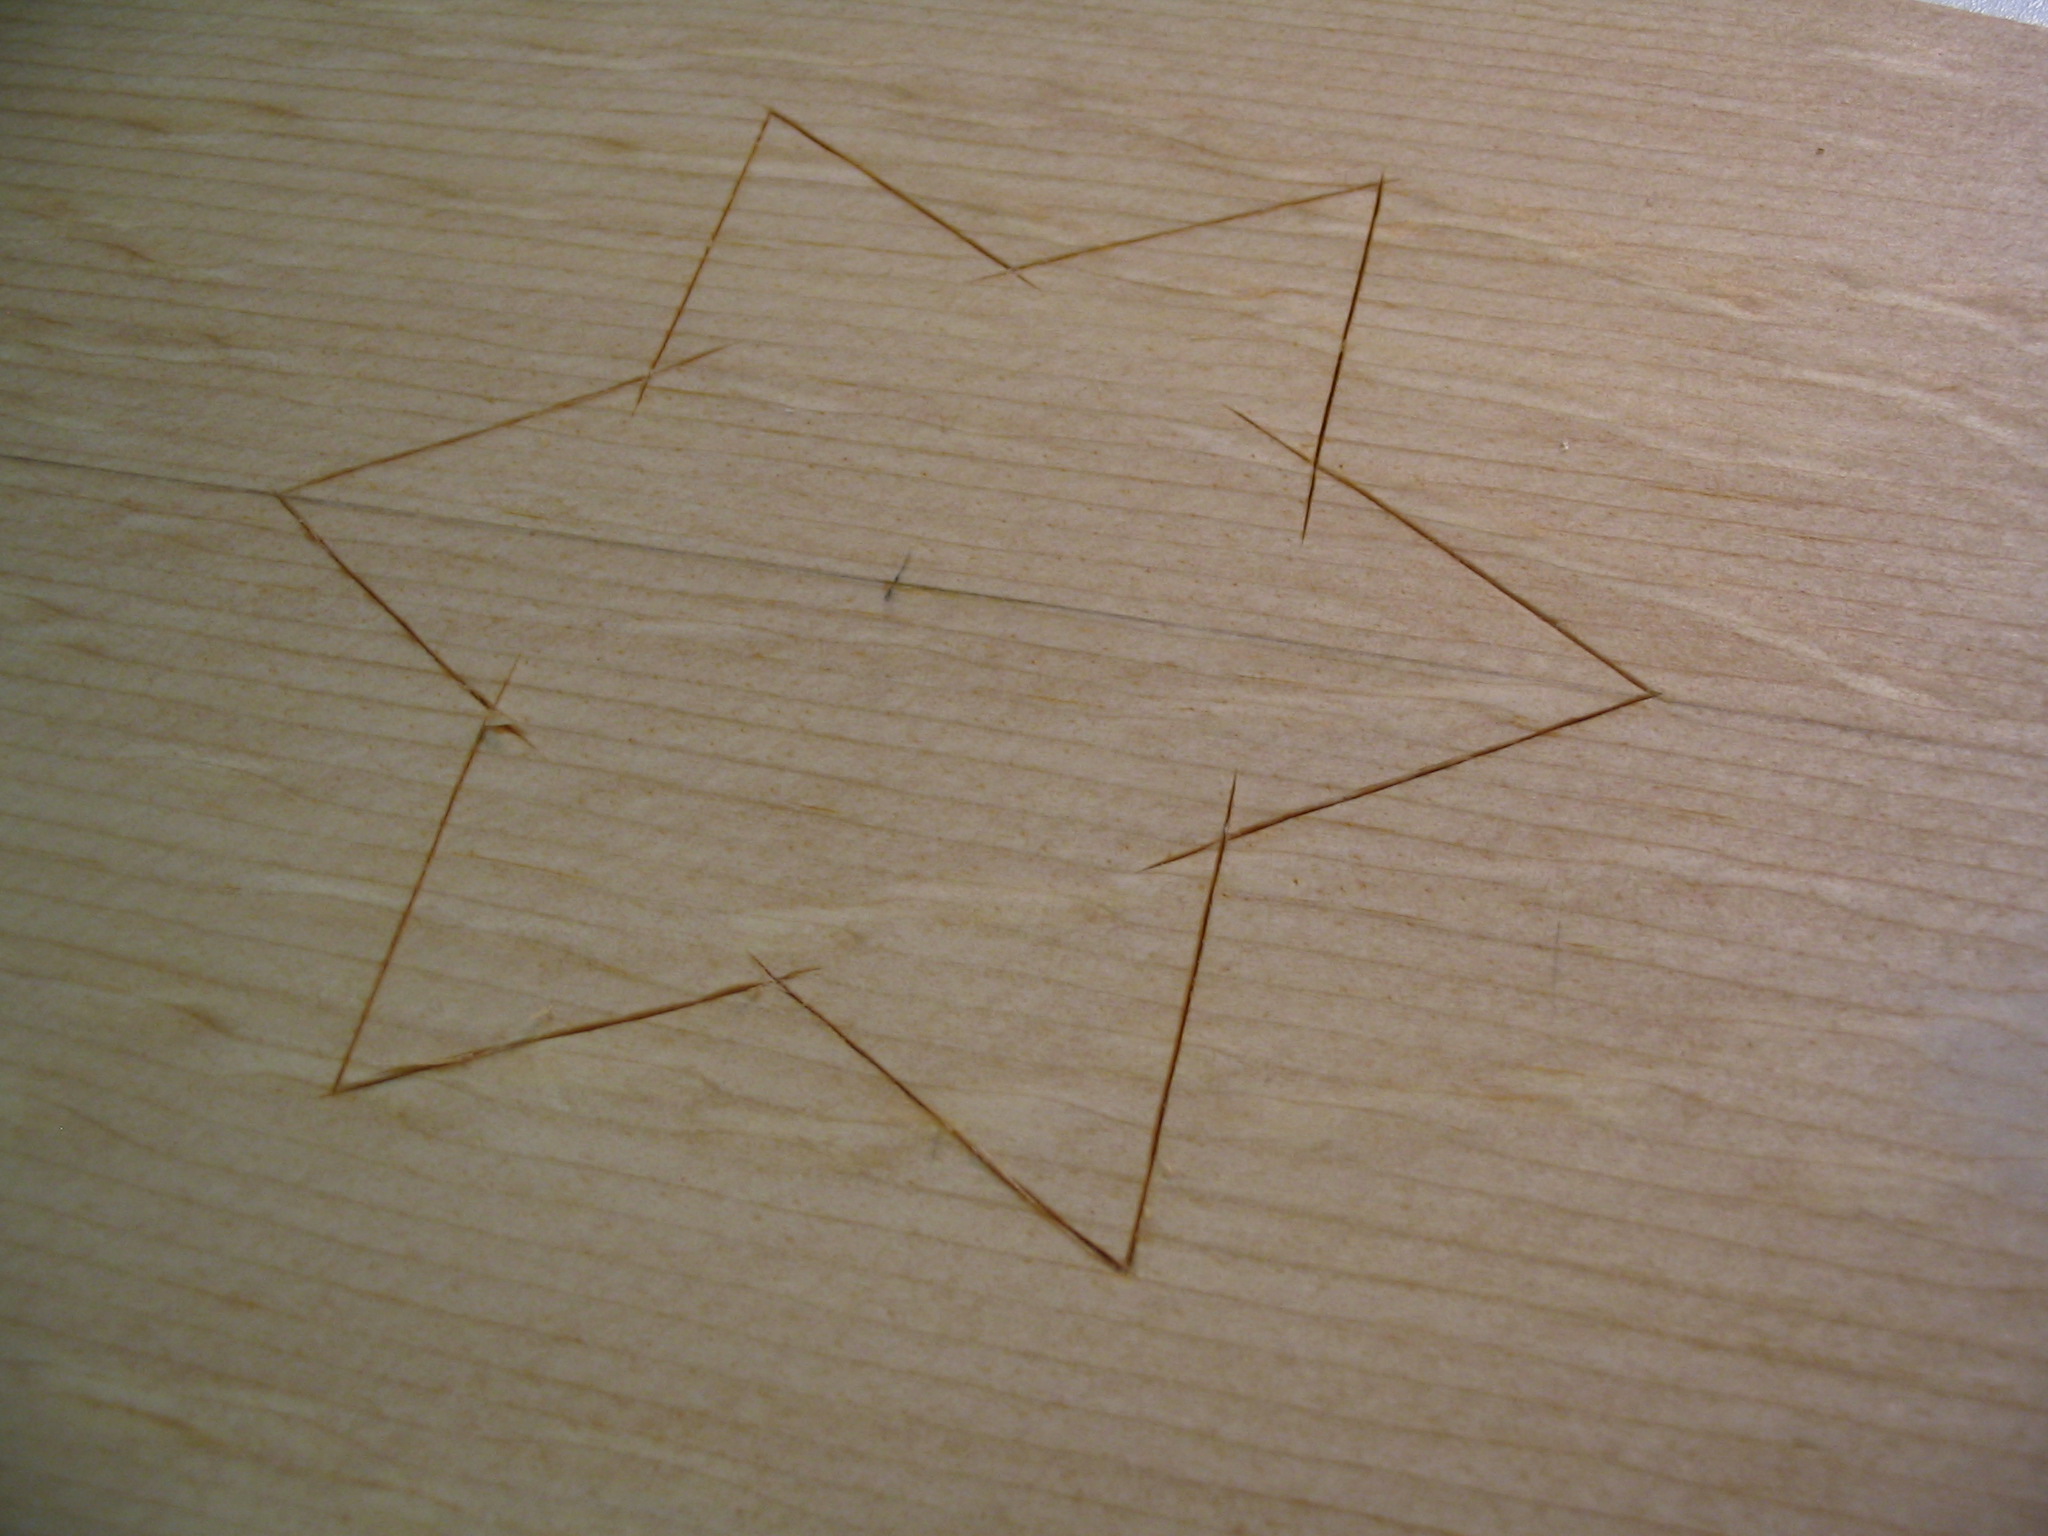
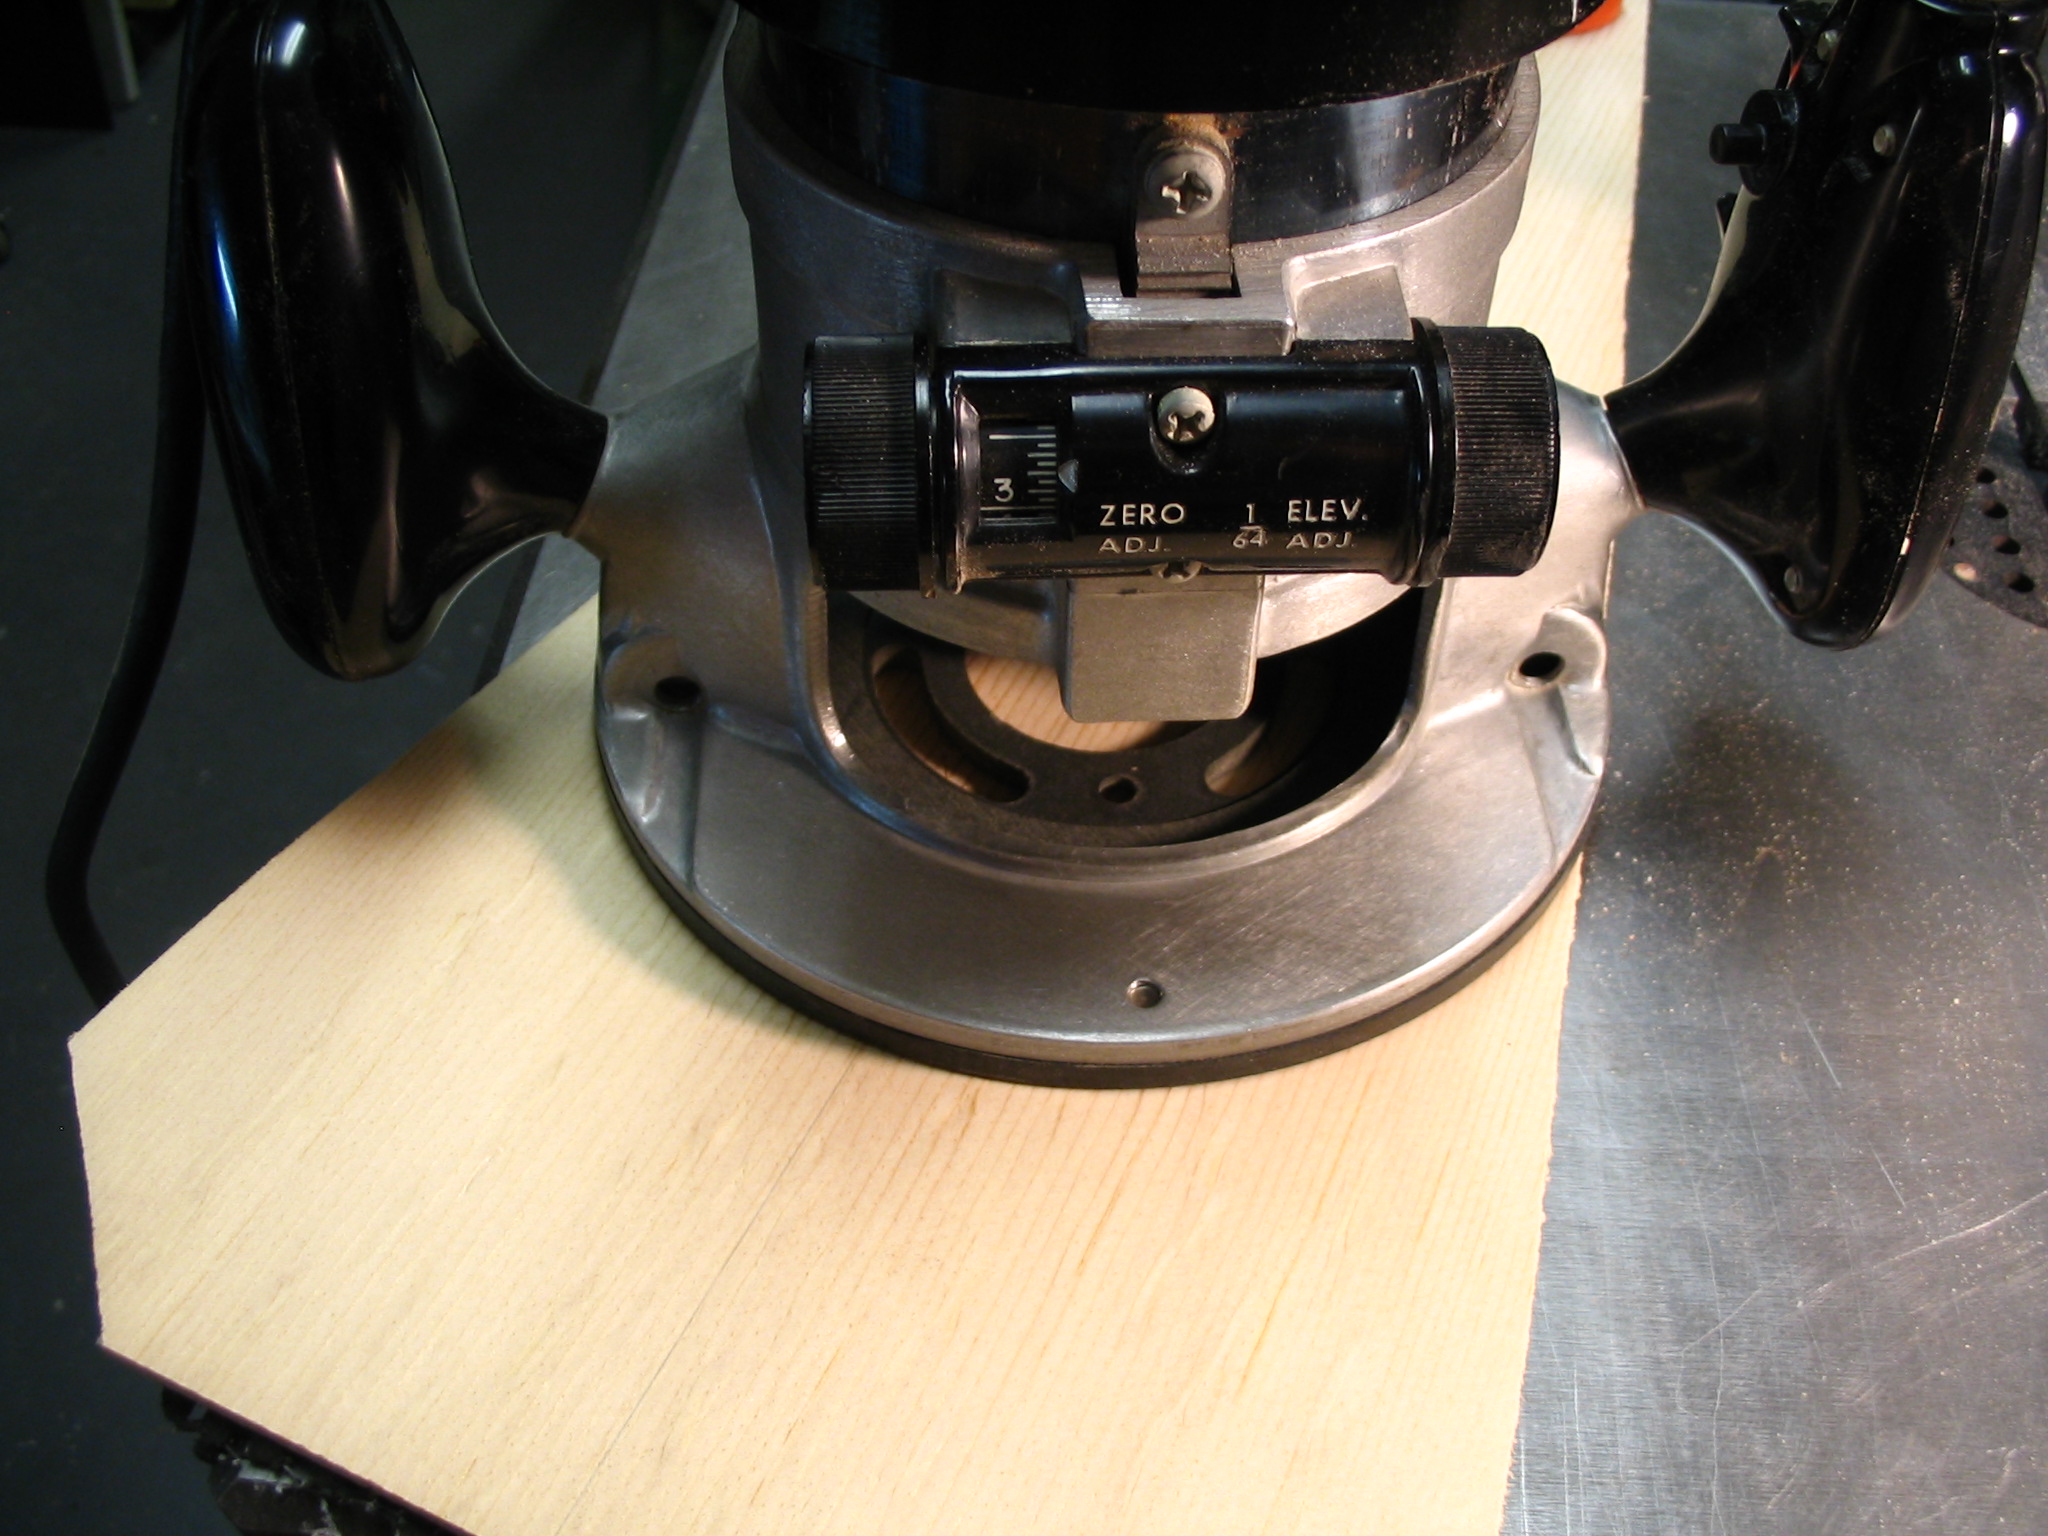
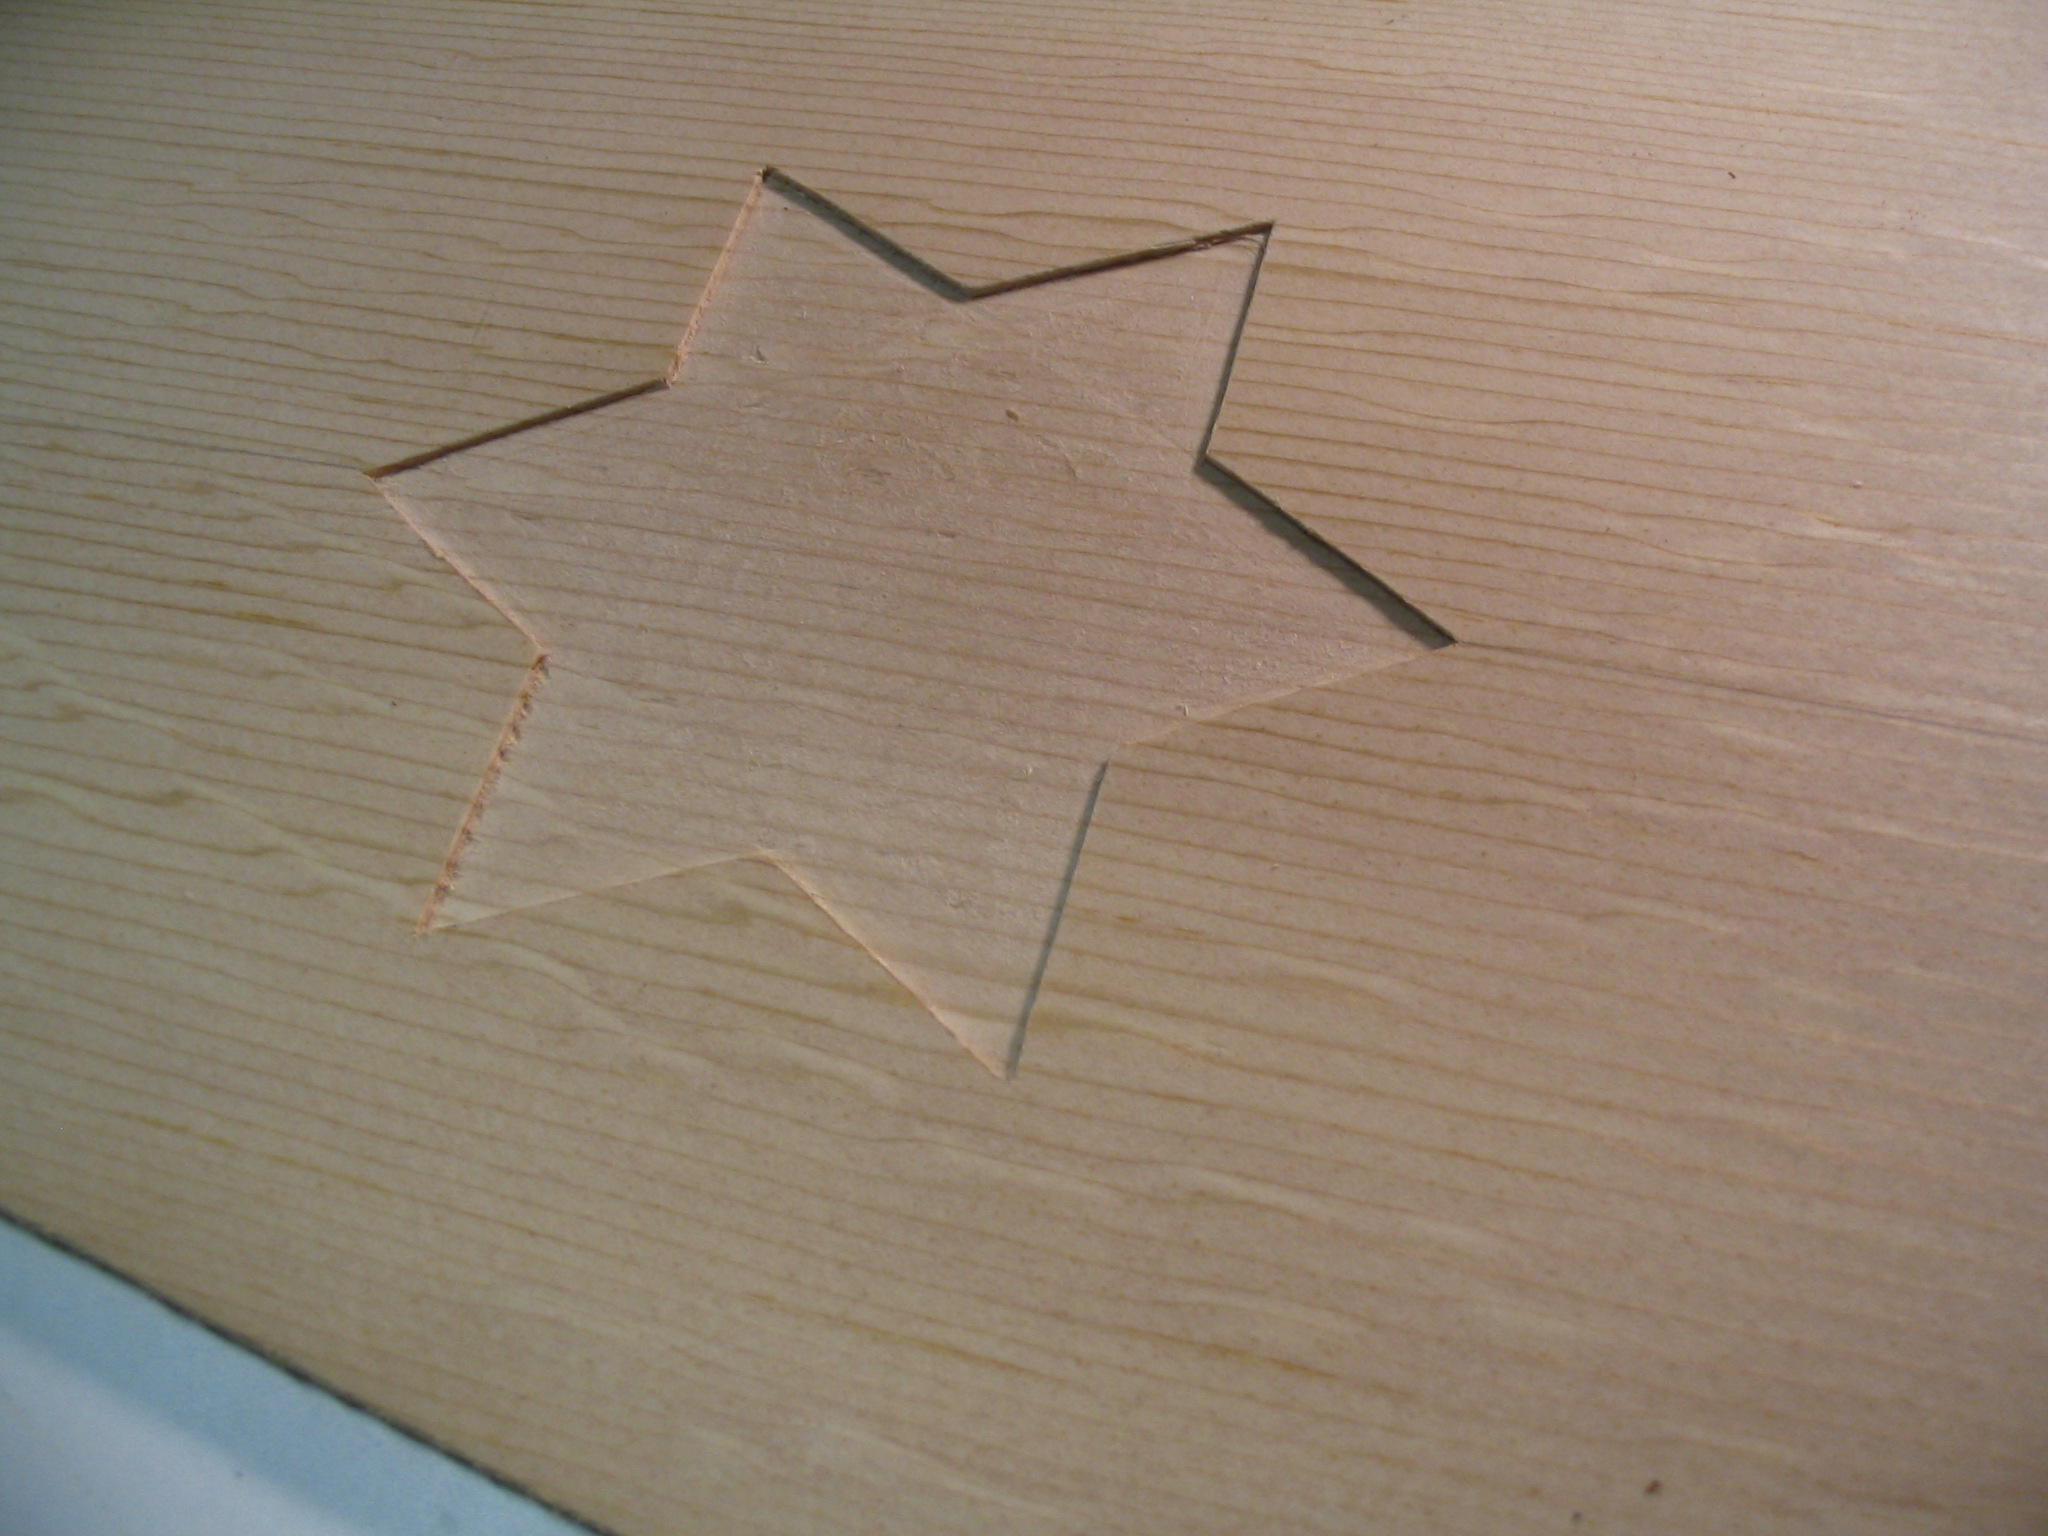
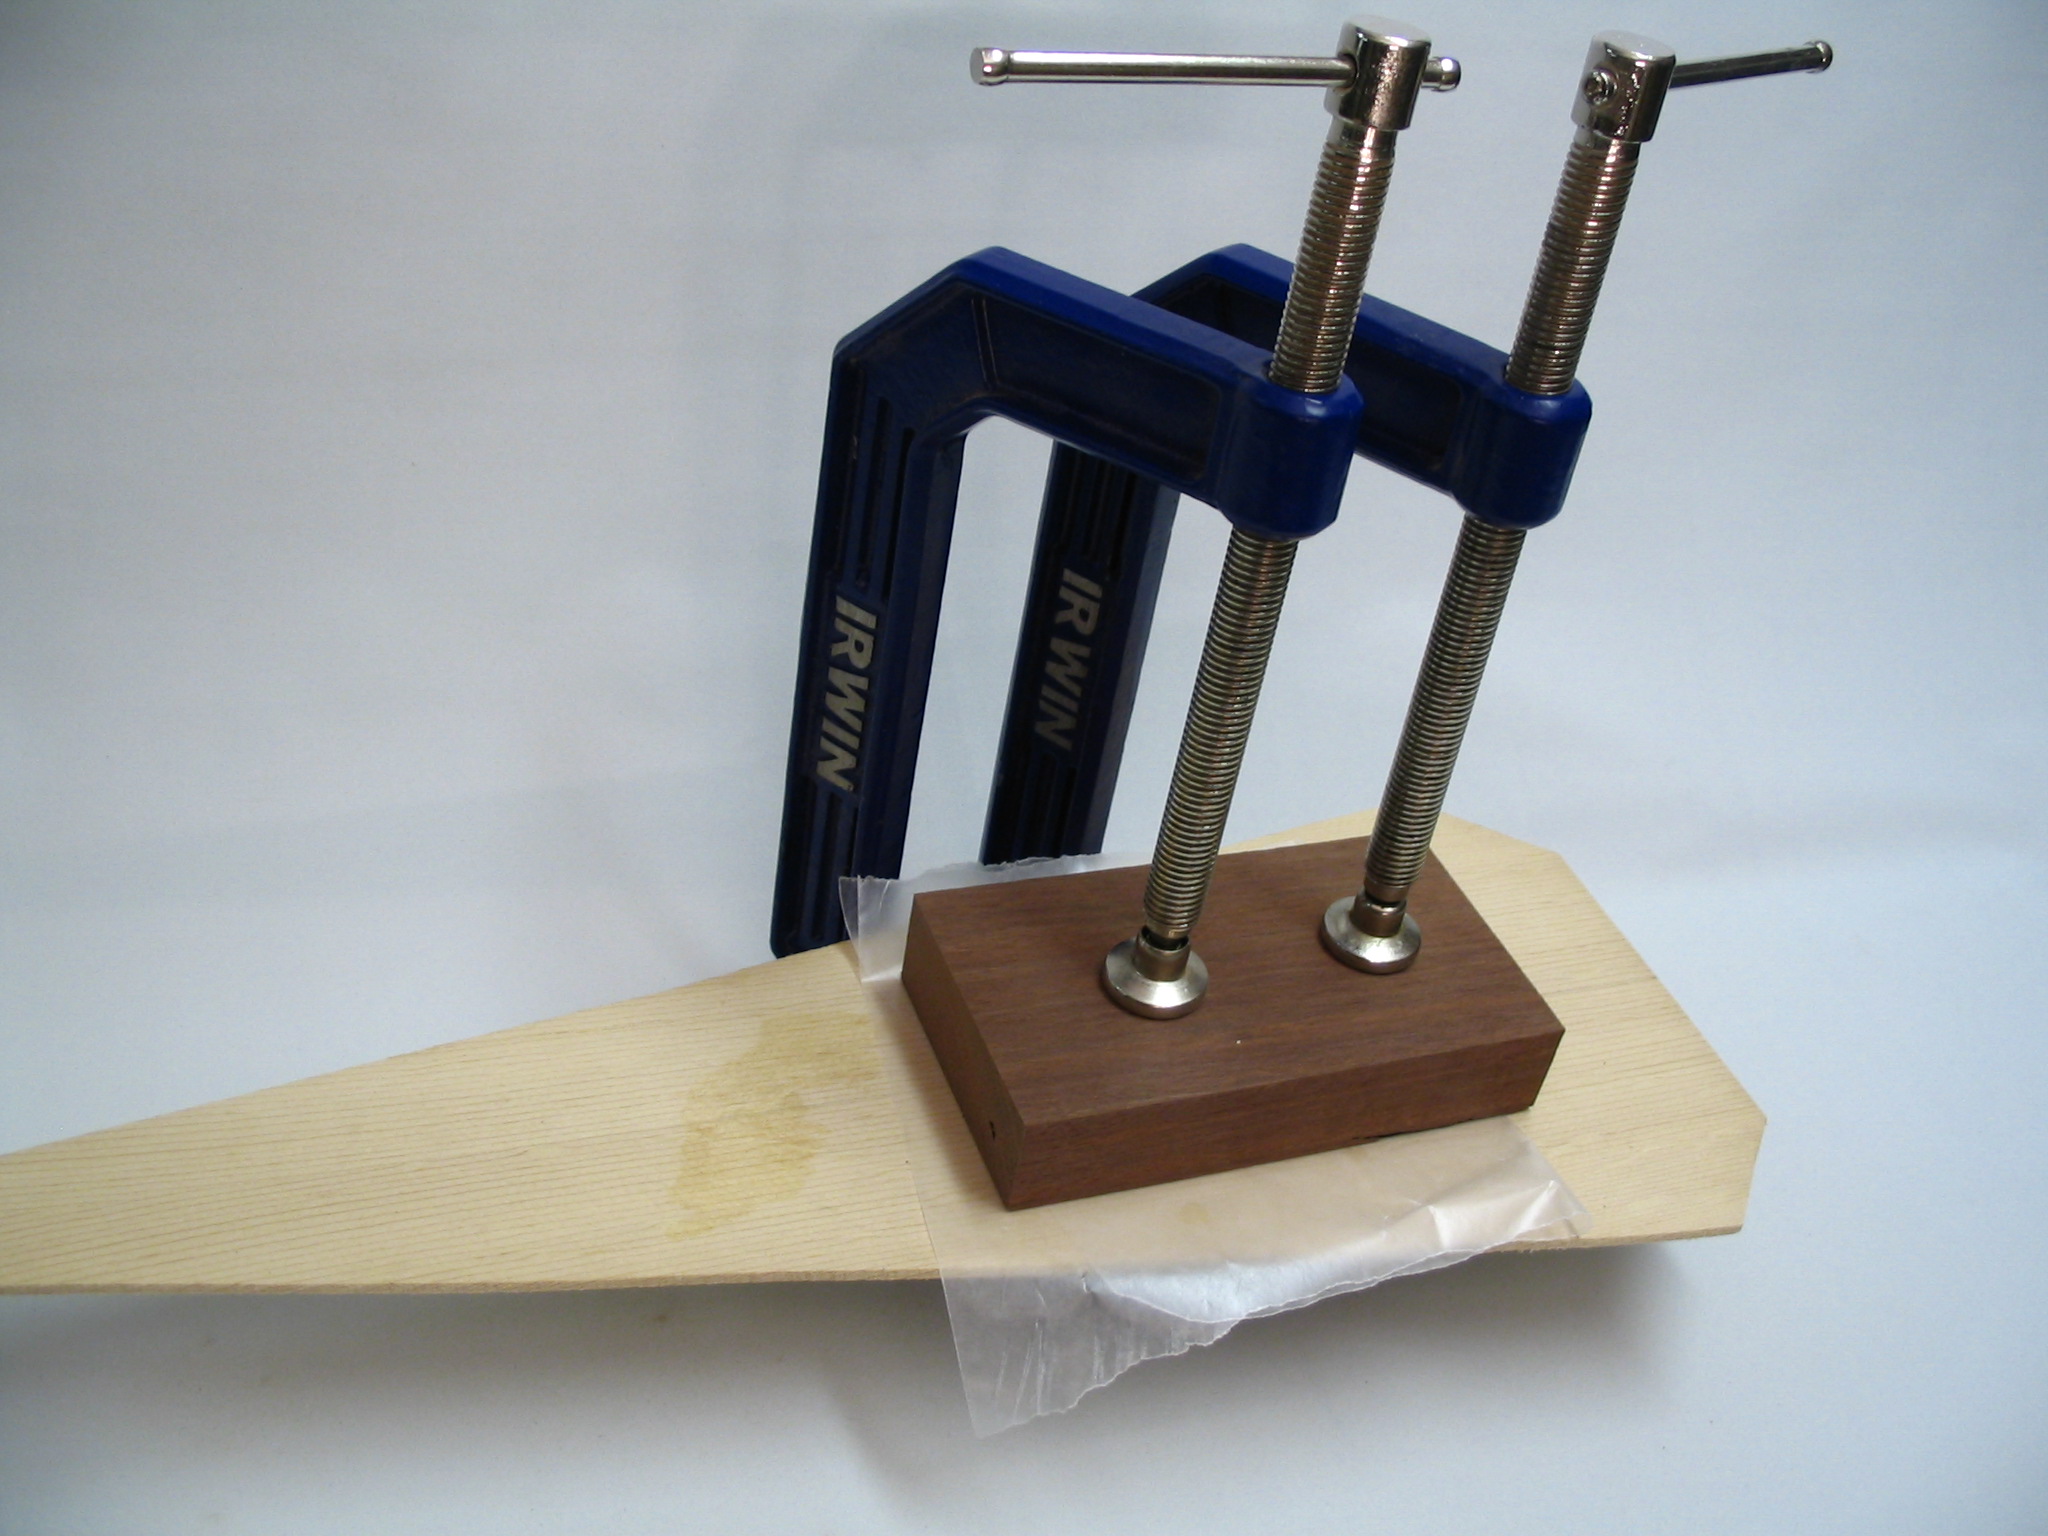
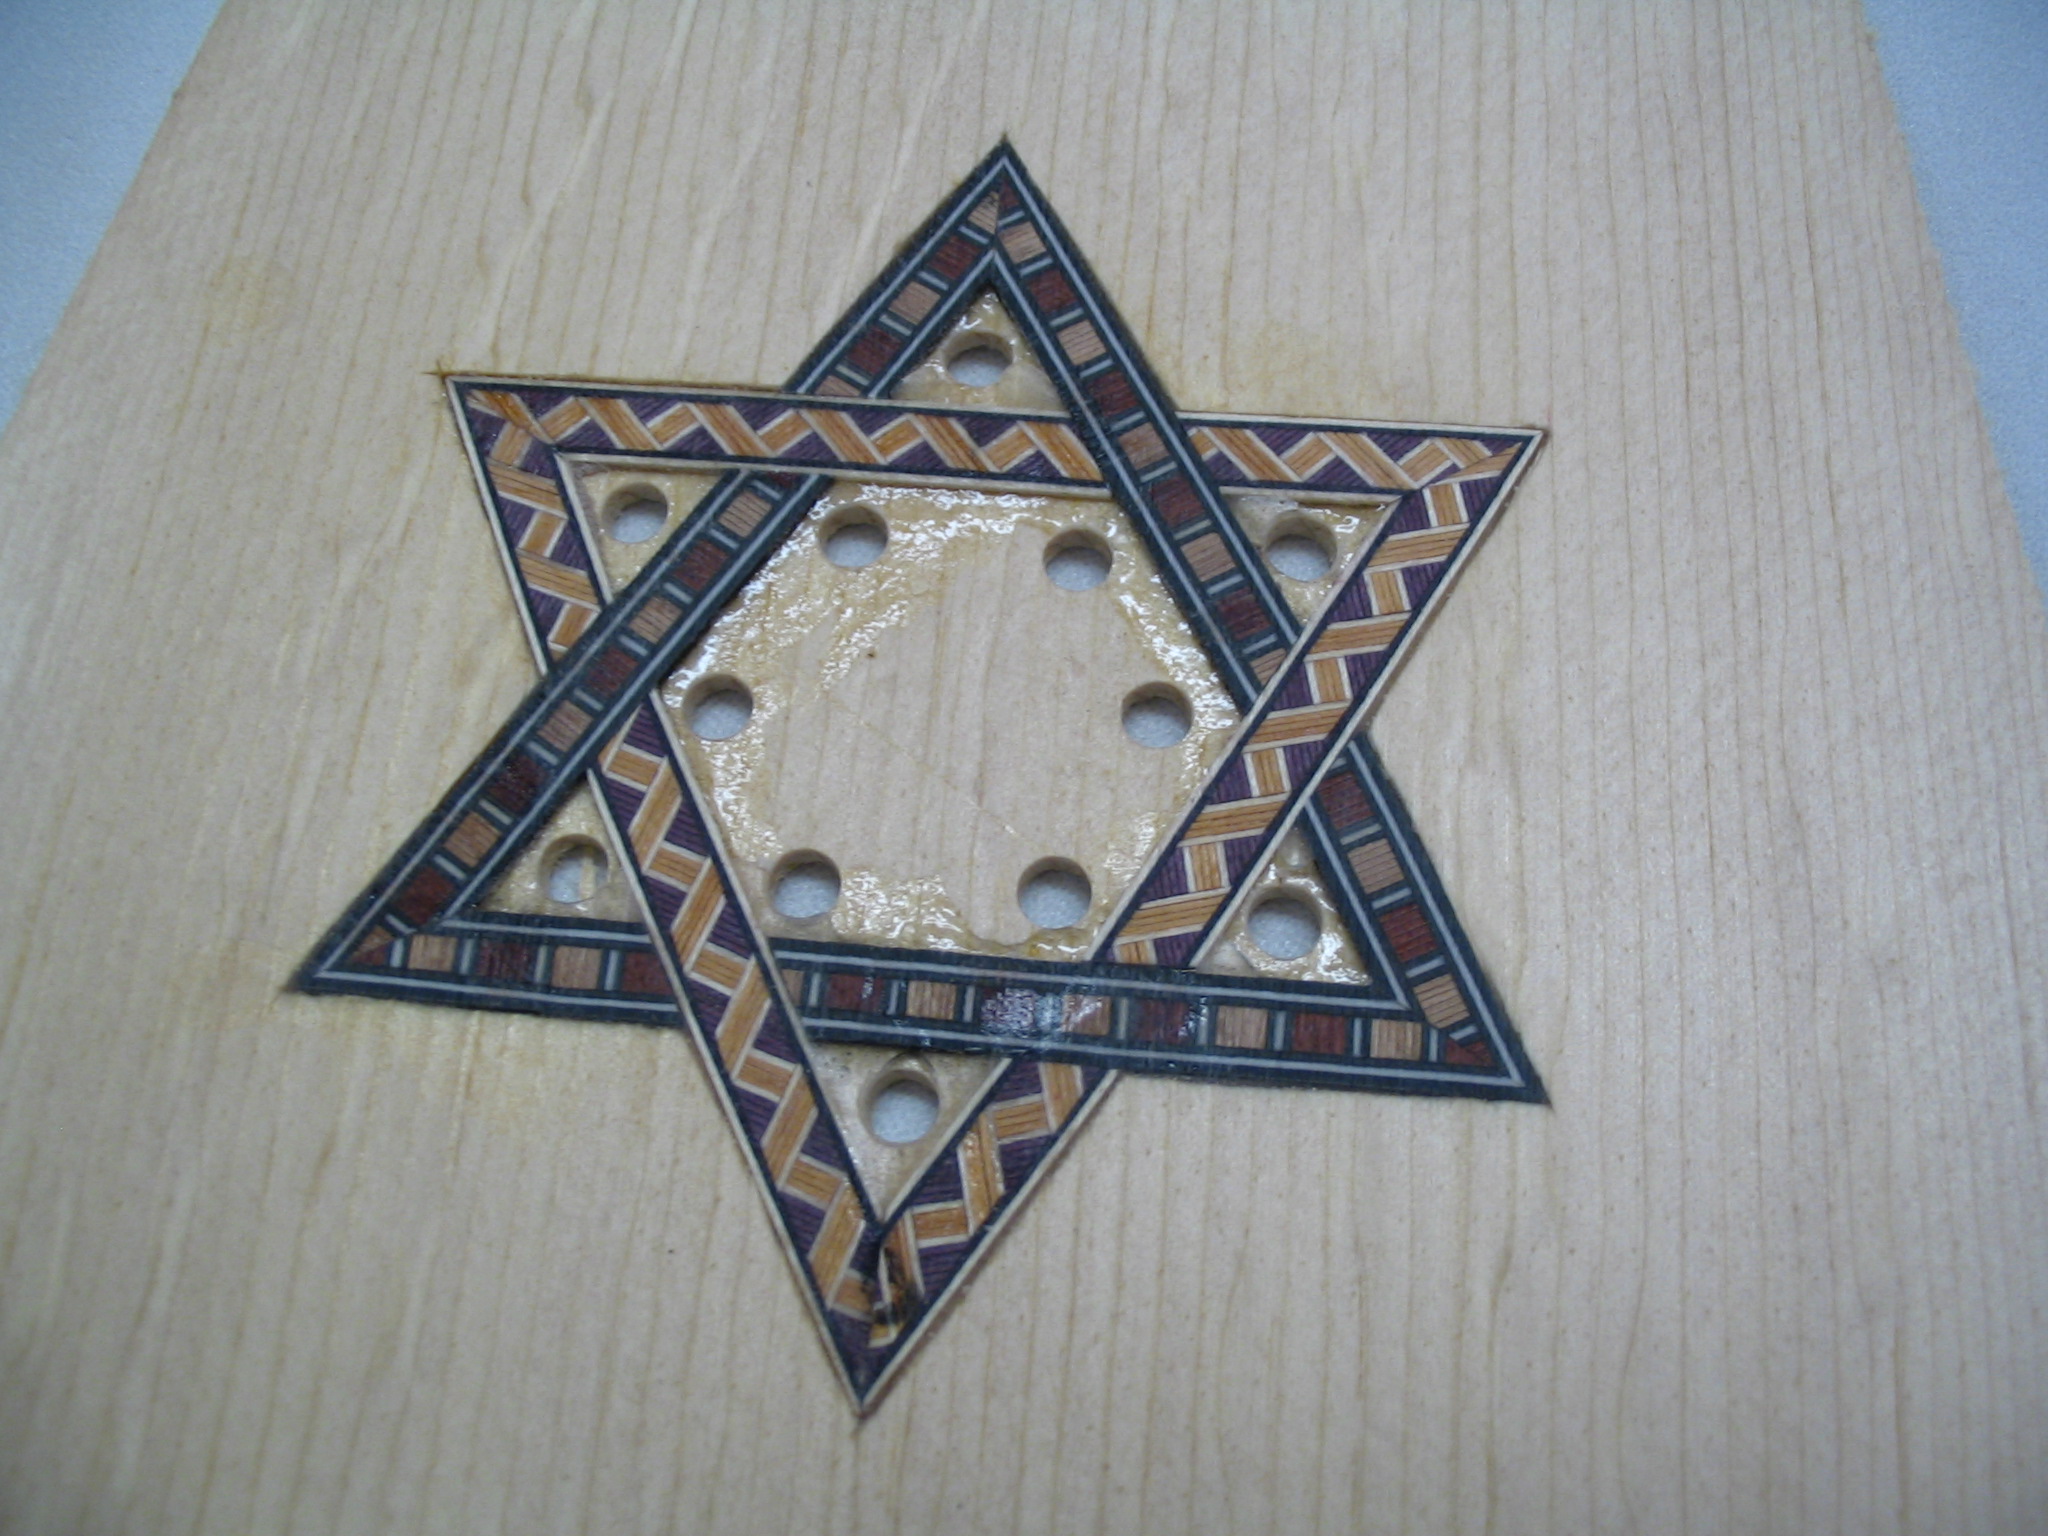
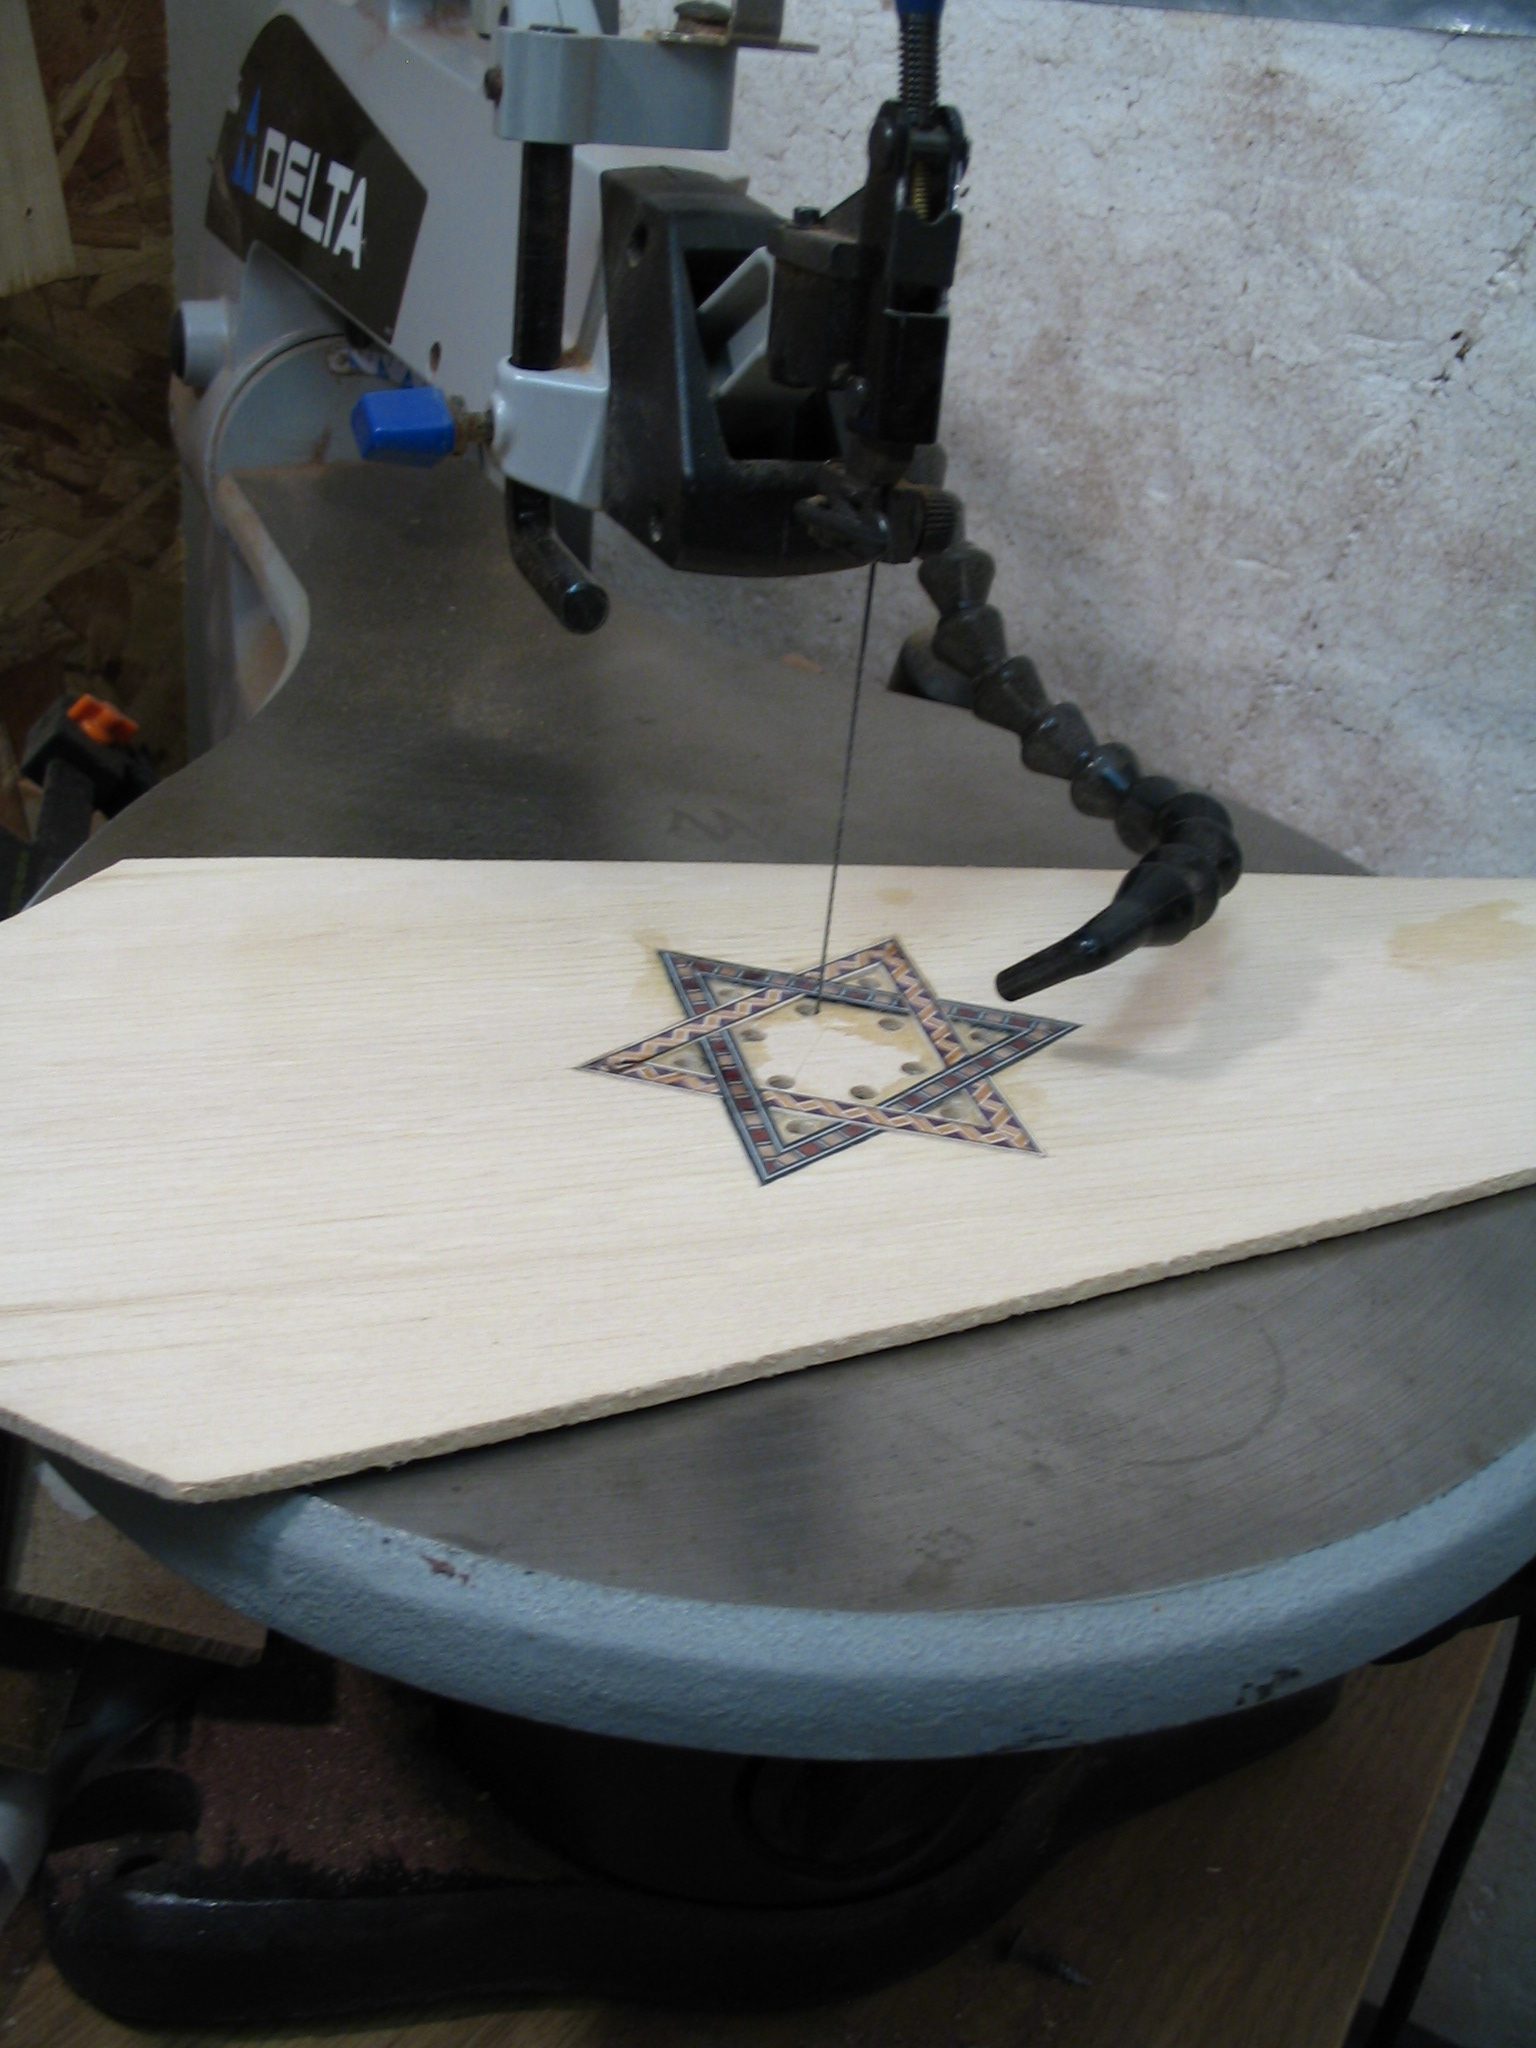


My apologies that this is where the picture documentation ends.
What’s printed below was formerly the manuscript that I had started for the book — which obviously didn’t get finished, so it too is unfinished!
Swan Song: Your Complete Guide to Building a Bowed Psaltery (Farewell Secrets from a Former Luthier)
Preface:
Back in 2008, I had decided to create a website detailing the construction of a simple, two octave bowed psaltery. This project was later made into a book, entitled “A Psimple Psaltery, Building a Bowed Psaltery from Start to Finish.” This was an enjoyable experience for me, yet because I was still making custom psalteries through my online business, Phantasy Psalteries, I knew that there were certain methods and techniques that I had developed that were considered proprietary. Not wanting to create unneeded competition for myself at the time, I chose to keep these methods a secret and omitted them from the initial book.
Yet today, at the time of this writing in 2011, I have decided to cease building and selling bowed psalteries. And with this change, I felt it would be only fitting to go back to my original project of teaching others to build psalteries, this time with full disclosure.
It is said that a swan, moments before its death, is said to sing a very sweet and haunting song as its final farewell. In this same vein, I bid farewell to the realm of psalteries, hoping to leave a last beautiful song for everyone to enjoy. Yet, my song will be sung upon the strings of psalteries yet unbuilt.
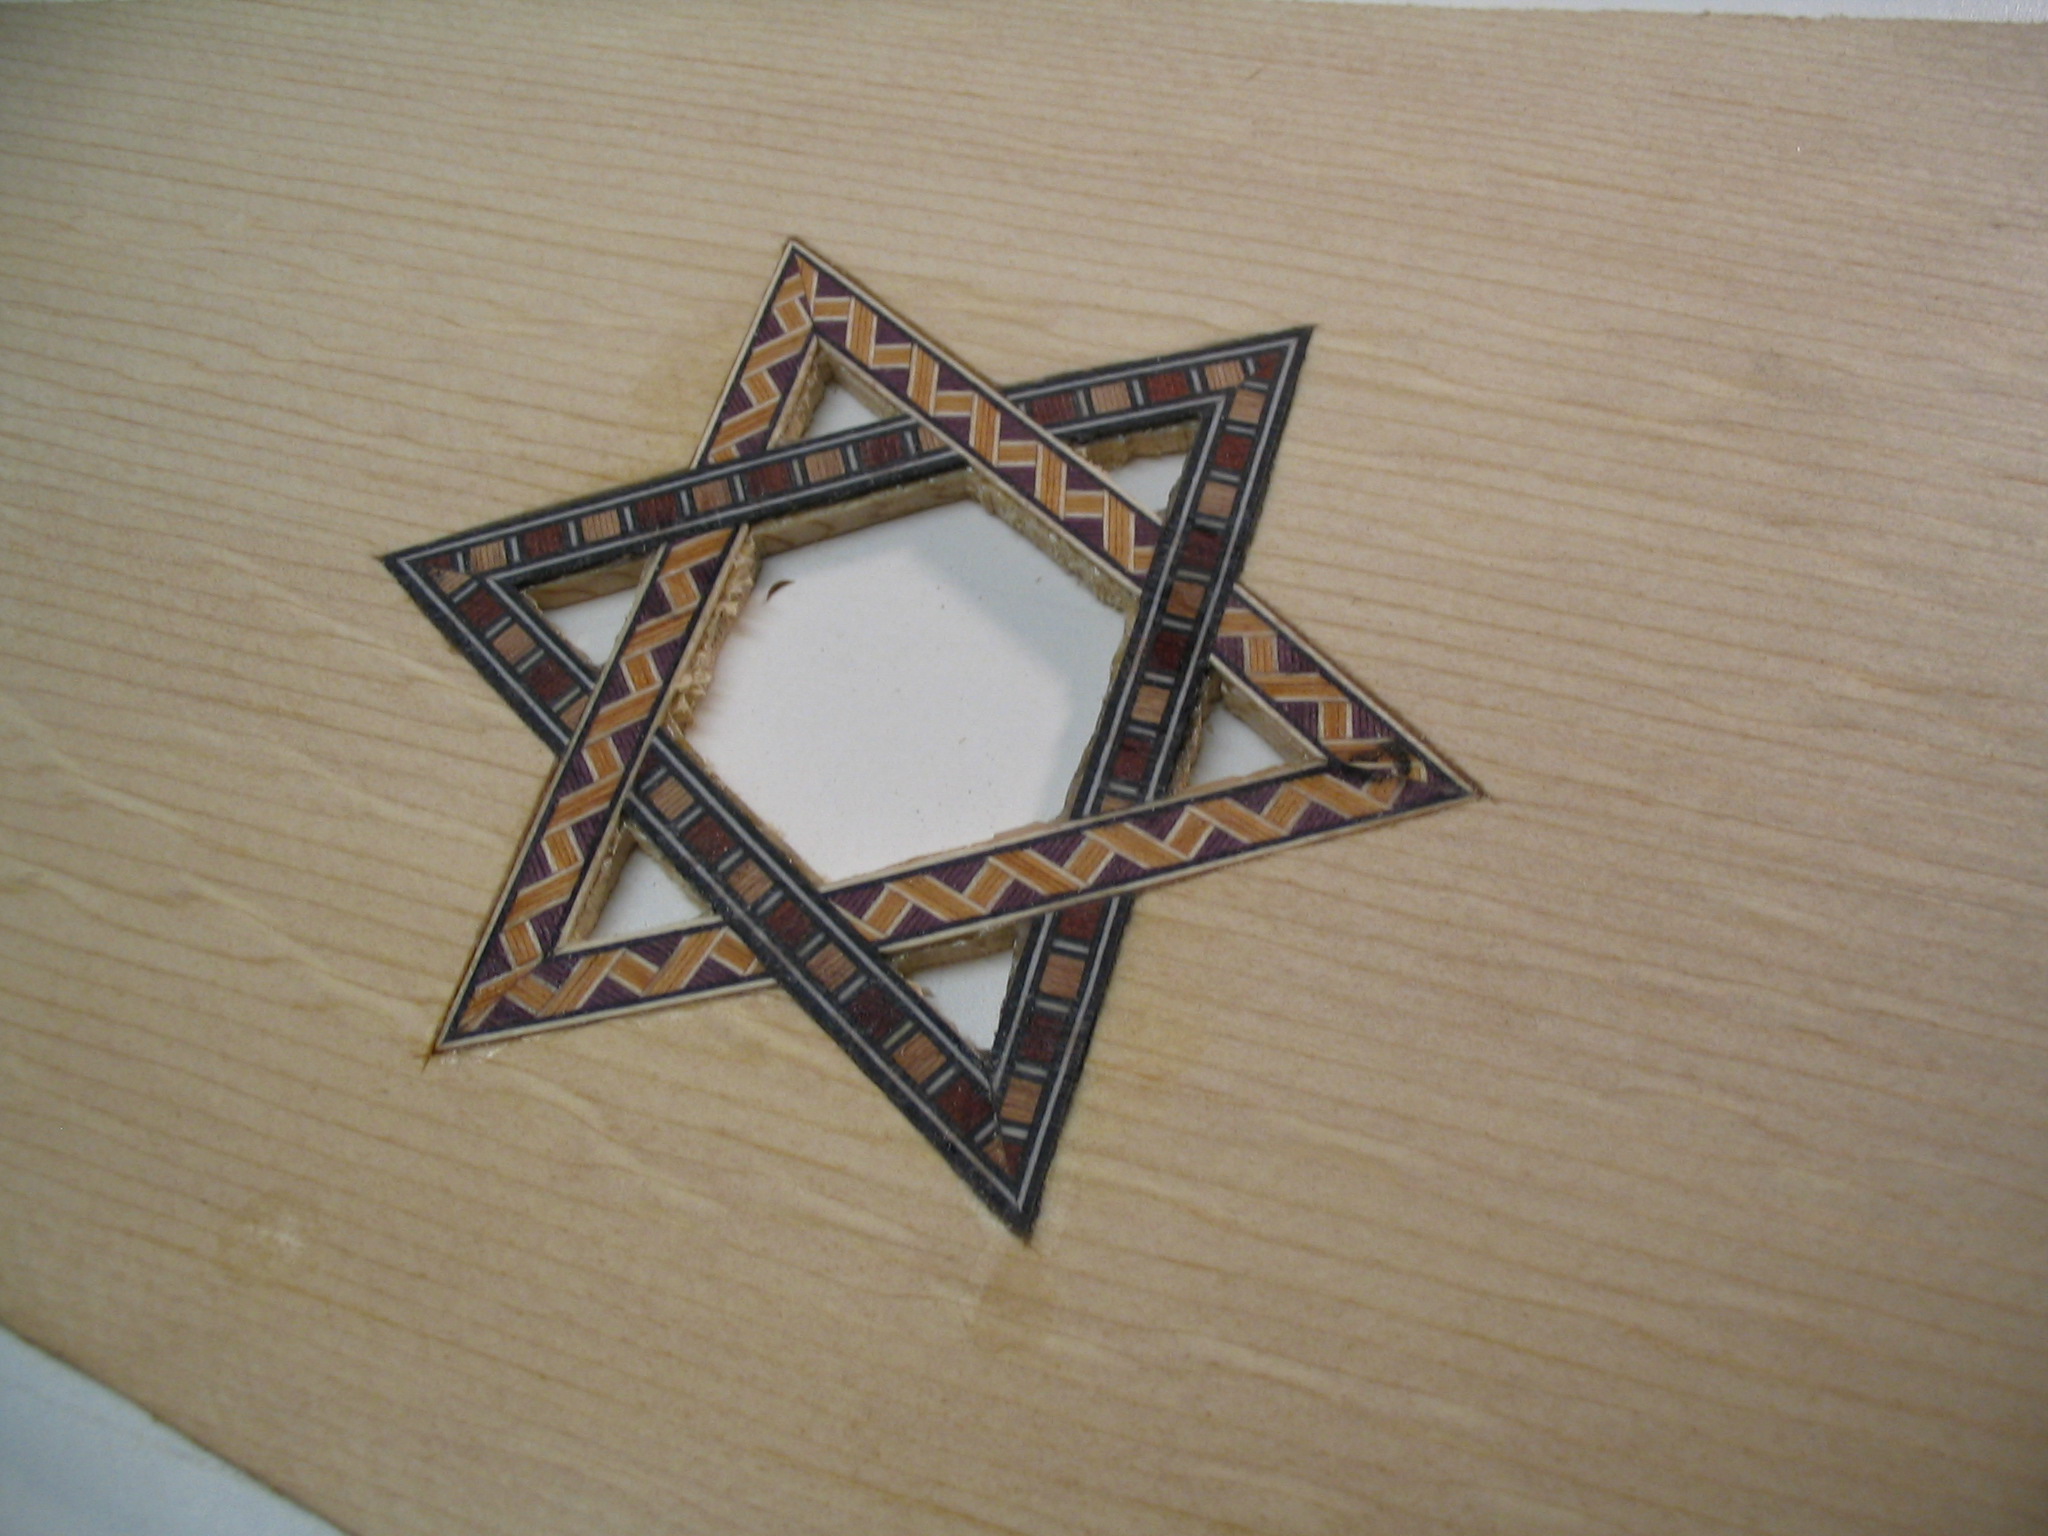
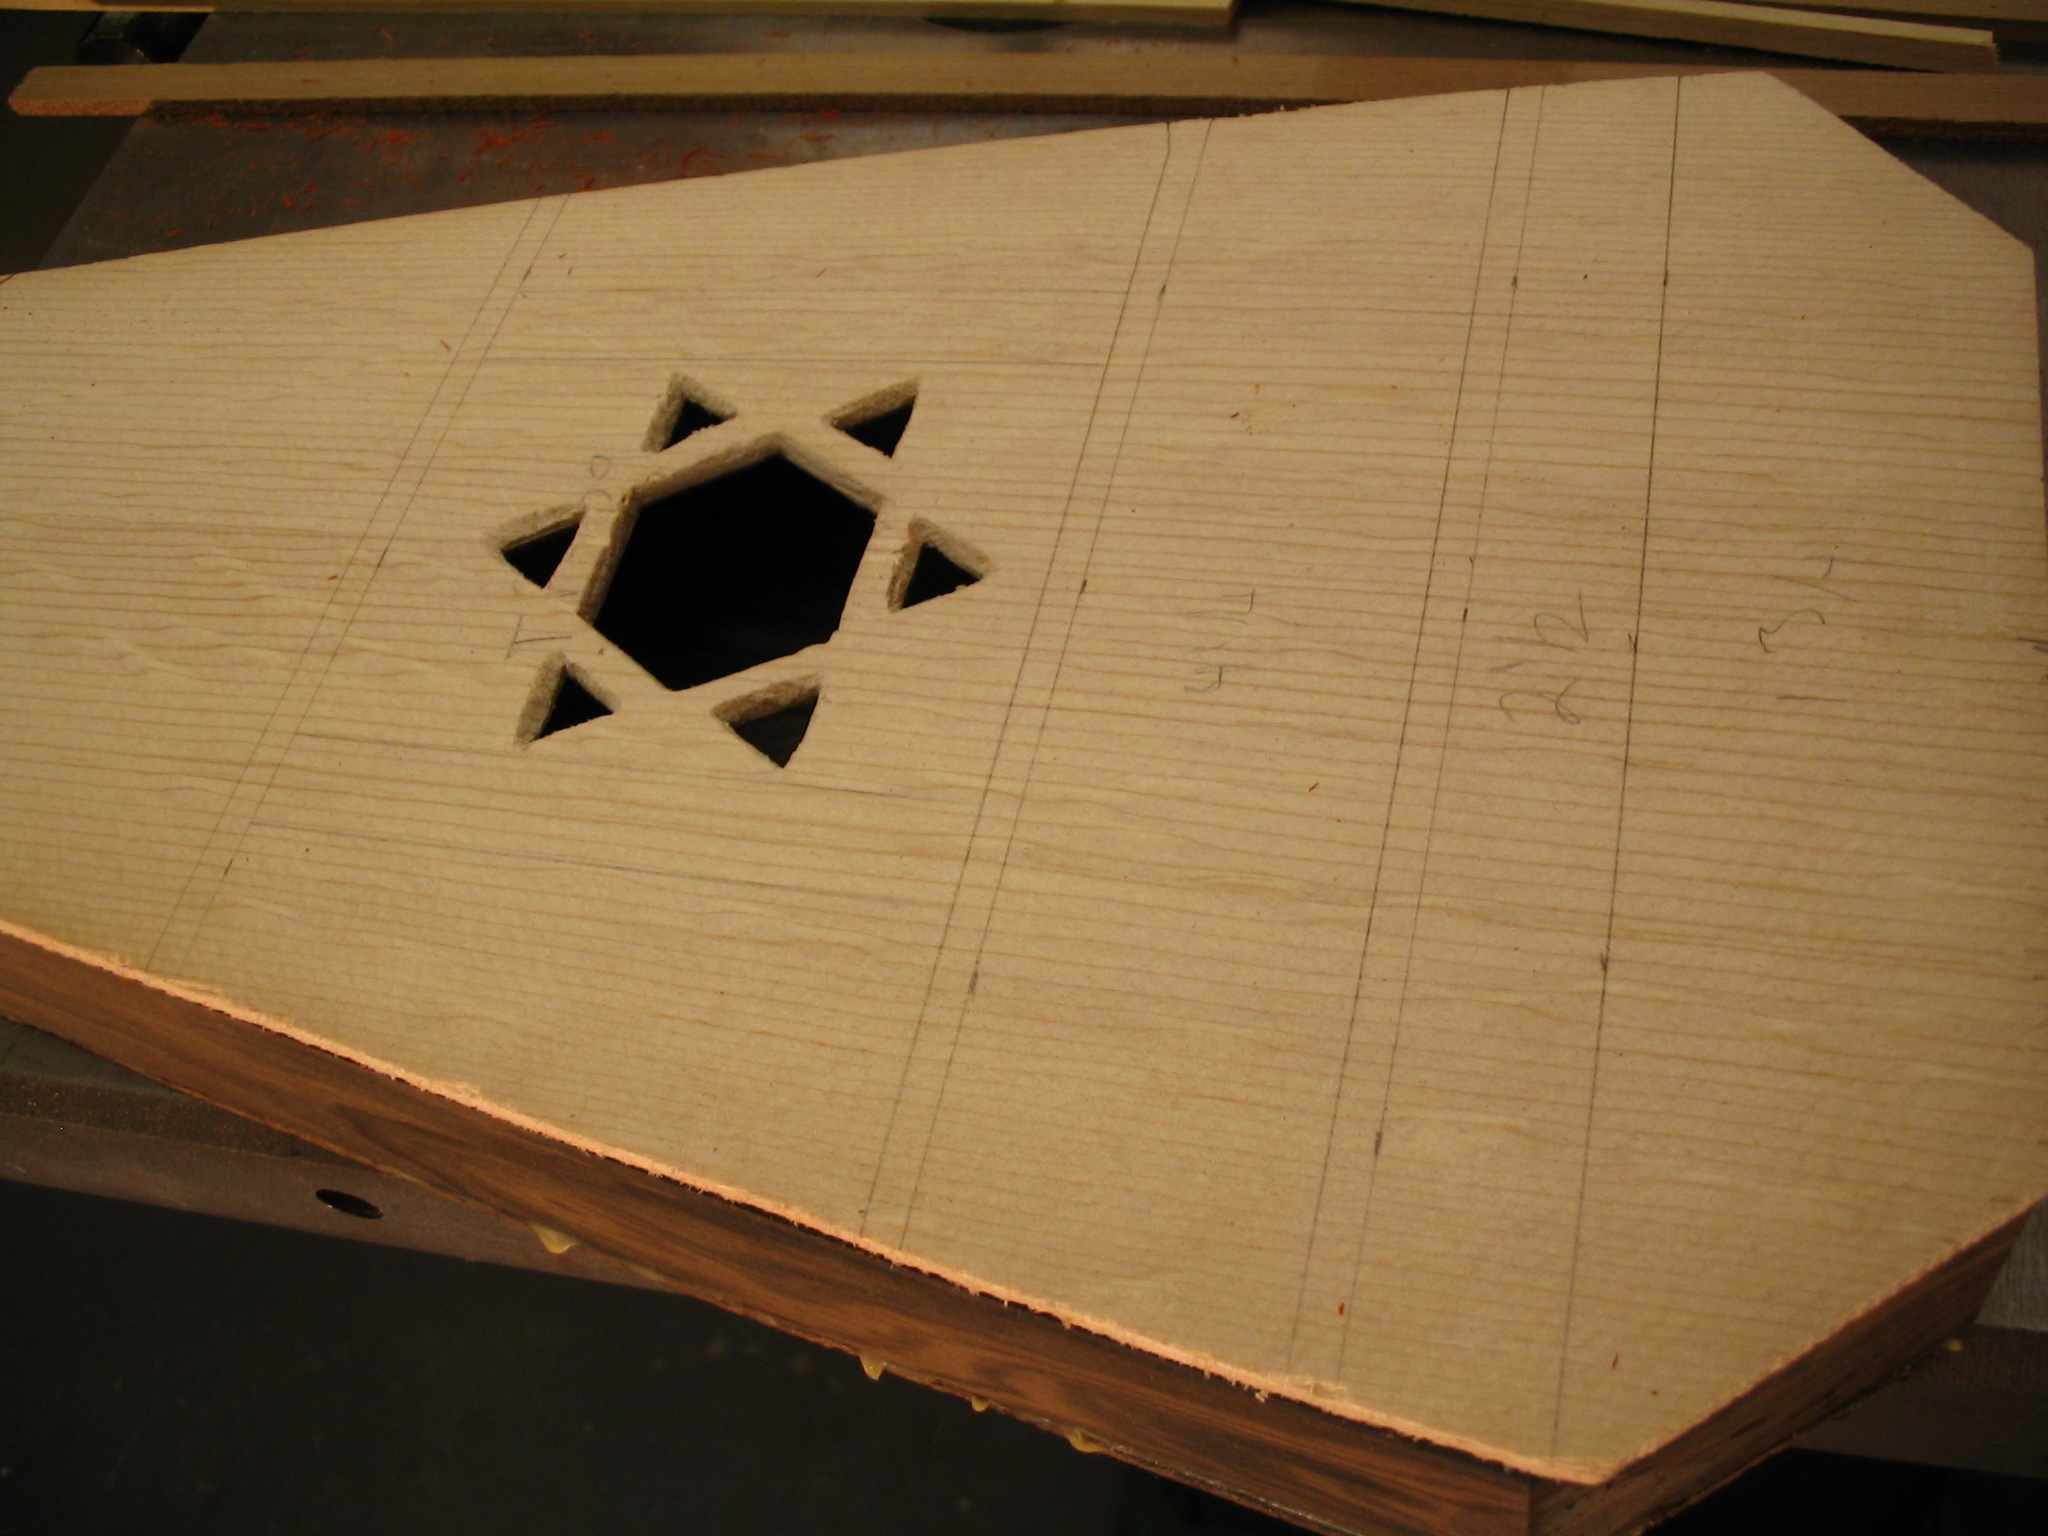
This is where you, the reader and aspiring luthier, come in. In these pages, I’ve documented in words and pictures, nearly every step and detail of the construction process. In addition, many proprietary methods and designs are enumerated, ranging from the aesthetic, to the acoustic, to the practical. Wood selection, binding, inlaid rosettes, laminated sides, pinblock hollowing, bracing, rear soundholes, tripod mounts, wound strings, and gemstone note markers will all be discussed.
If you have been interested in the haunting sounds of the bowed psaltery, and want build a psaltery that has just the sound to suit your taste, or if you’re an existing luthier who’d like to build upon the past experiences of another, then this book is for you. Browse through the pages and look for inspiration, or follow the plans to a tee for an exceptional psaltery. And just maybe, my swan song will rise from the bow of your psaltery.
Introduction: The Builder’s Philosophy
Before we start out, we ought to define what exactly we are trying to accomplish. We are attempting to build a particular musical instrument: a bowed psaltery. As with anything, we’ll have our own idea as to just what this instrument should sound like.
One of the questions that I get asked often is, “what’s the best kind if wood to use for a bowed psaltery?” My answer is almost always, “it depends…” Everyone has different preferences and ideals as to what their bowed psaltery should sound like: some want a deep, sustaining ring, while others would describe such an instrument as sounding “muddy” and would prefer one with a more clean and mellow sound. Different strokes for different folks.
But if it’s all relative, then what’s the art in luthiere? If there is no good and bad, just differences in how people perceive each sound, what is the point of this book, and the advanced techniques that we’ll be examining?
The answer is twofold: first of all, while some sound and tone is relative, there are also many absolutes. Musical tones are not just a random smattering of sound, with no innate appeal tugging within us. Despite our individual preferences, some things will always be superior for our purposes. A string tensioned to 60% of its breaking point will always sound better than a string that is bowed at 20% of its breaking point; a properly hollowed pinblock will always have better tone than just a solid chunk of hardwood; a thinner top (within reason) will always be more responsive than a very thick top made of the same material.
And so with these absolutes learned and applied, that will bring us to the second point of this book: to apply knowledge to create a psaltery that perfectly fits a given preference. Let us suppose that you have a preference for an instrument with a lot of sustain, and a bright, ringing tone: with this information, we are able to assemble a psaltery with the woods and materials that will best fit these needs.
Throughout the building chapters in this book, you will see this building principle applied and explained as it trickles down and is used in nearly every aspect of the construction phase. With this knowledge applied, we’ll be able to create the perfect instrument for a given preference: or as I have called it in my psaltery making days, a phantasy psaltery.
Chapter 1: Gathering the Supplies
It’s recommended that you read through this entire book completely and have a clear grasp of the overall project before you go out and buy any of the wood, parts, or tools necessary to finish the job. Nonetheless, in order to give you a general overview of the tools and materials needed for this project, I’ve made an overall list of things you’ll need.
Wood:
Soundboard: made from two bookmatched pieces of quartersawn softwood, approximately 24″ x 4″ x 1/4″ each, for a total size of 24″ x 8″ x 1/4″, in rough form.
Back: made from two bookmatched pieces of hardwood, approximately 24″ x 4″ x 1/4″ each, for a total size of 24″ x 8″ x 1/4″, in rough form.
I don’t really feel like finishing this chapter right now…
Supplies
Tools
Chapter 2: The frame
Sides and side laminates
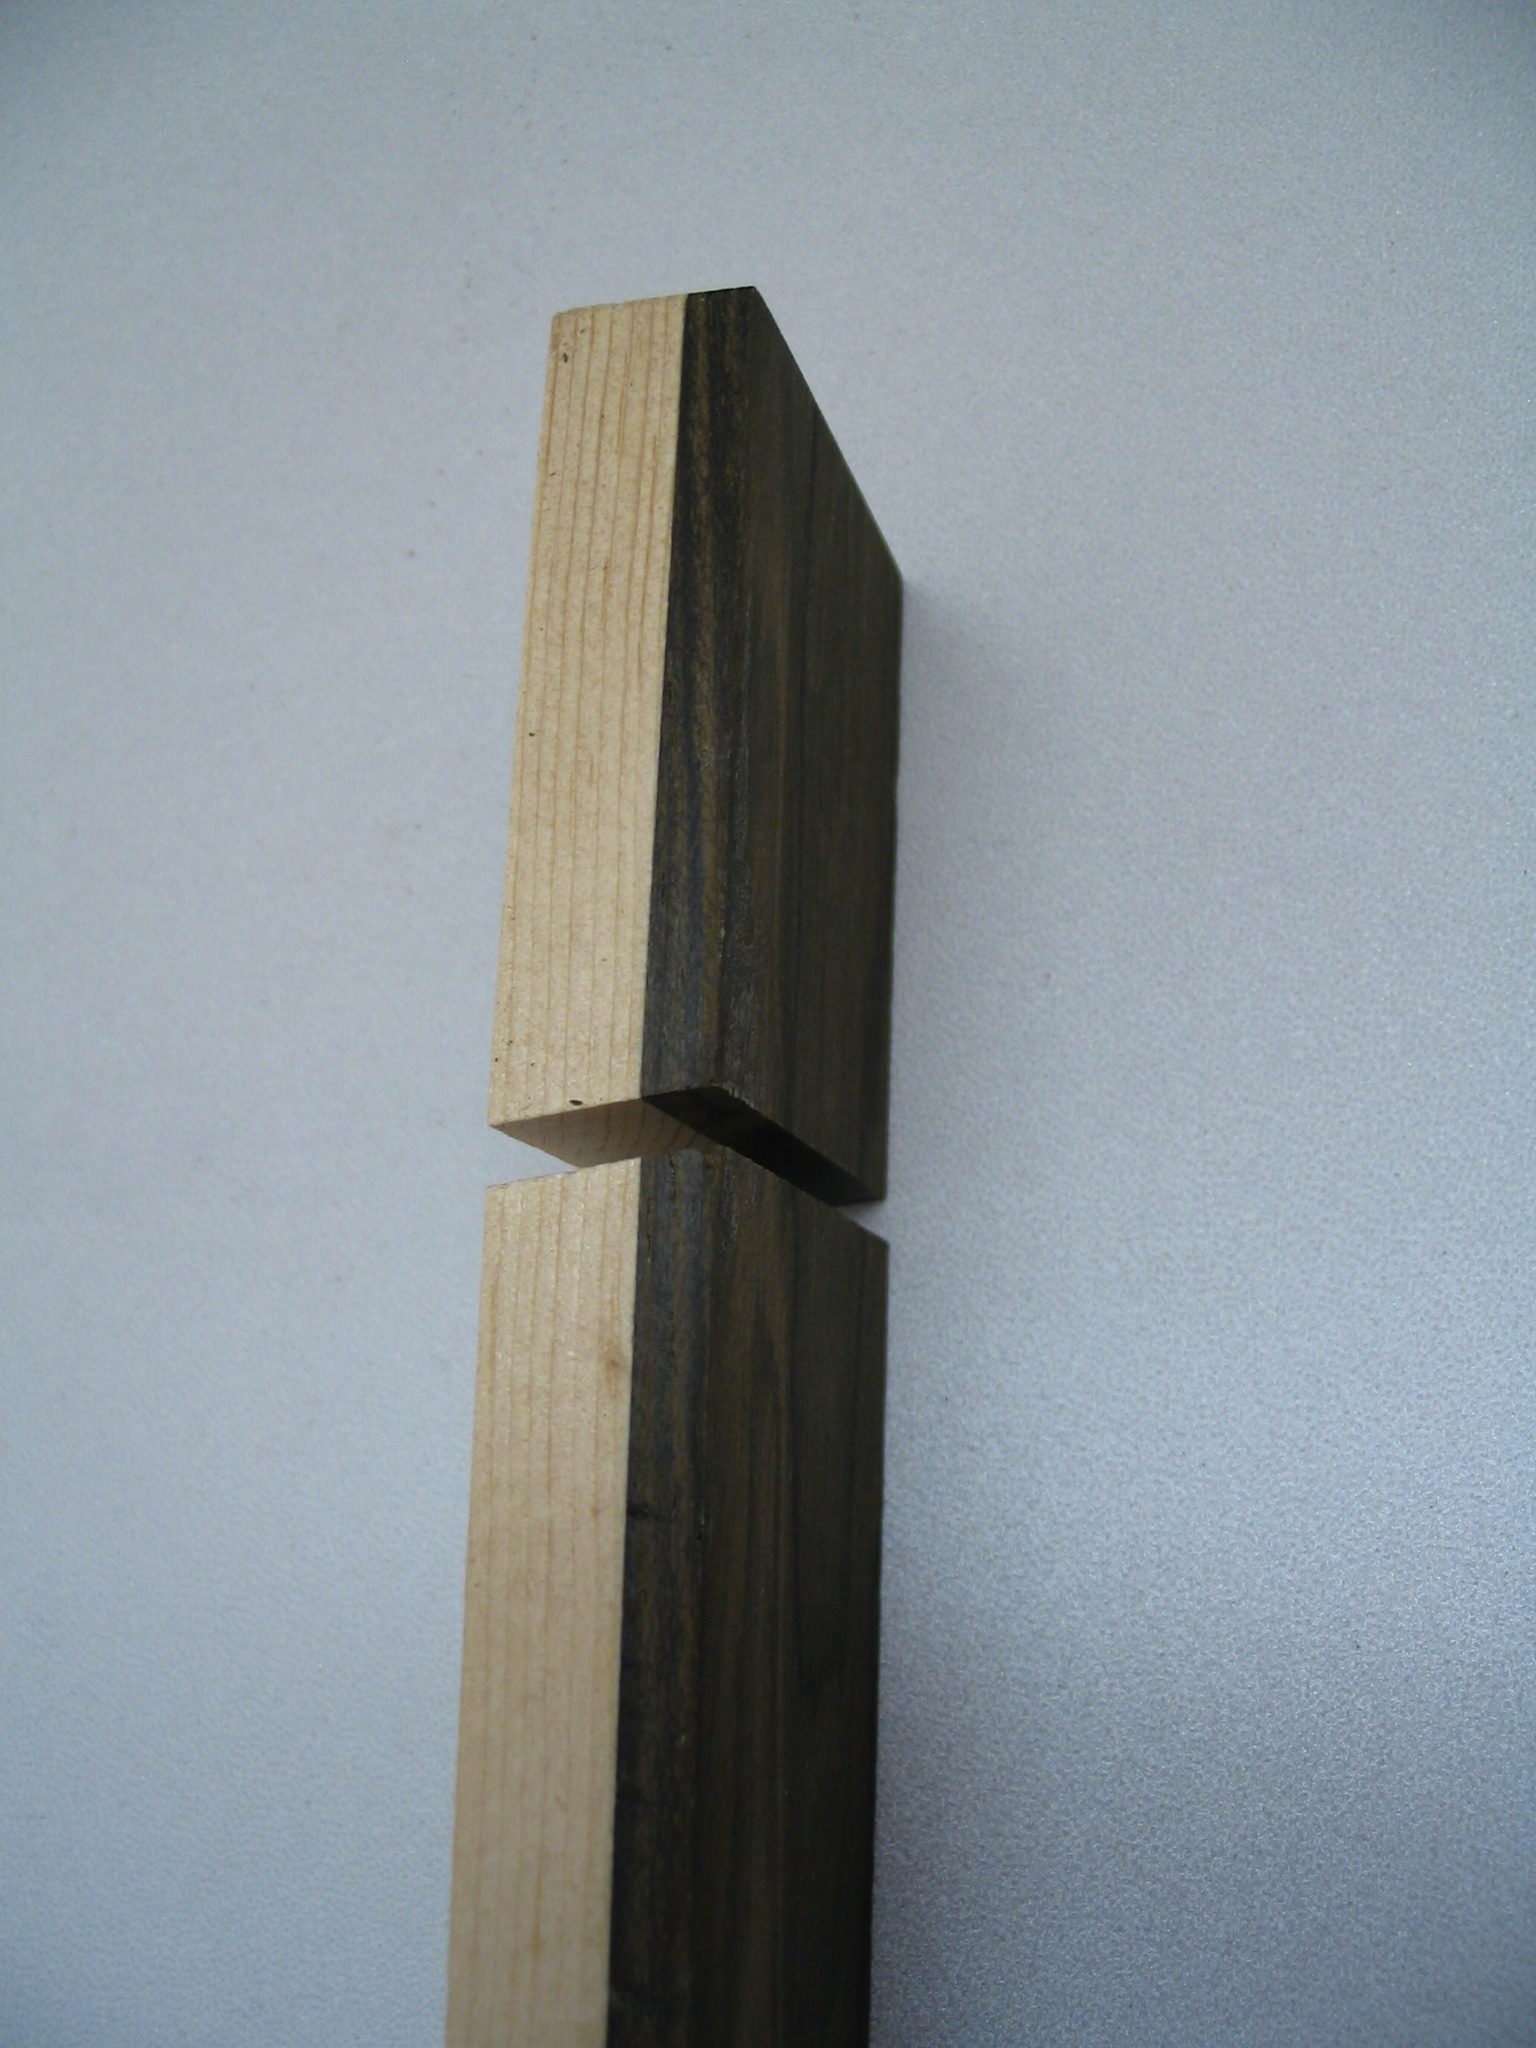
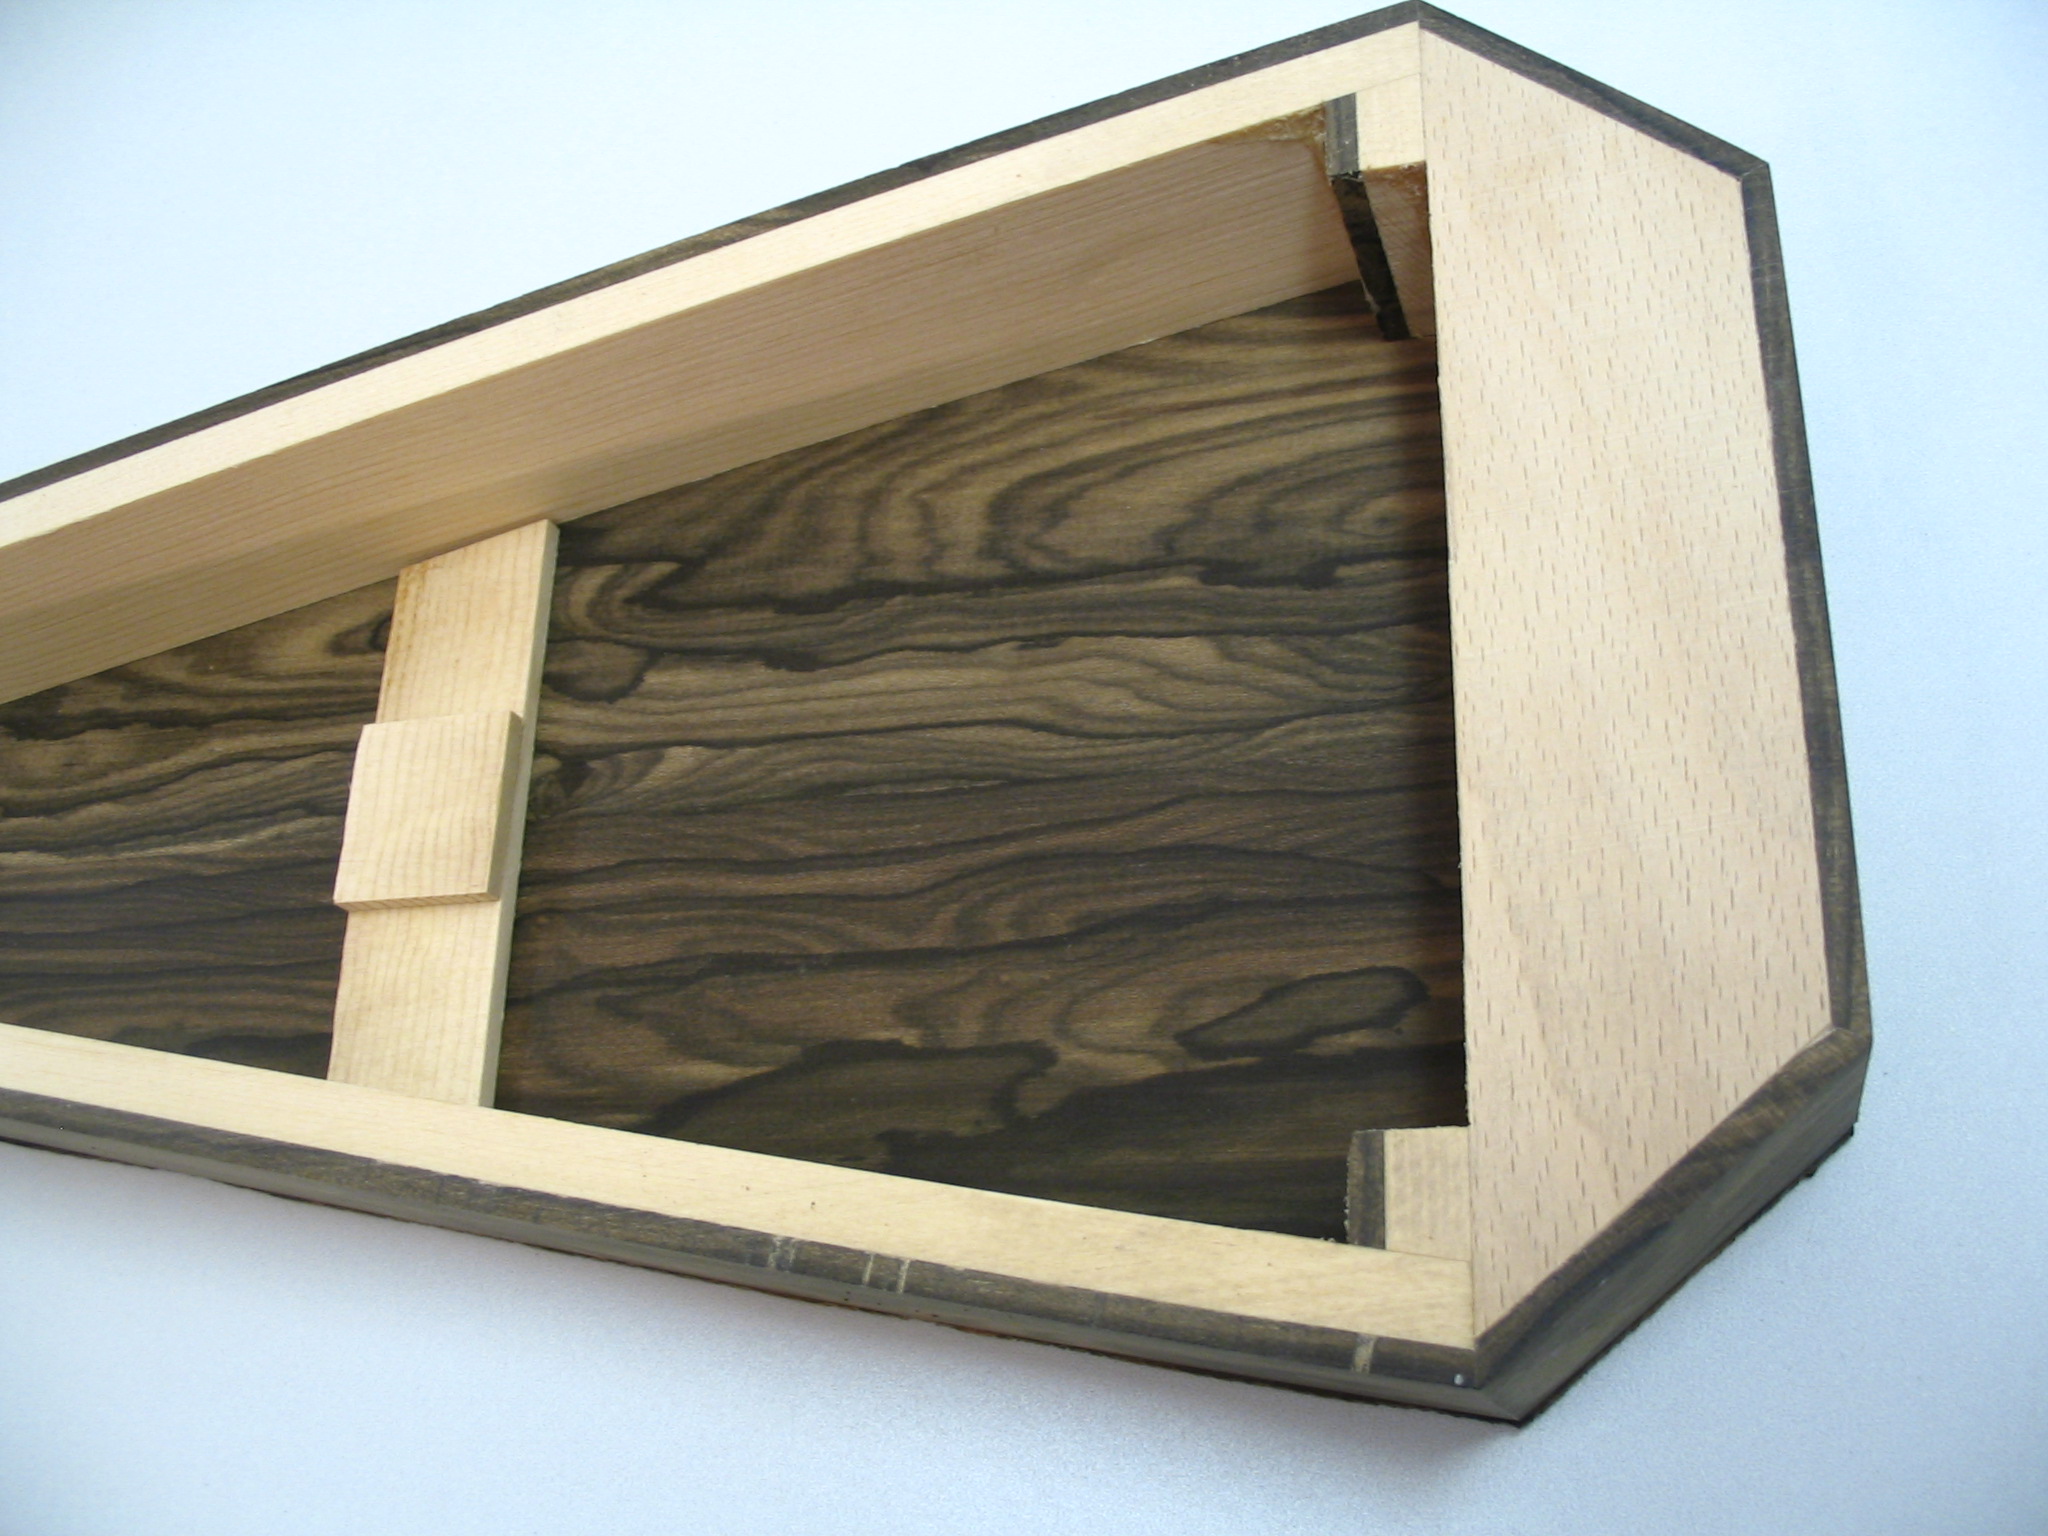
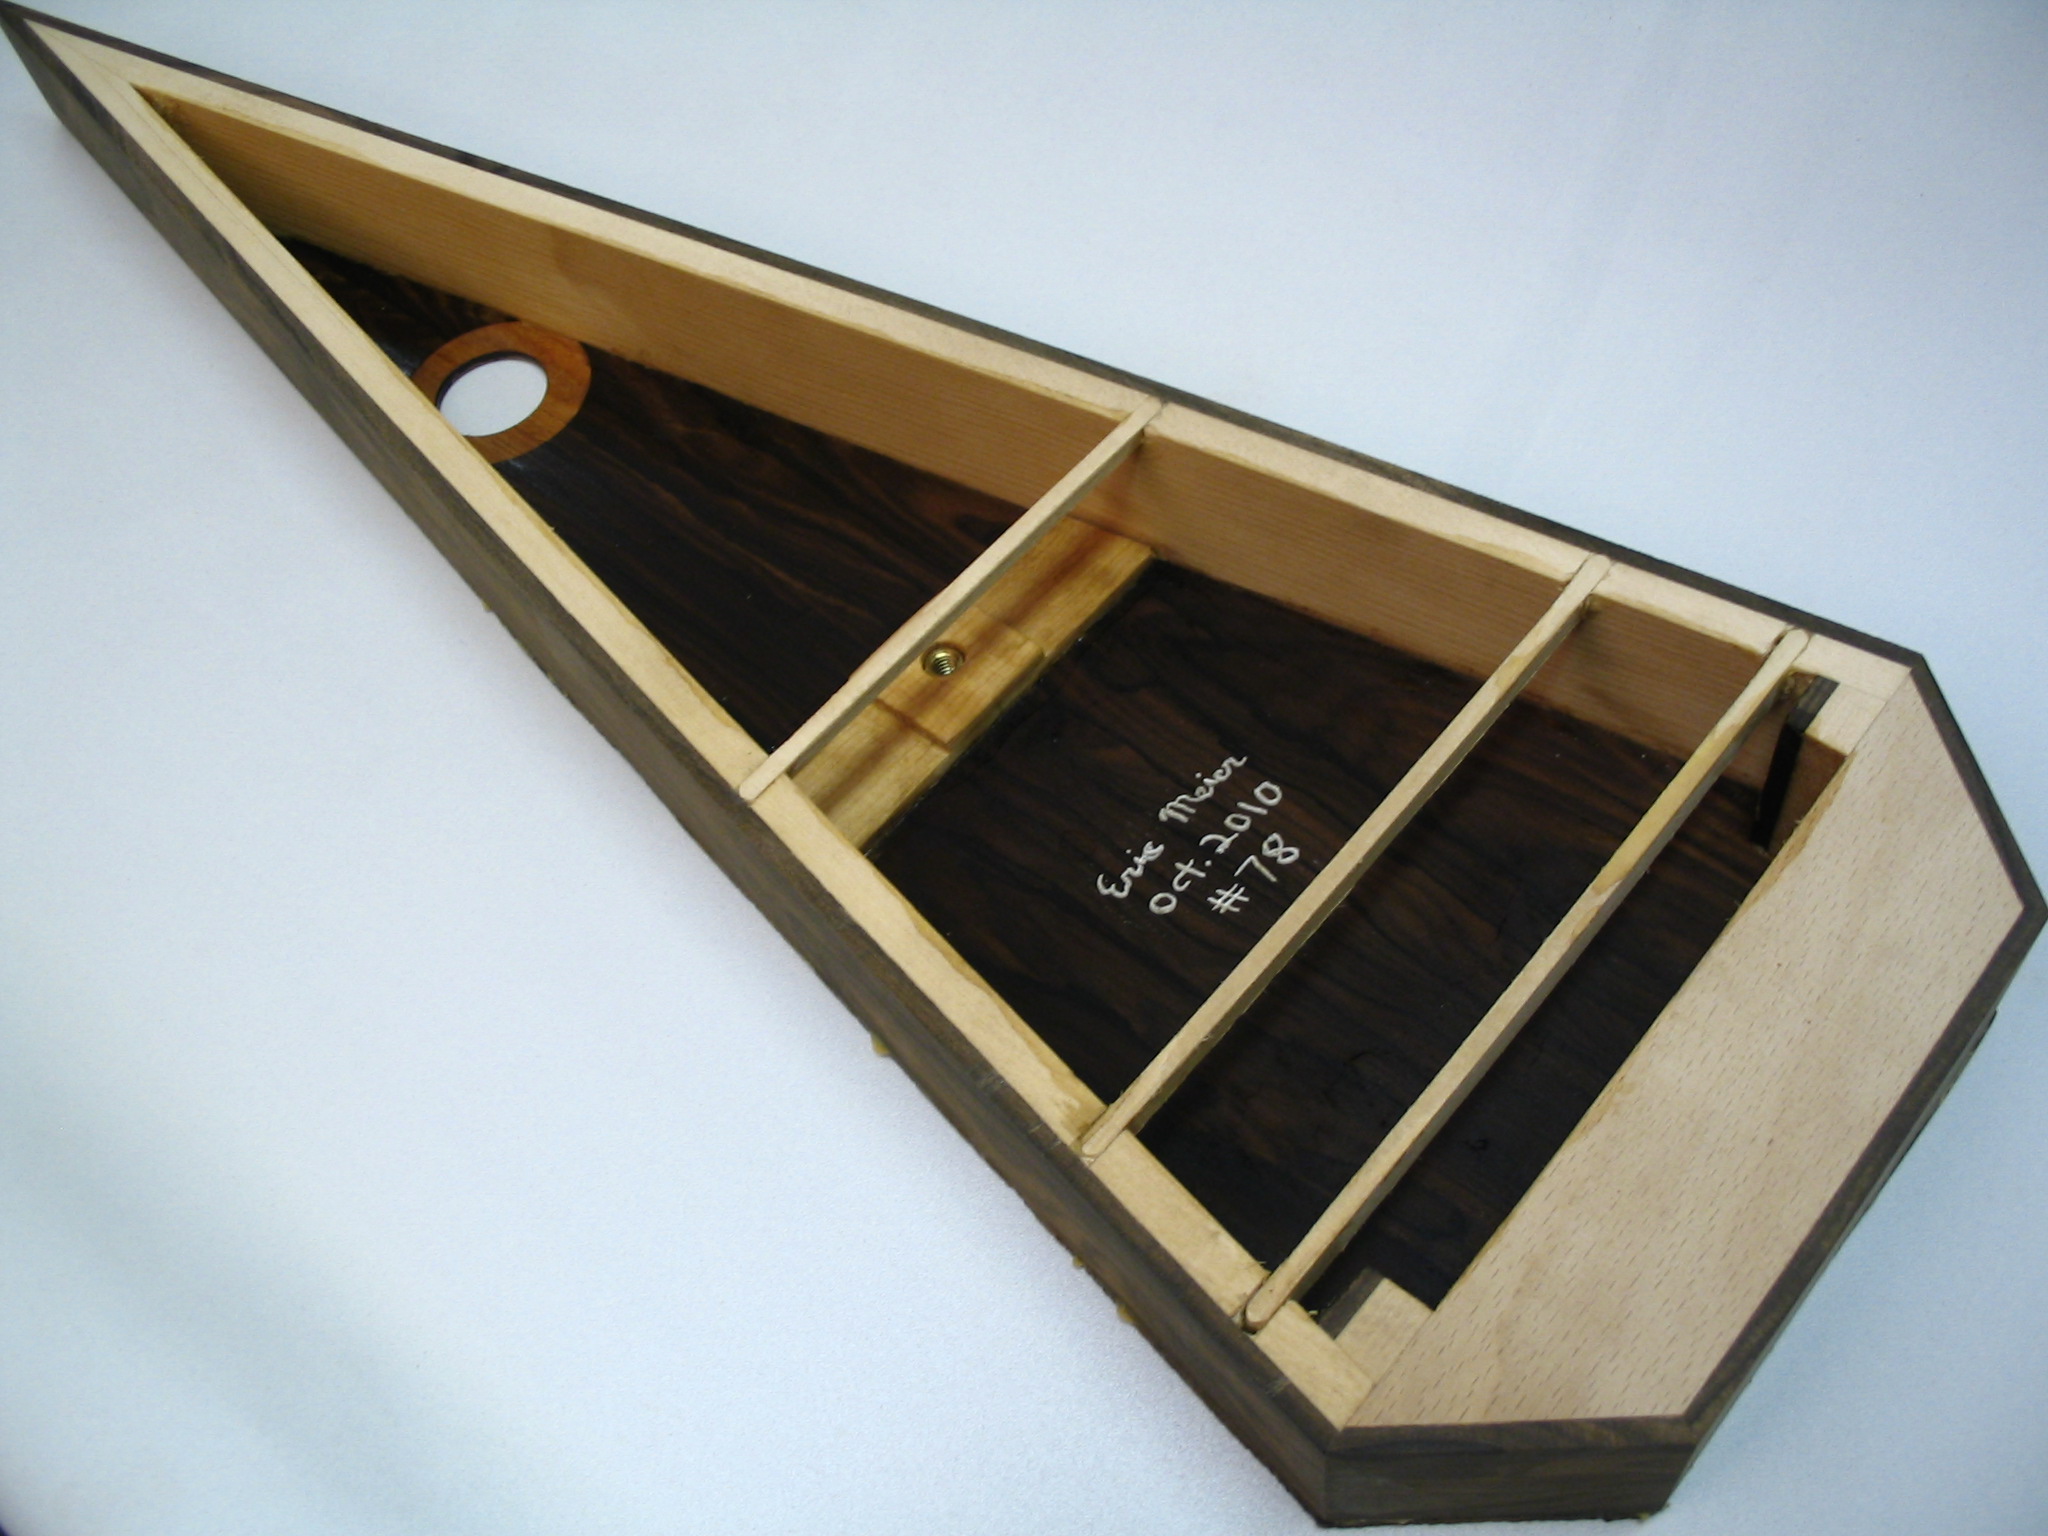
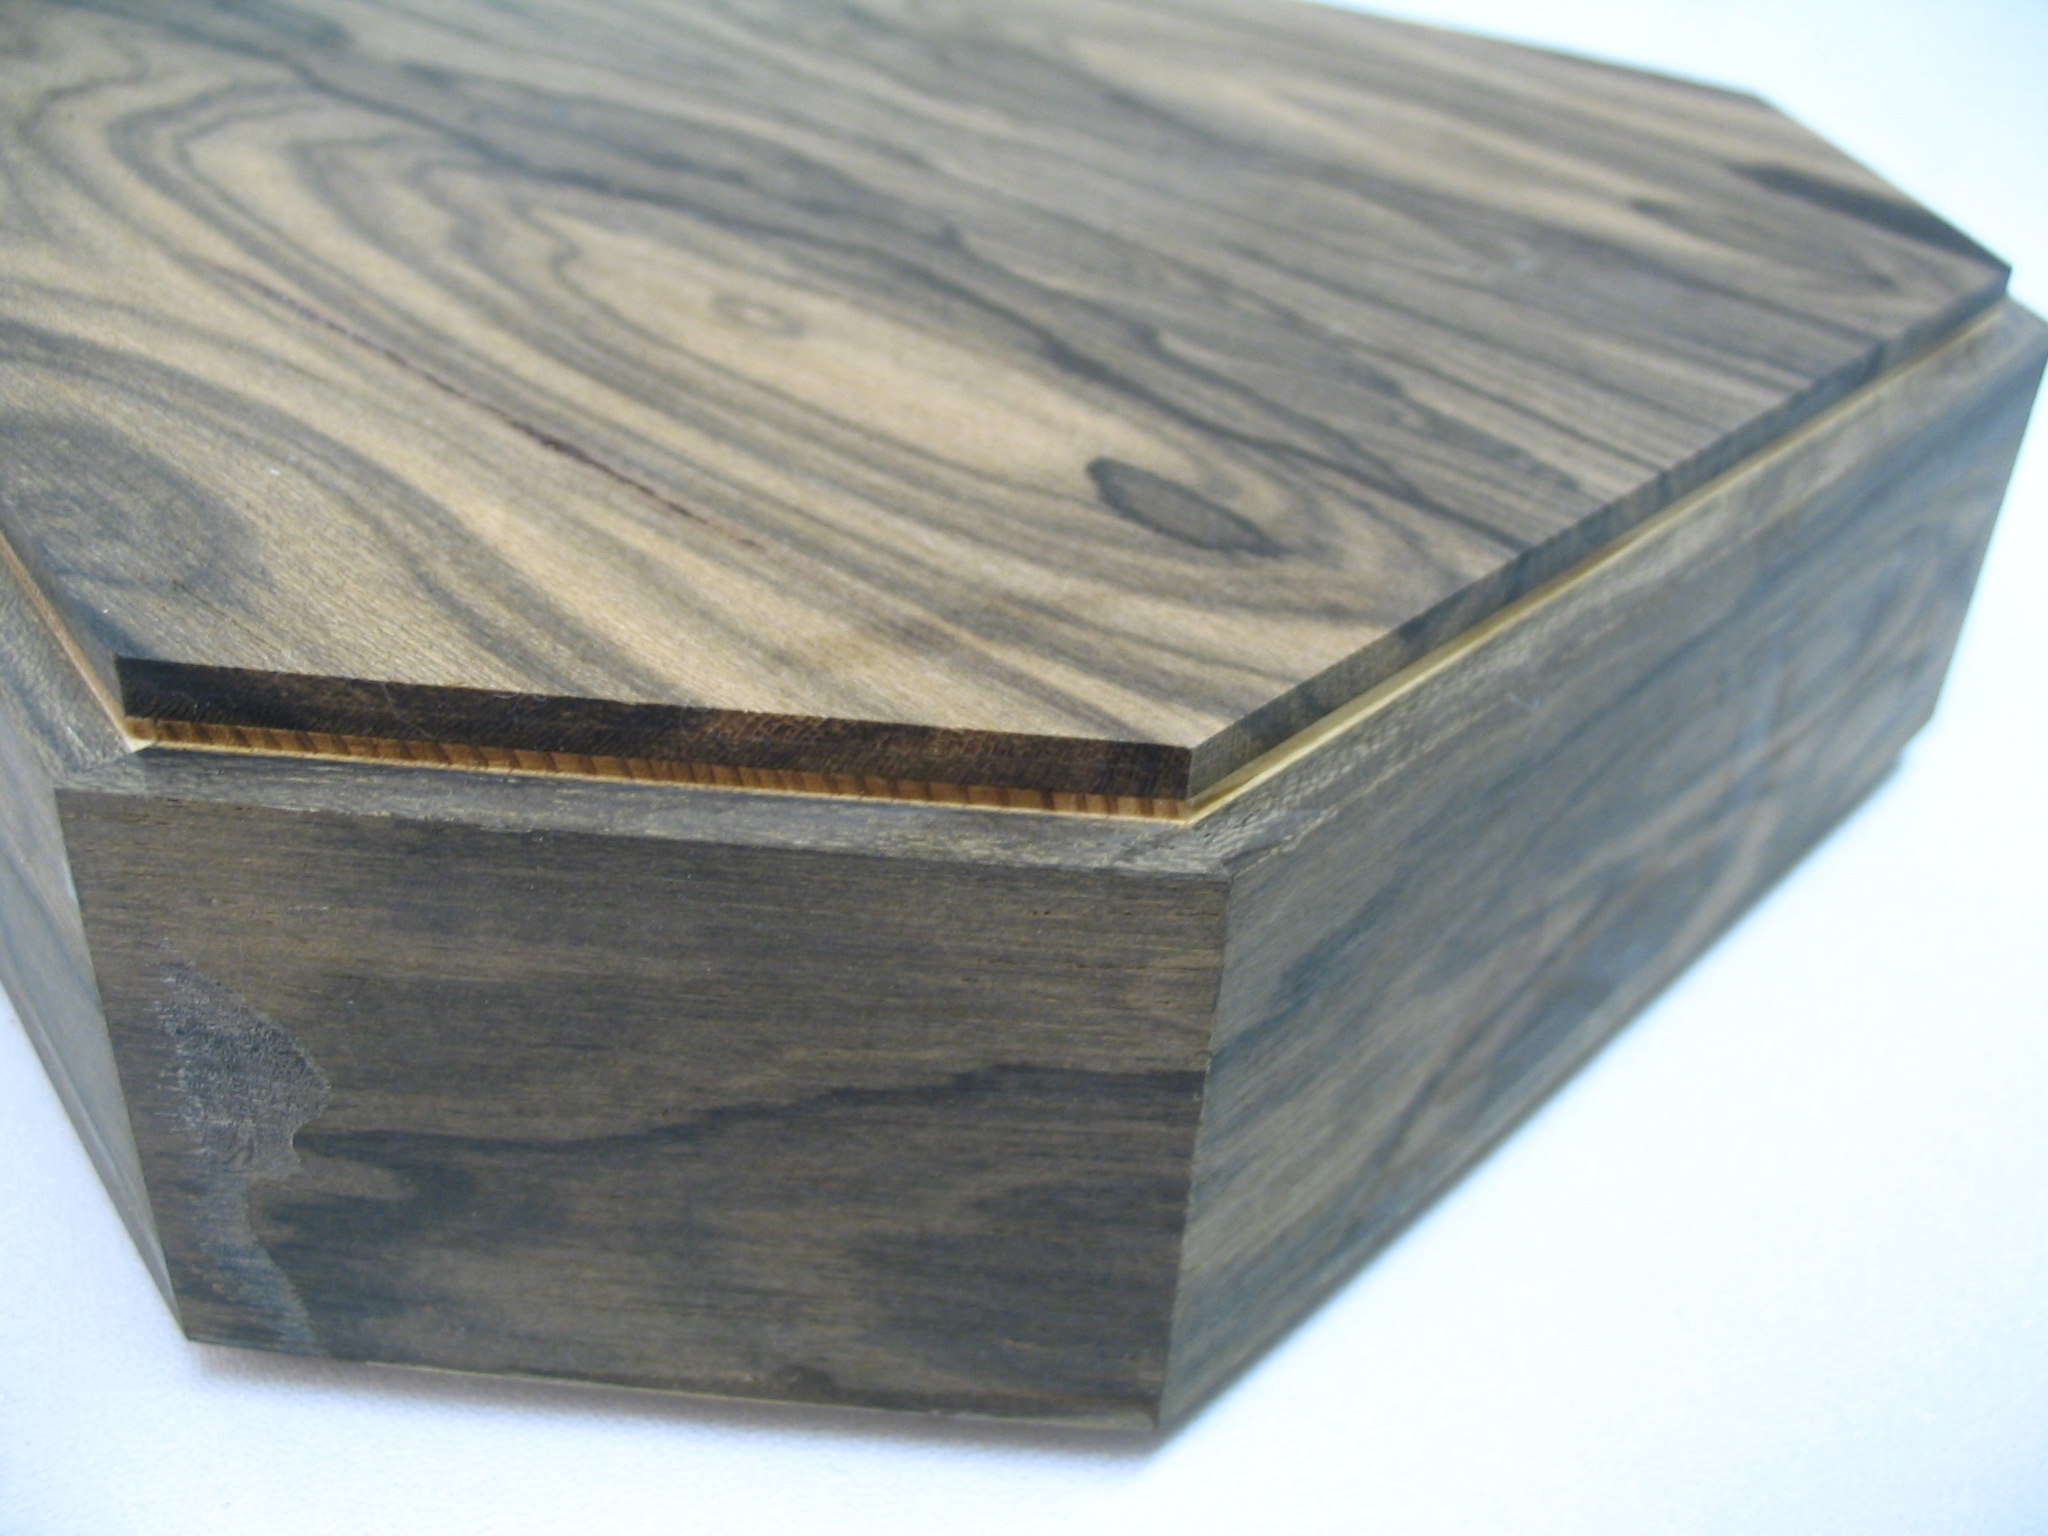
Most psalteries have typically been made with solid sides: that is, a single piece of hardwood used for each of the two sides. When compared to other wooden musical instruments, a psaltery’s side are considerably bulky and heavy. For instance, on a guitar or a violin, the sides are usually less than an eighth of am inch thick, having almost no contributing factor in the overall weight of the instrument. Yet on a bowed psaltery–and especially one with solid hardwood sides–the sides are usually between one half and three quarters of an inch thick. In this instance, the sides of the psaltery–along with the pinblock that forms the frame–play a substantial role in both the weight and the depth of time of the instrument.
The reason for this massive frame becomes apparent during the stringing phase: the frame must be both rigid enough to remain flat under several hundred pounds of tension, and also wide enough to accommodate the 3/16″ hitch pins with enough wood on each side to prevent splitting or deformation.
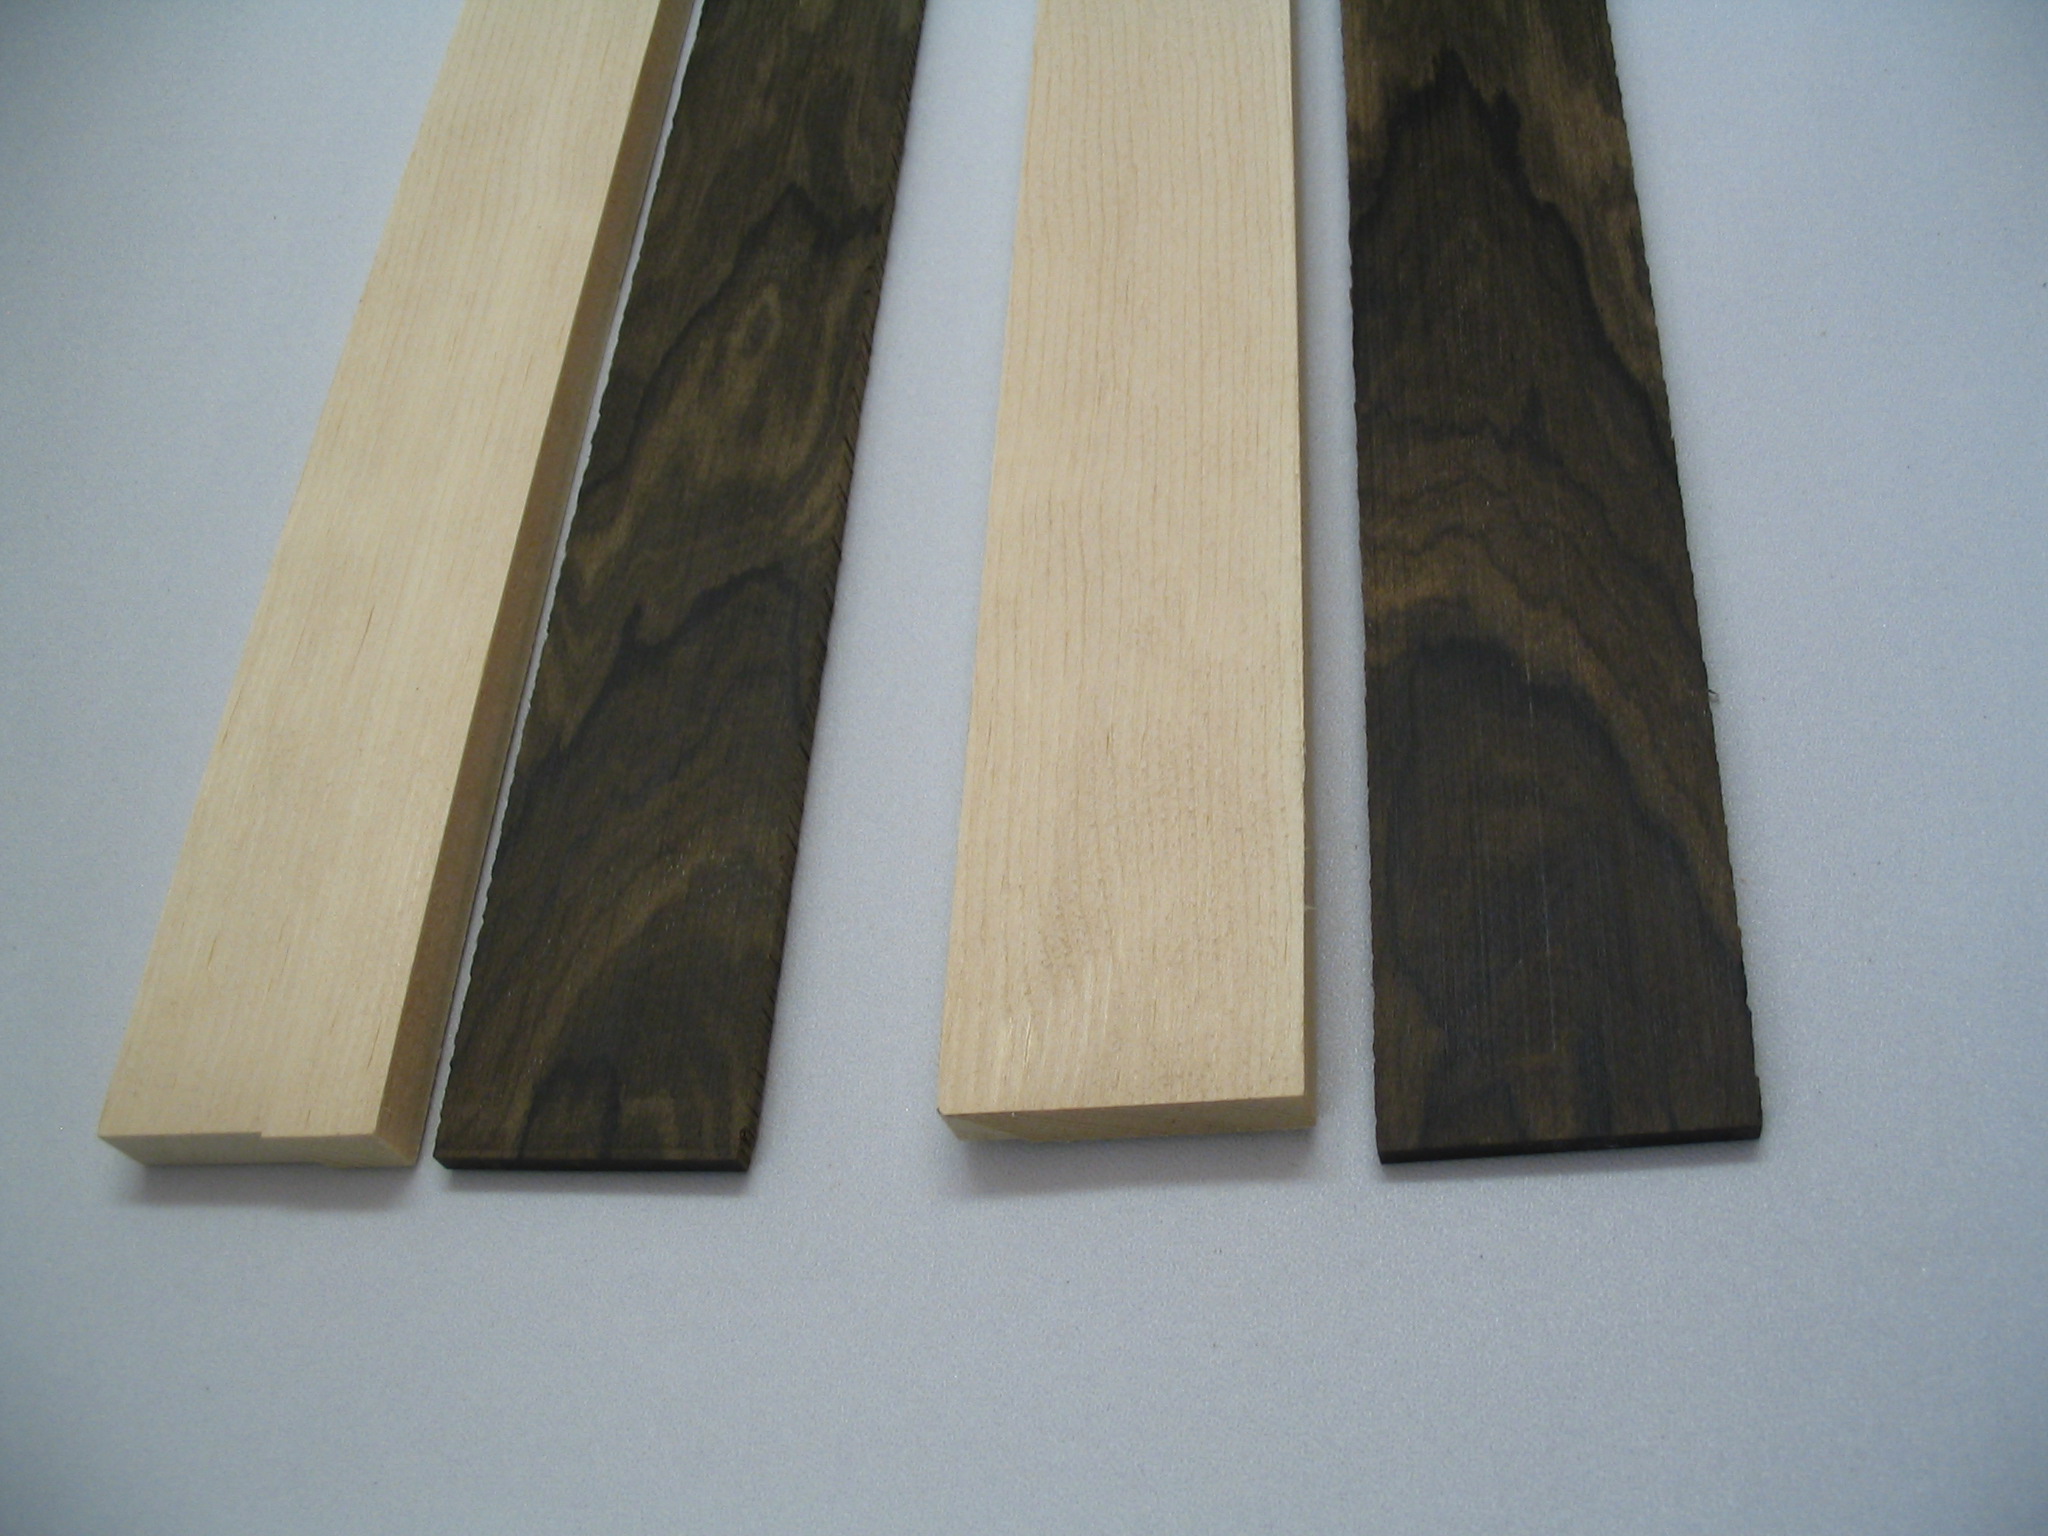
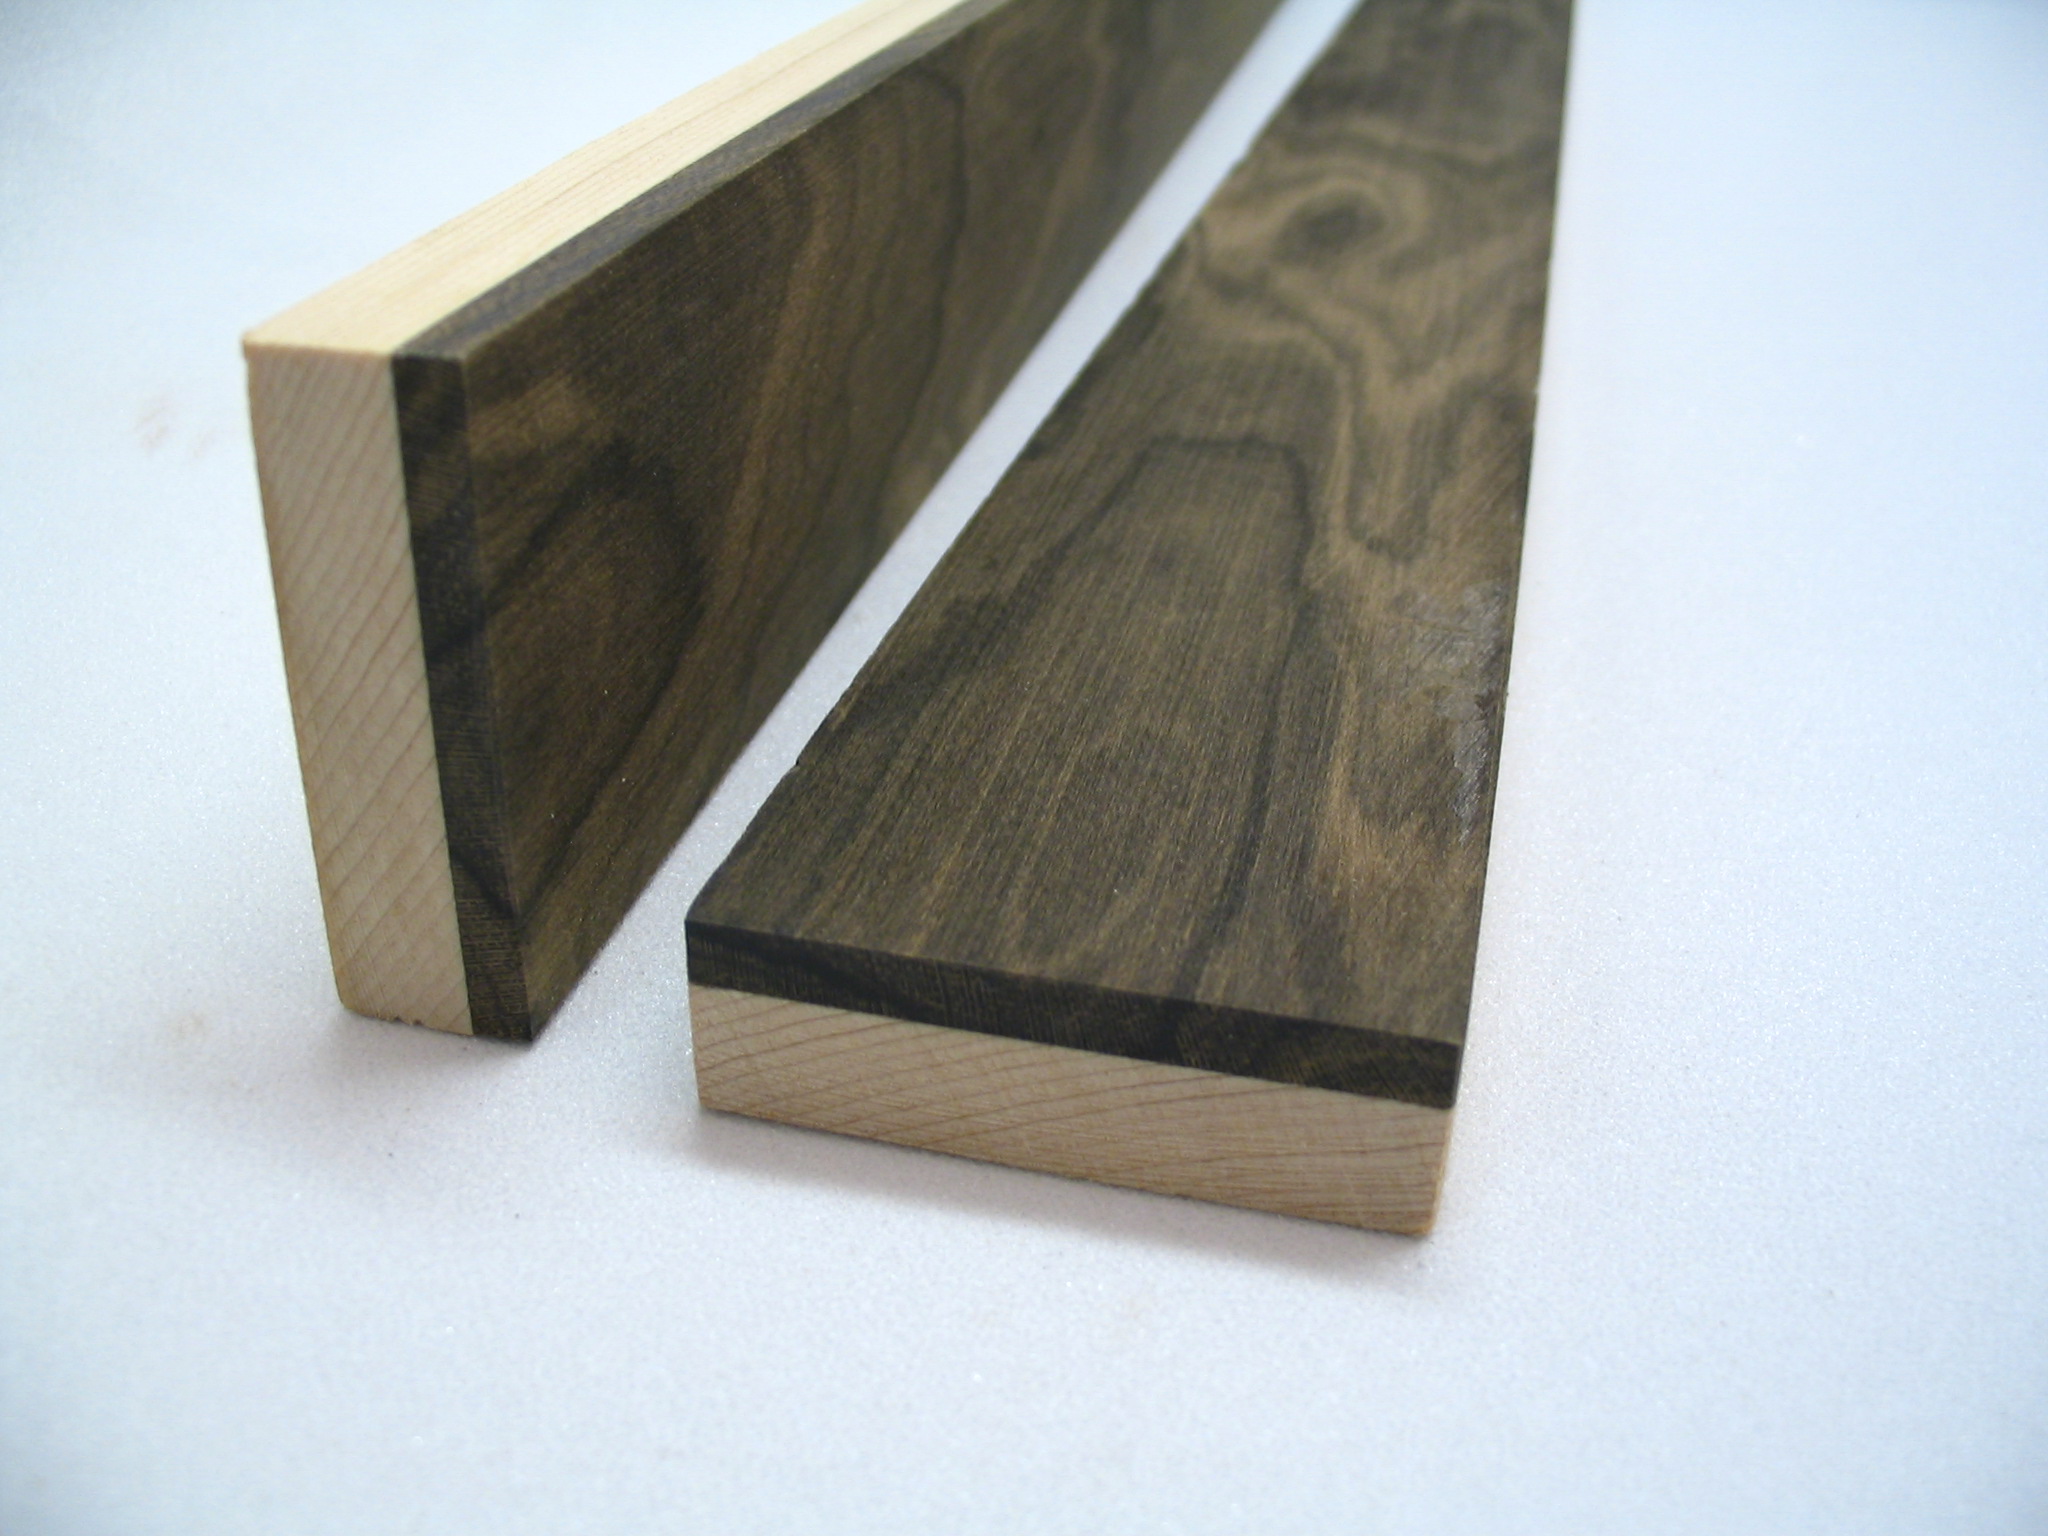
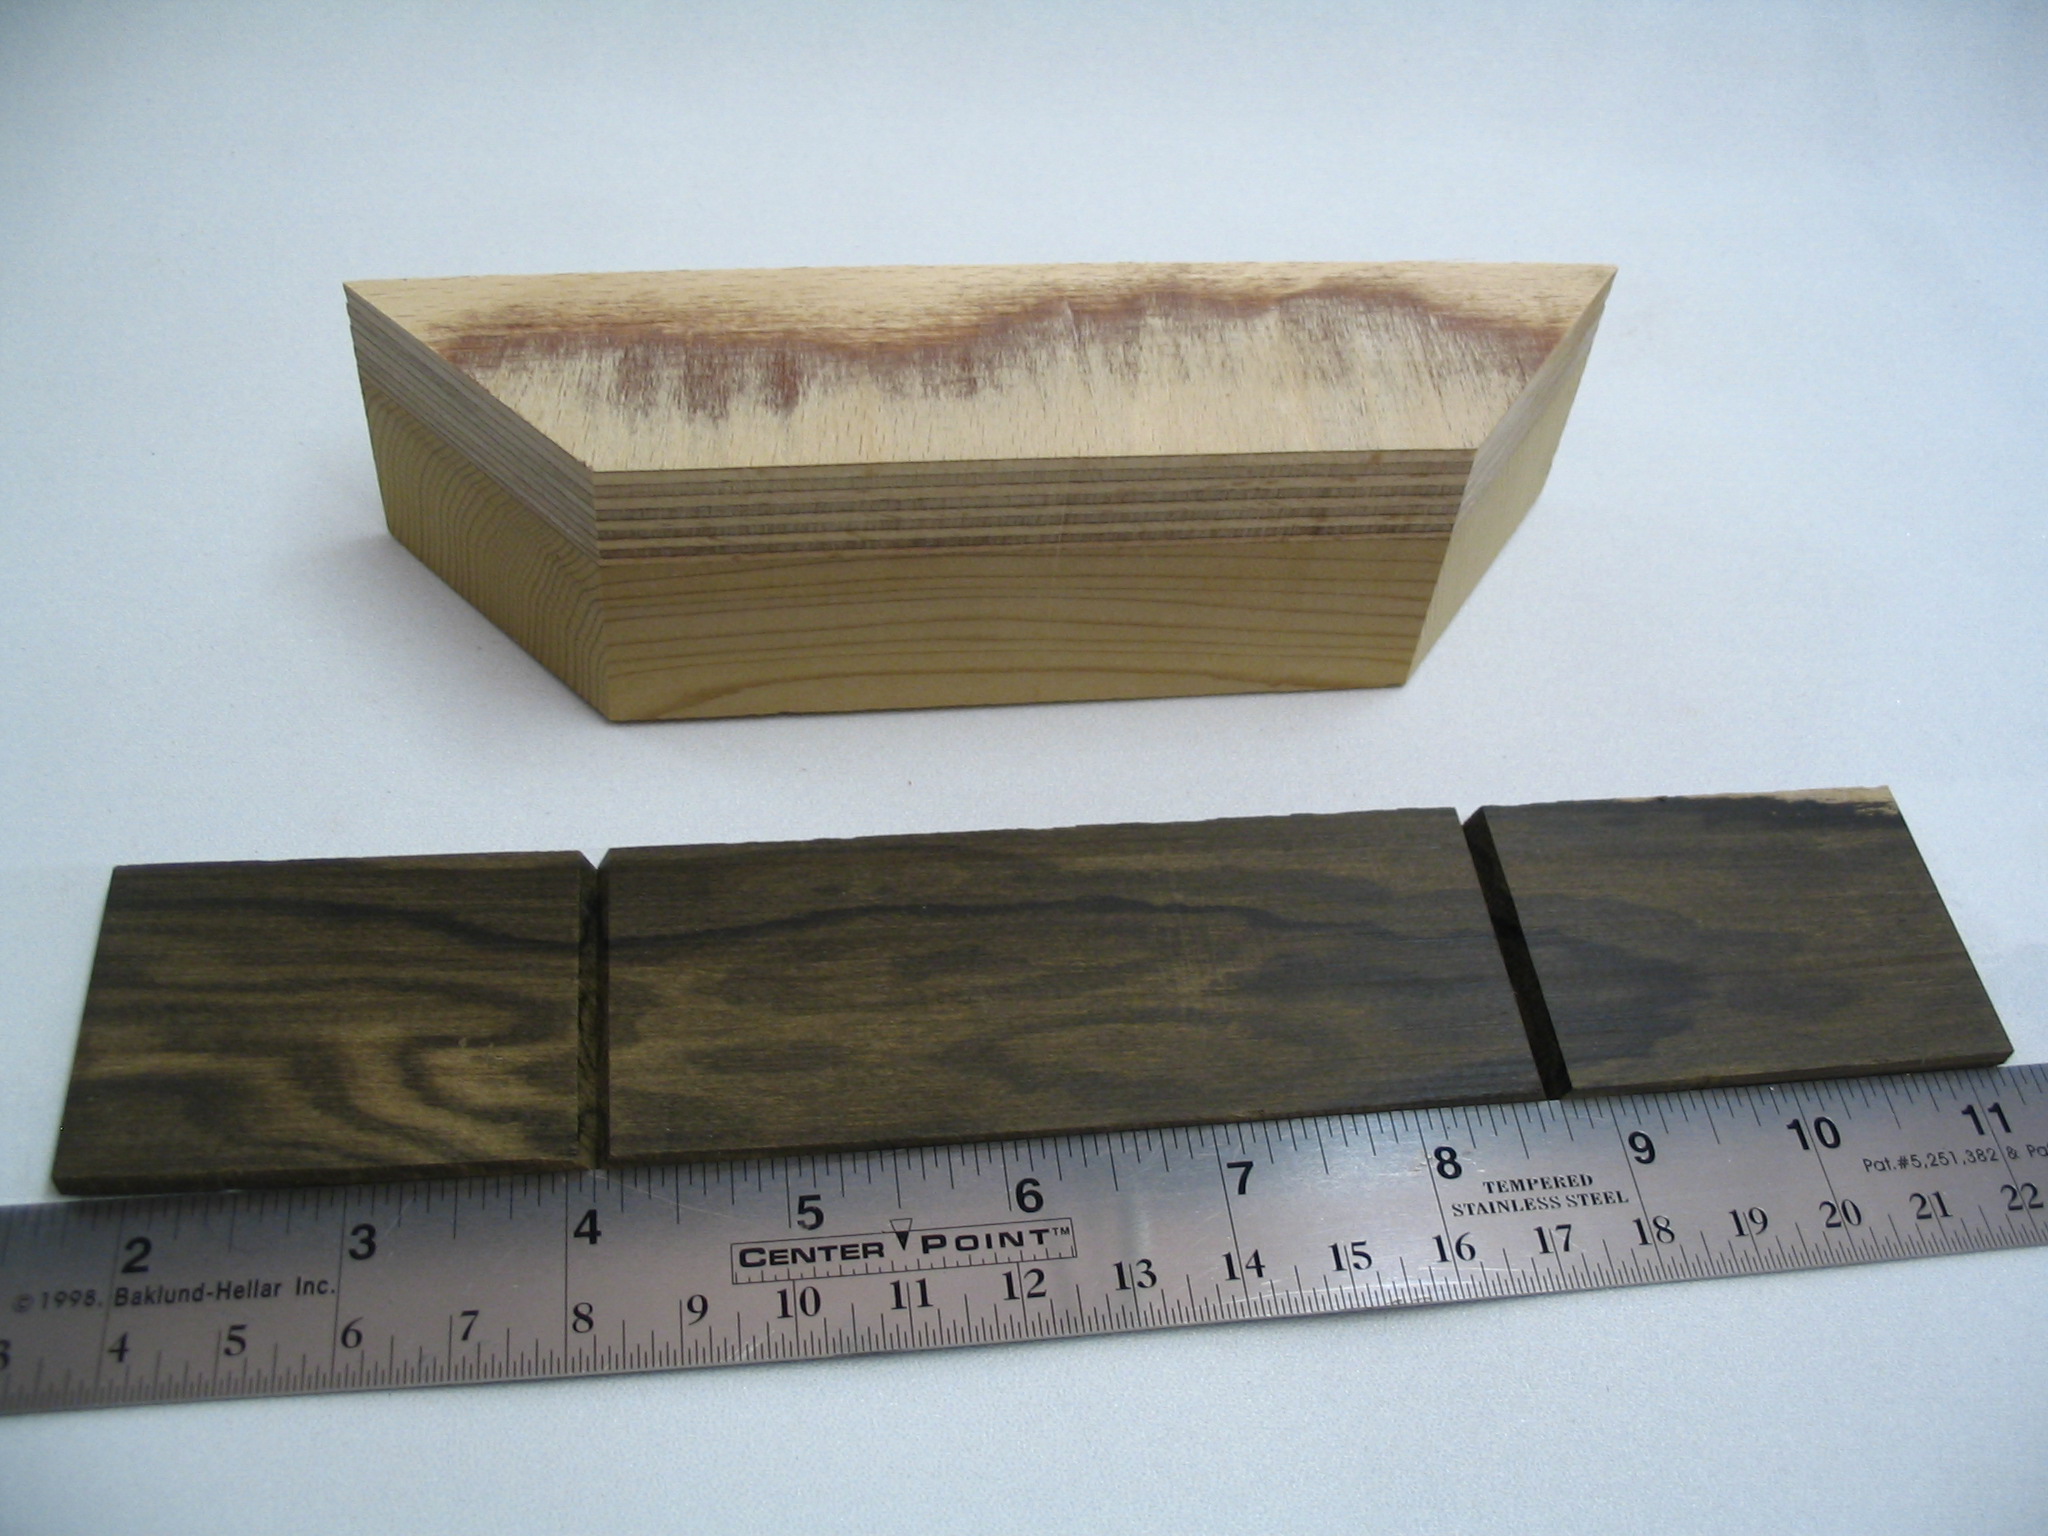
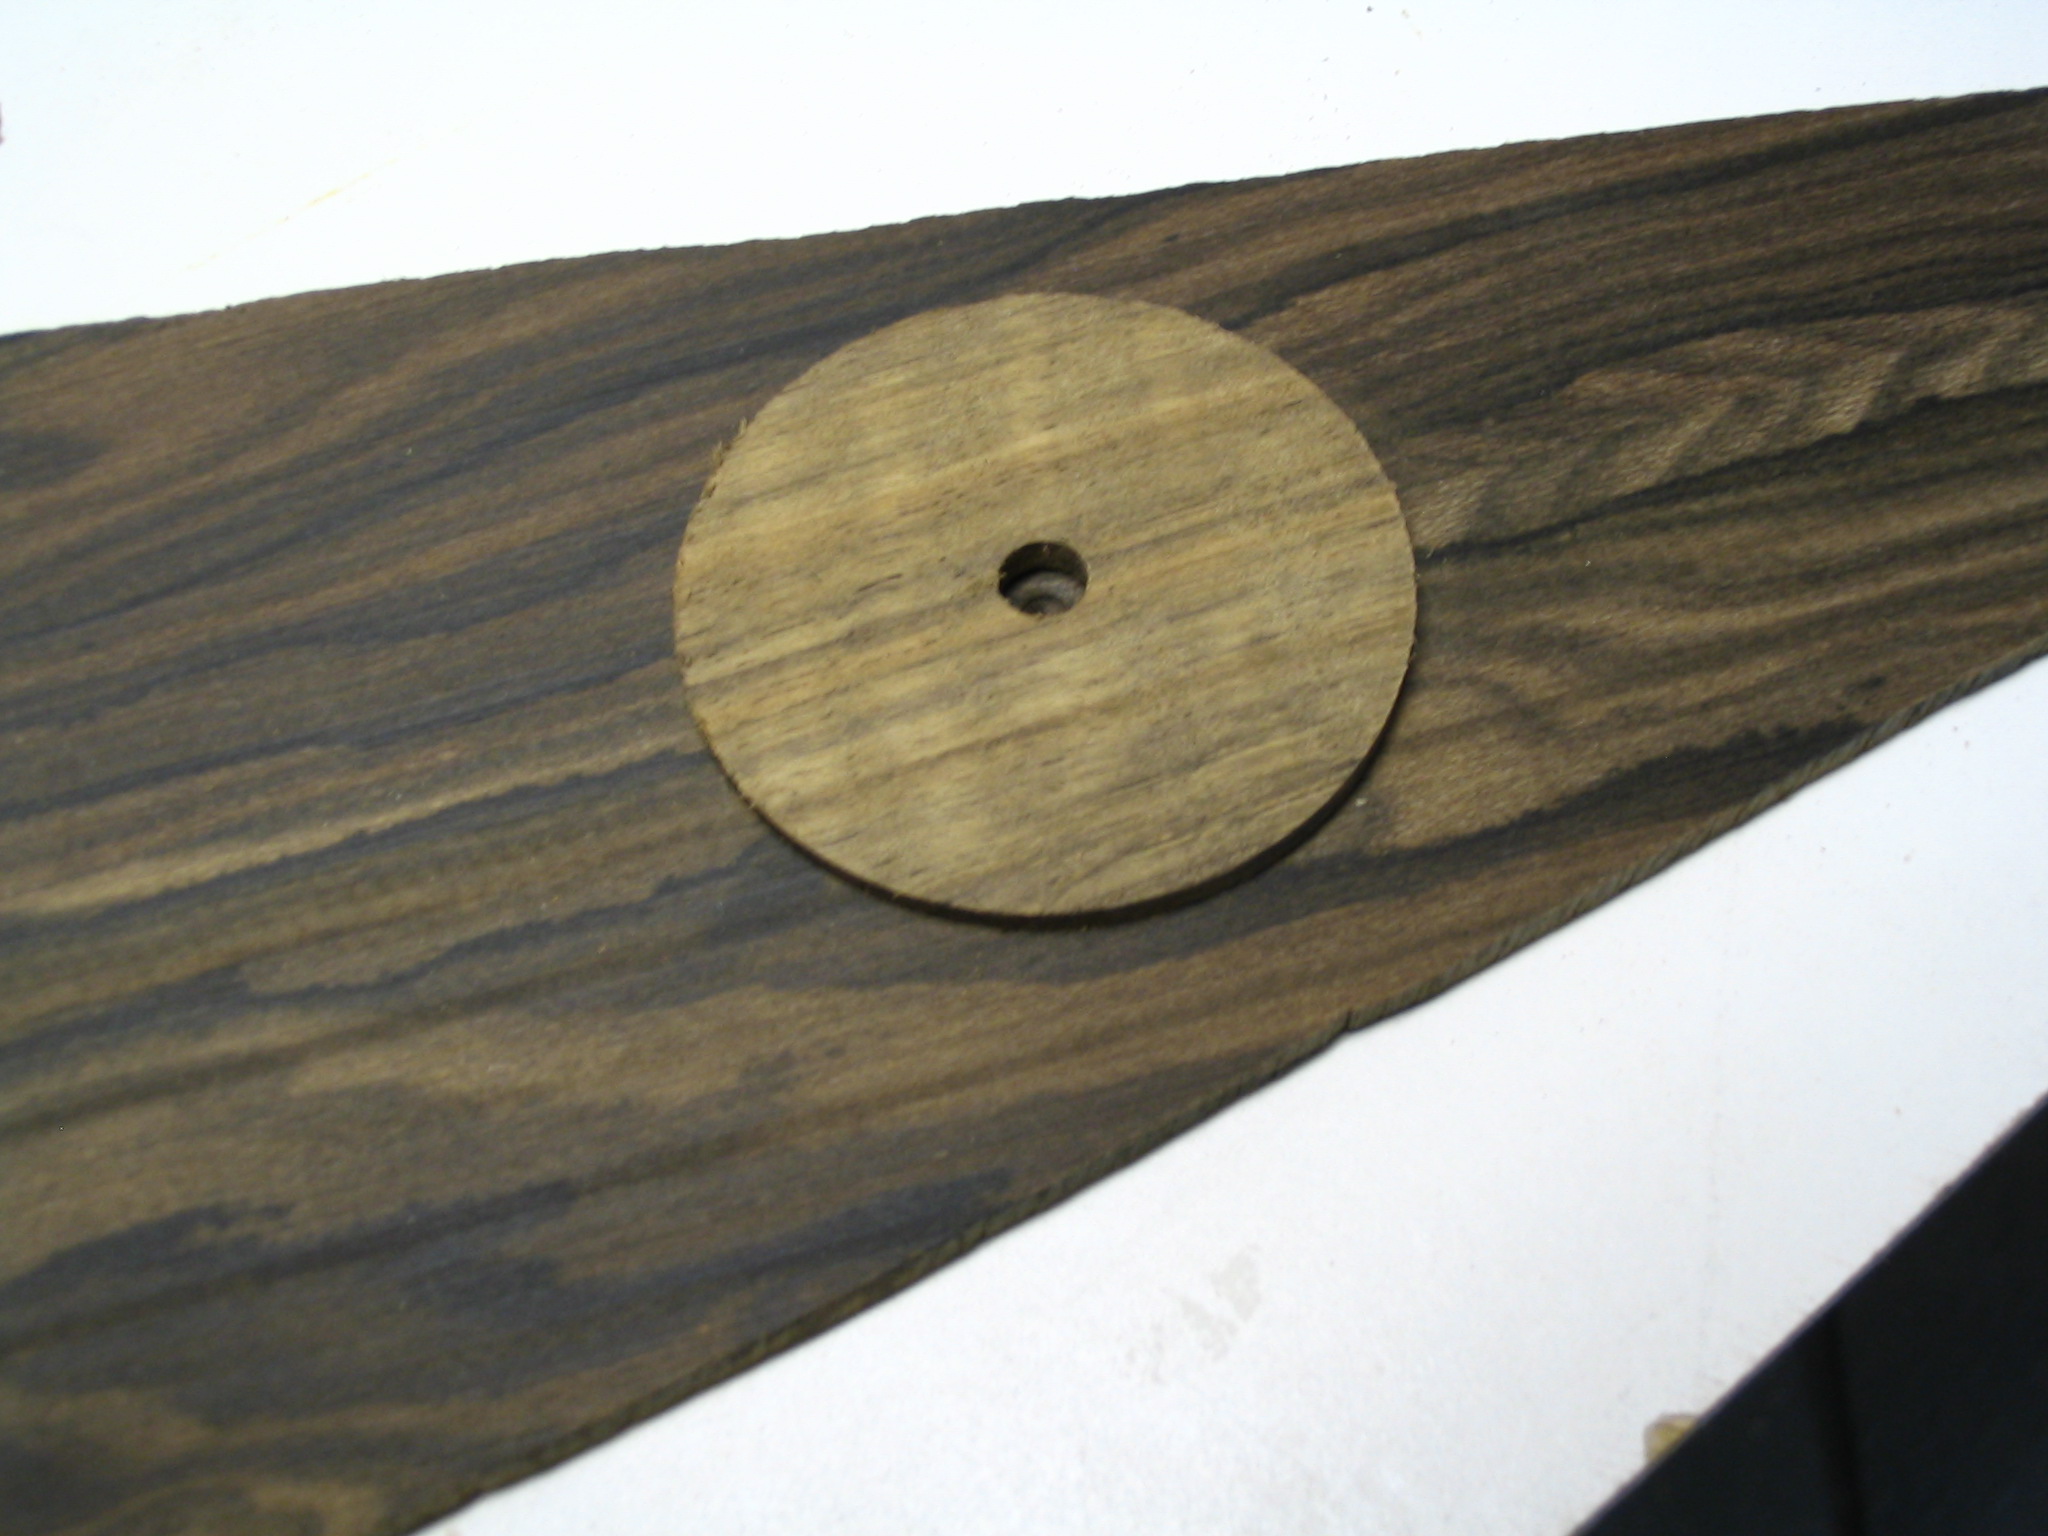
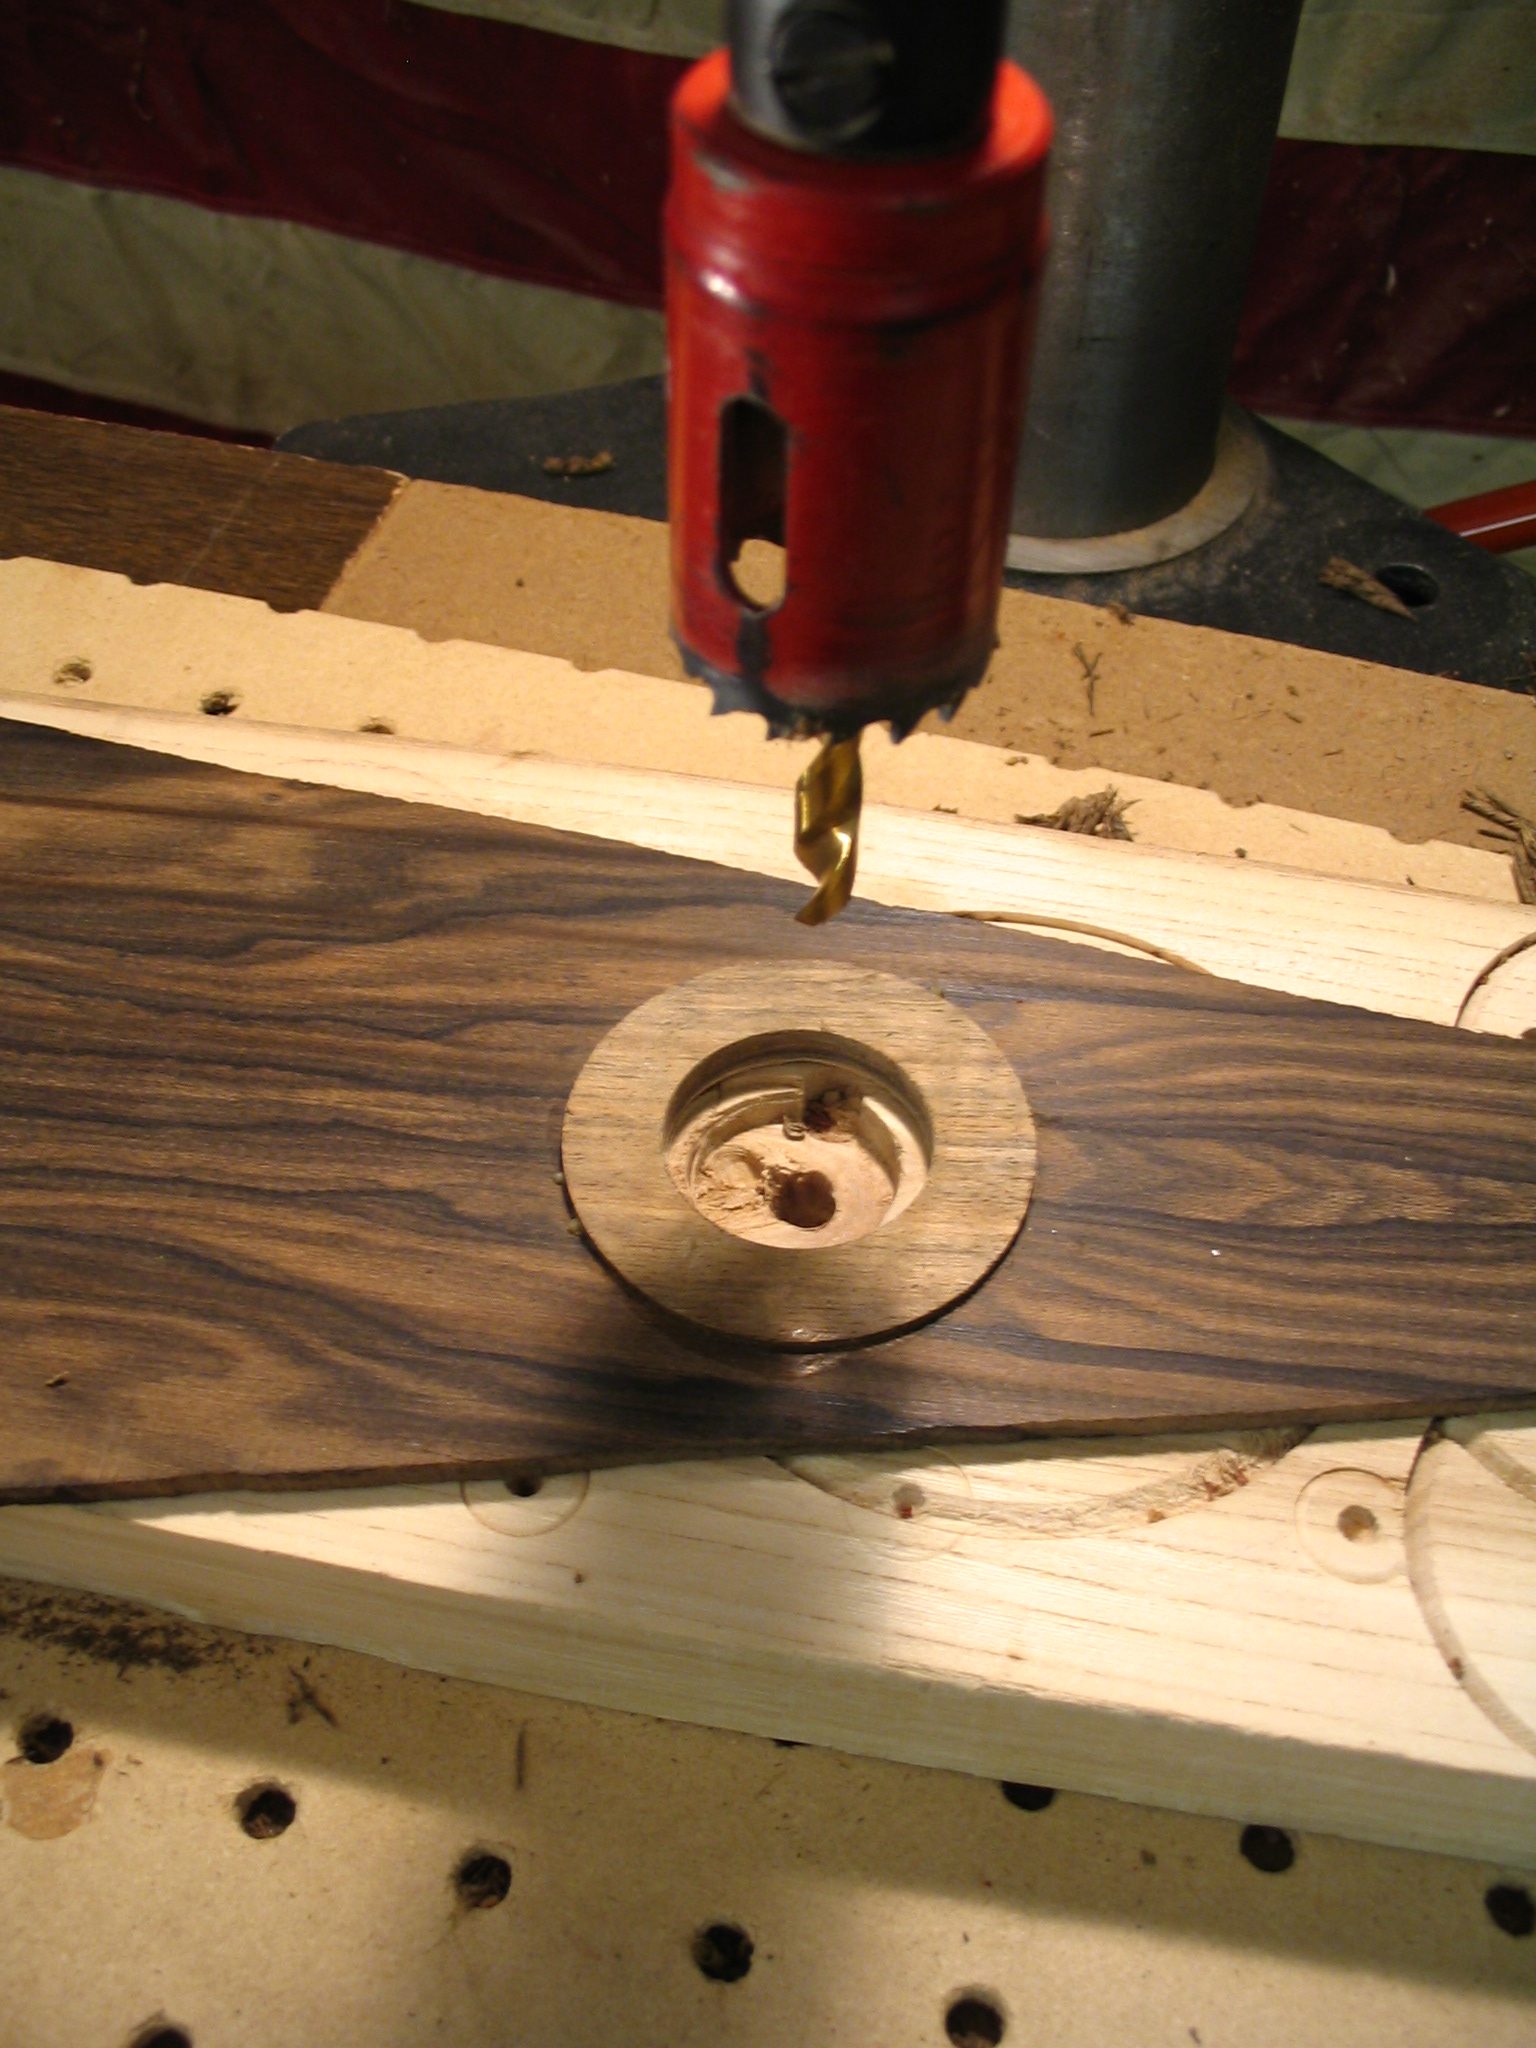
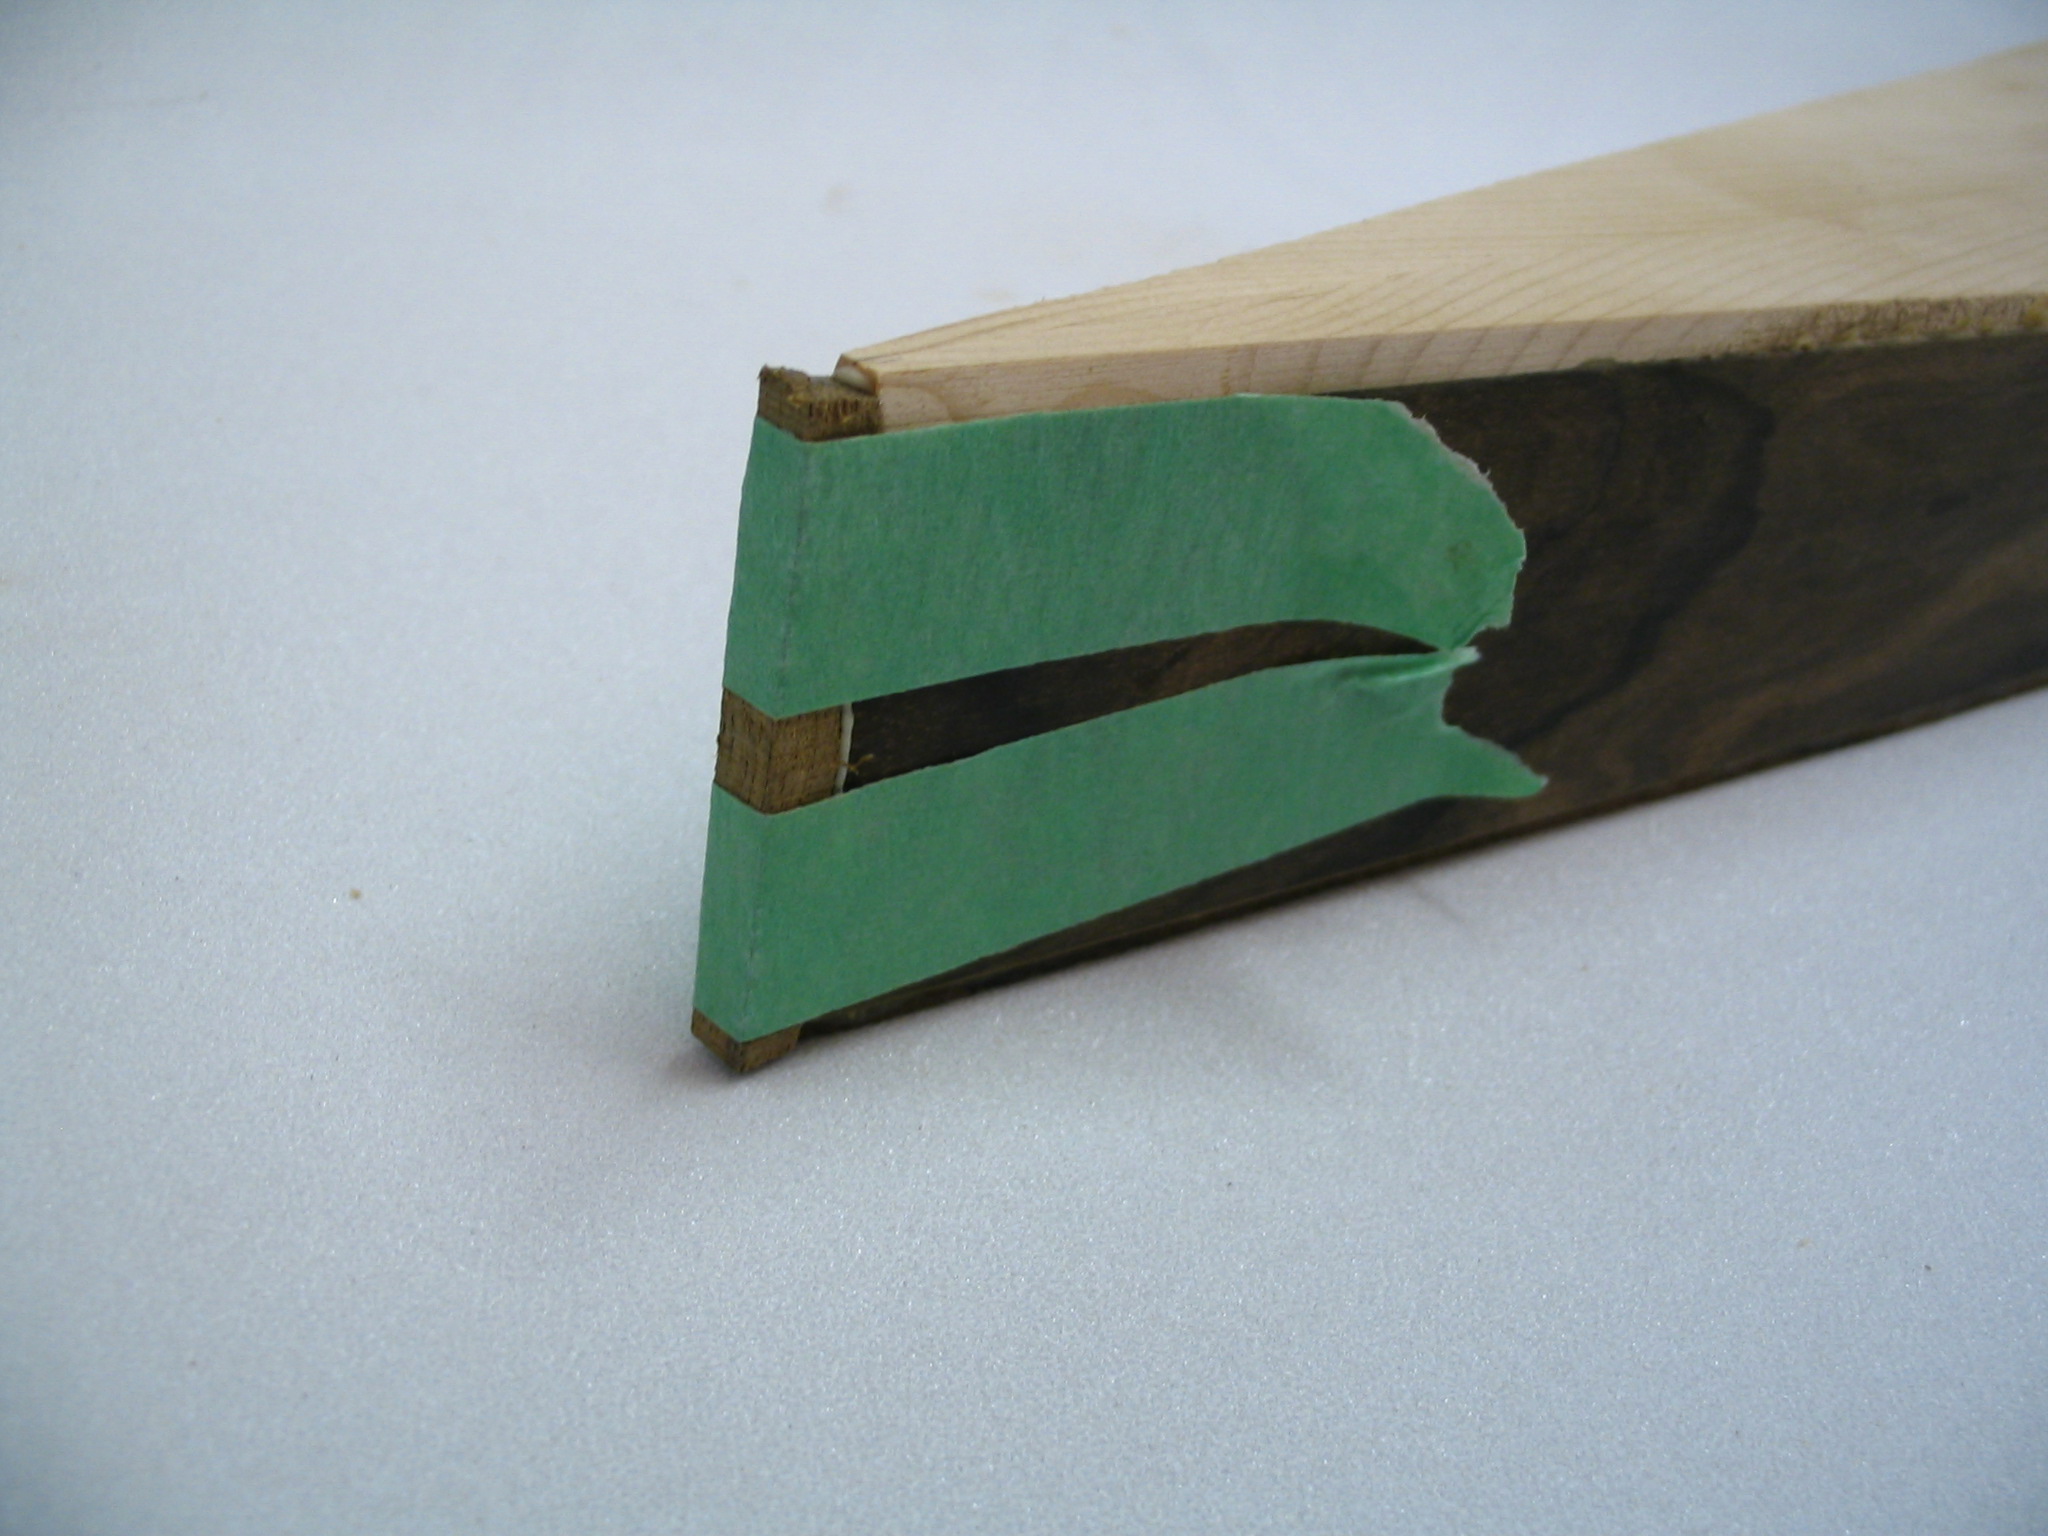
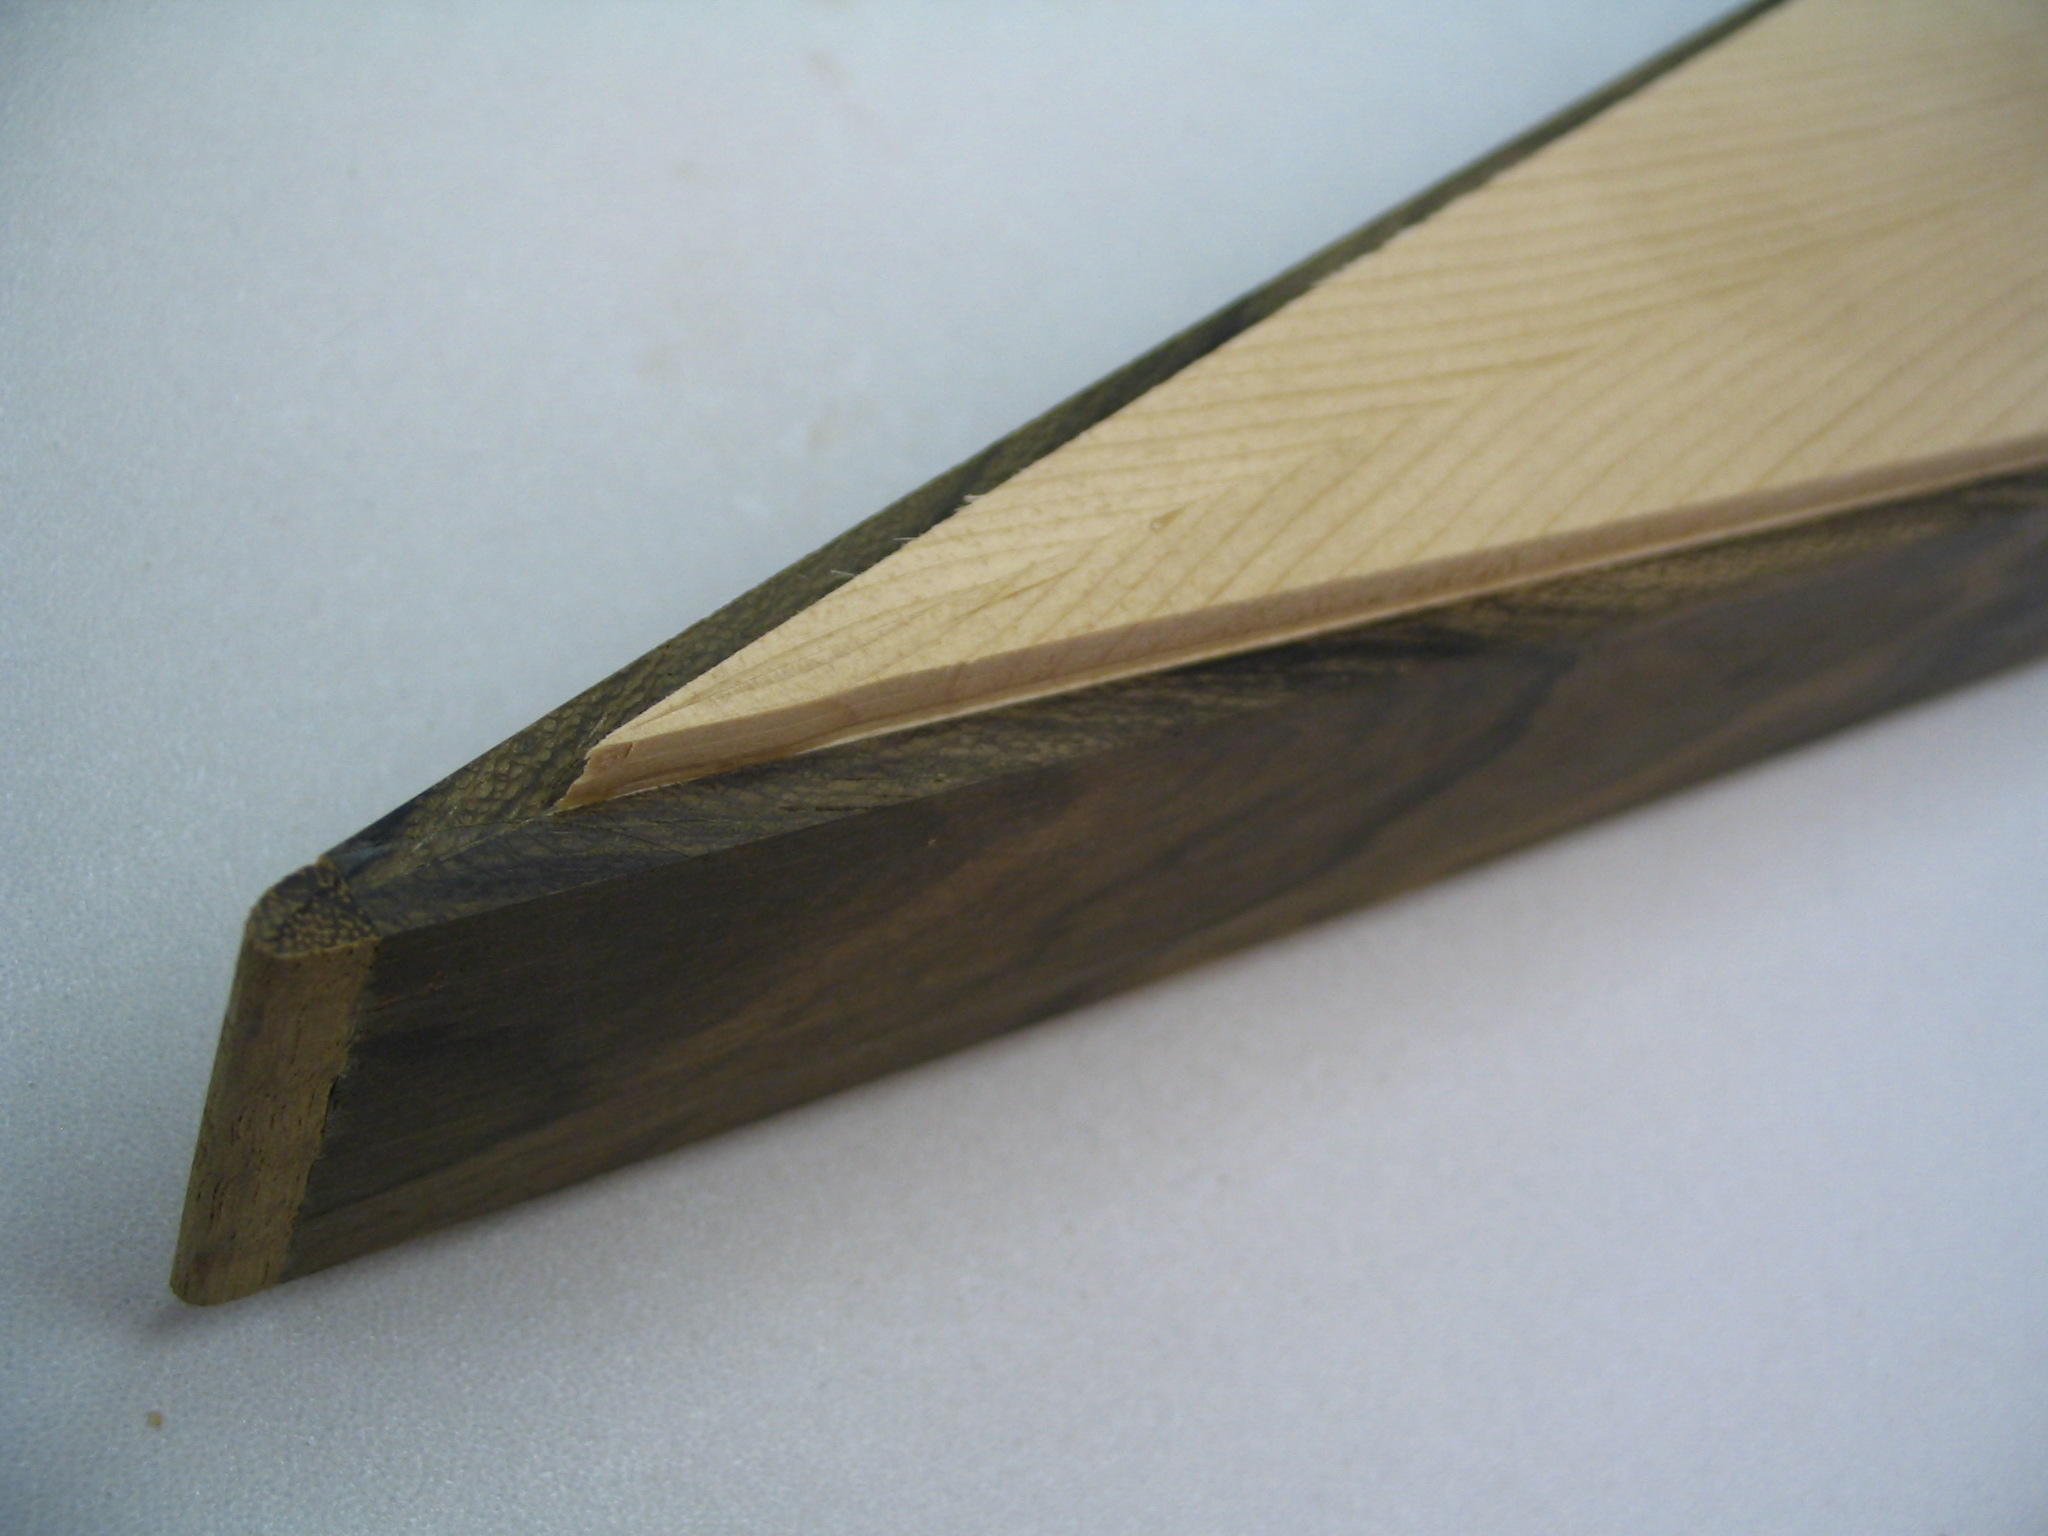
One solution that I have used with good success is to laminate the sides from two differing wood species in order to exploit the various properties of the wood in our favor. The dense, resonant hardwood forms the thinner outer ply, (which also serves as an aesthetic tie with the hardwood back), while a thicker, lighter softwood is used for the inner ply. This leaves us with a frame that looks natural and beautiful, while simultaneously having a significantly reduced weight with superior acoustic qualities in nearly every way.
Some may object to this technique on the basis that using laminated sides creates very large glue joints that will undoubtedly interfere and hinder the musical vibrations of the instrument. And its true that in many instances, such as acoustic guitars, using laminated soundboards and backs have been generally considered detrimental to an instrument’s tone. However, in this case, given the relatively small surface area of the sides as compared to the top, and the disproportionately thick side pieces, the benefit of the laminated softwood inner-ply greatly outweighs the detriment of the glue joint.
Yet the relationship between rigidity and lightness is a delicate balance, requiring some knowledge of the wood’s mechanical properties. In addition, the inner-ply, (as well as the outer ply), will also affect the tone of the instrument, so a bit of forethought is necessary when selecting the wood for the sides of a psaltery. Essentially, we are after the lightest wood possible that will still provide enough stiffness under tension and be compatible with the desired tone of the instrument.
For this purpose, we are after a wood that has a good strength to weight ratio, (or more specifically, a strength to stiffness ratio). For this purpose, let’s look at some of the best options:
Sitka Spruce: this is a classic soundboard material, and has the highest strength-to moe ratio, on average, than any other wood species in the world.
Basswood: although technically considered a hardwood, this is a wood that tends to be very light and somewhat weak, (modulus of rupture), though it is very stiff (modulus of elasticity). Under normal circumstances, it’s very unlikely that the sides will actually break (rupture), so really the only characteristic that we need be concerned with is the wood’s resistance to bending (elasticity). Basswood is said to be acoustically inert, so it should have minimal effect on the tone of the instrument.
Western Red Cedar: this of probably one of the weakest woods used in luthiere, and its use should be reserved for occasions where it can be paired with an exceptionally stiff outer ply, such as Bubinga or Purpleheart. WRC’s light weighty and exceptional response give it excellent acoustic properties.
Douglas-fir: of the four woods listed, this is the heaviest and strongest. It is a good choice if the outer ply wood is very weak, and also if for what ever reason the sides cannot be made at least 1 3/4″ tall: usually due to using an exotic or expensive hardwood for the outer ply that may not be easily acquired in larger quantities.
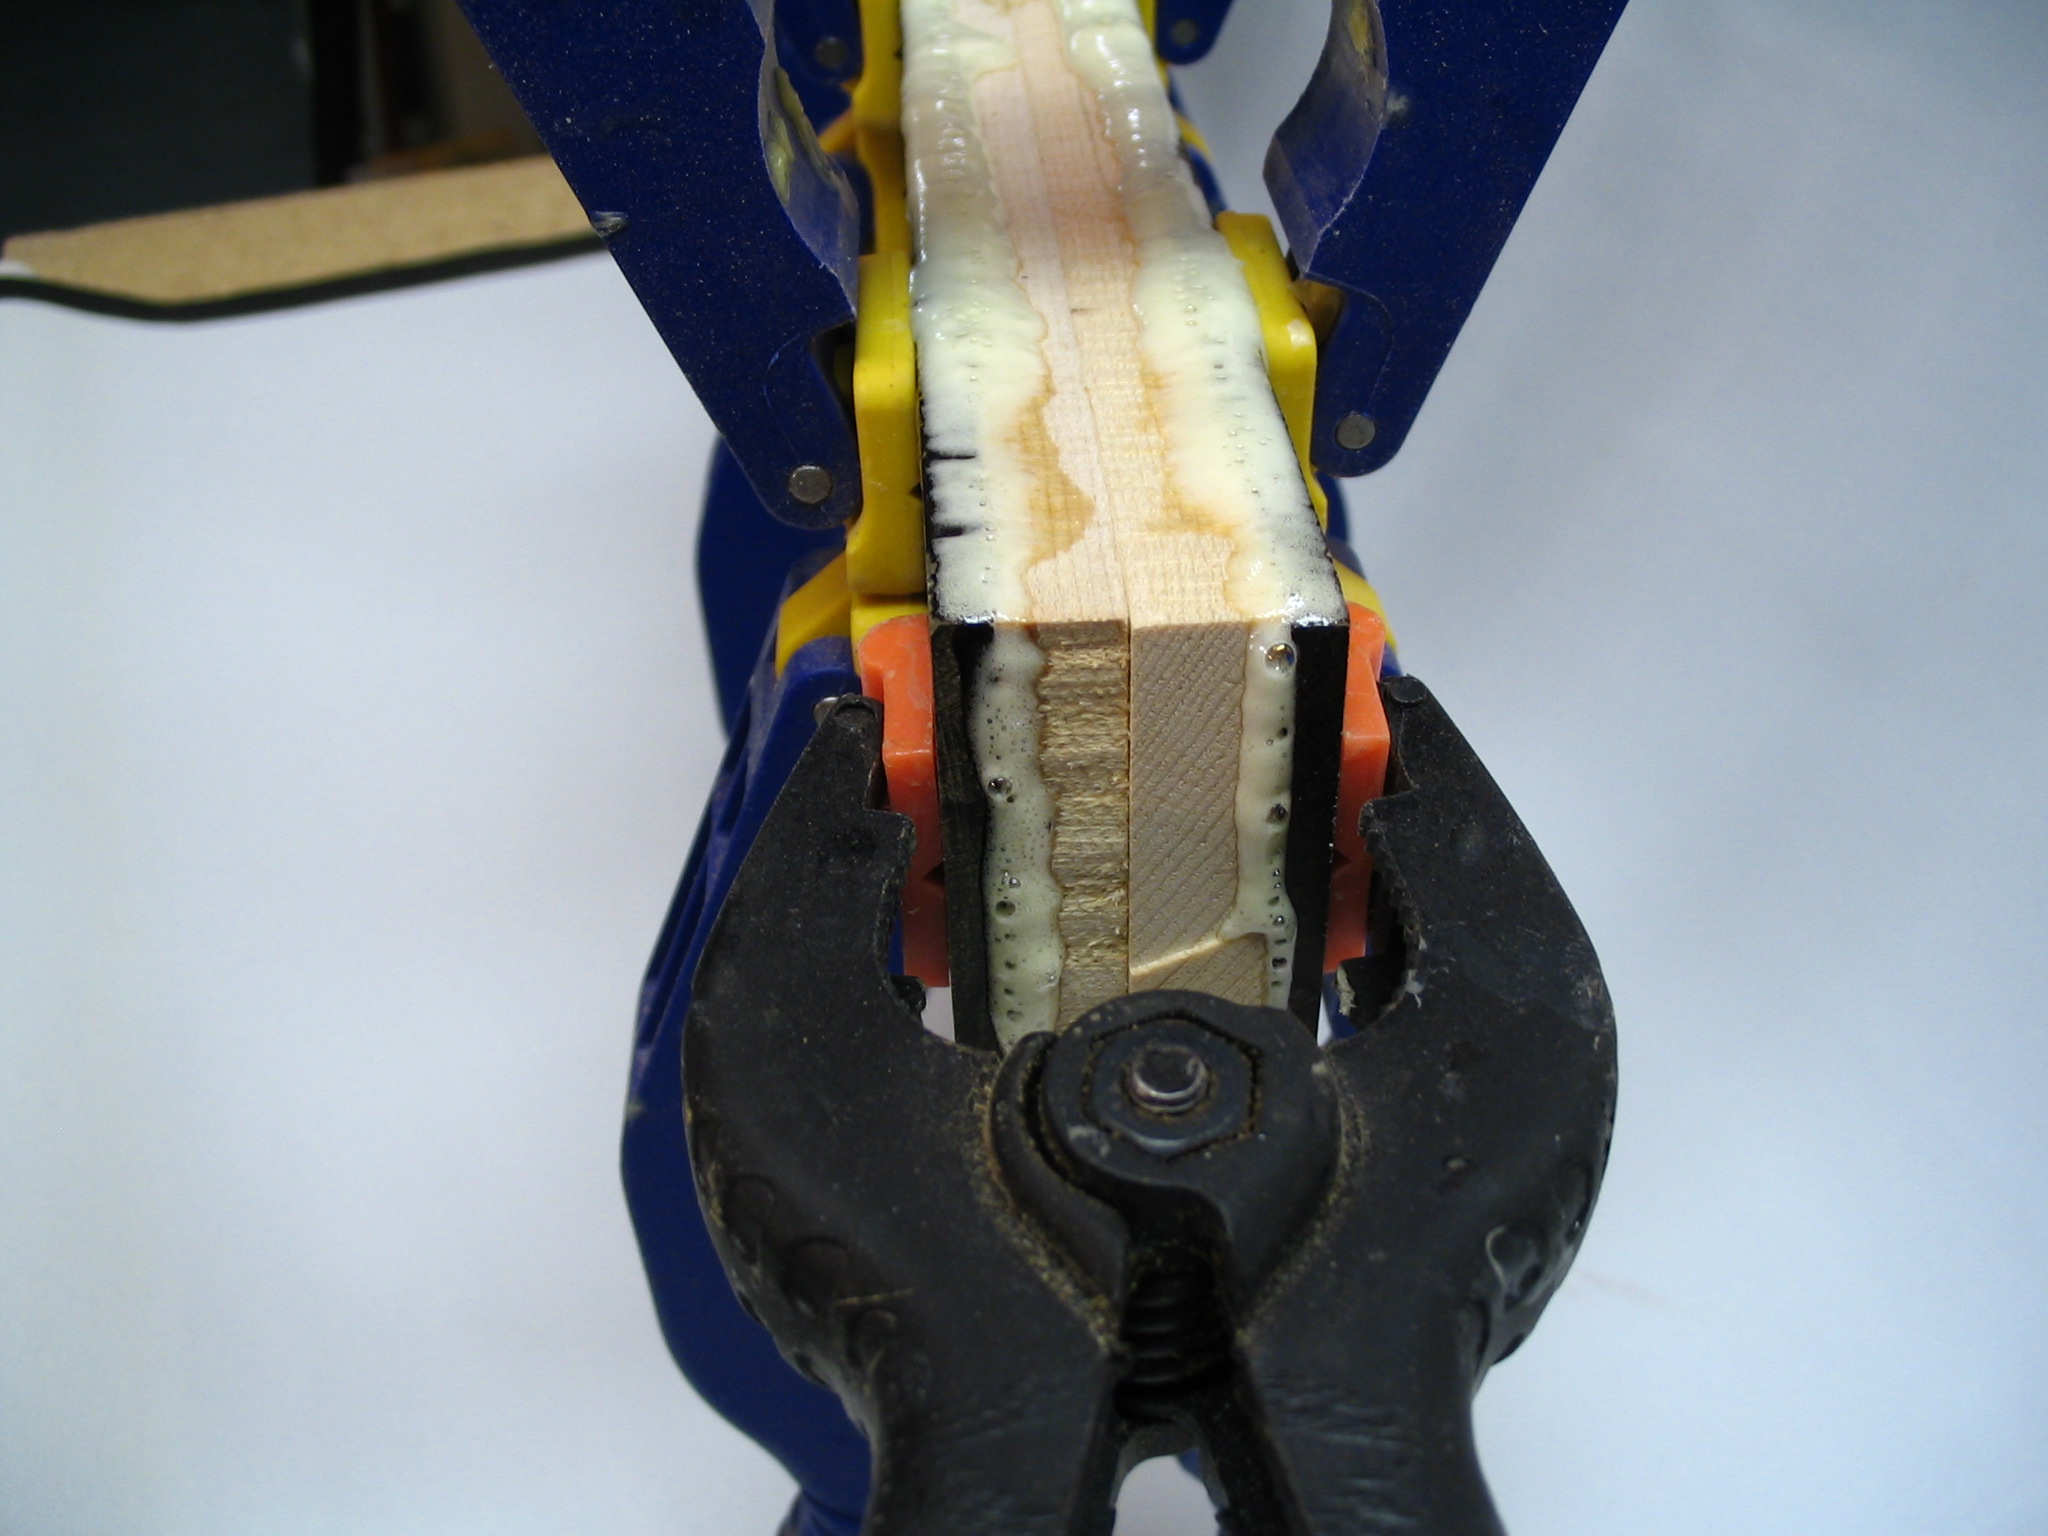
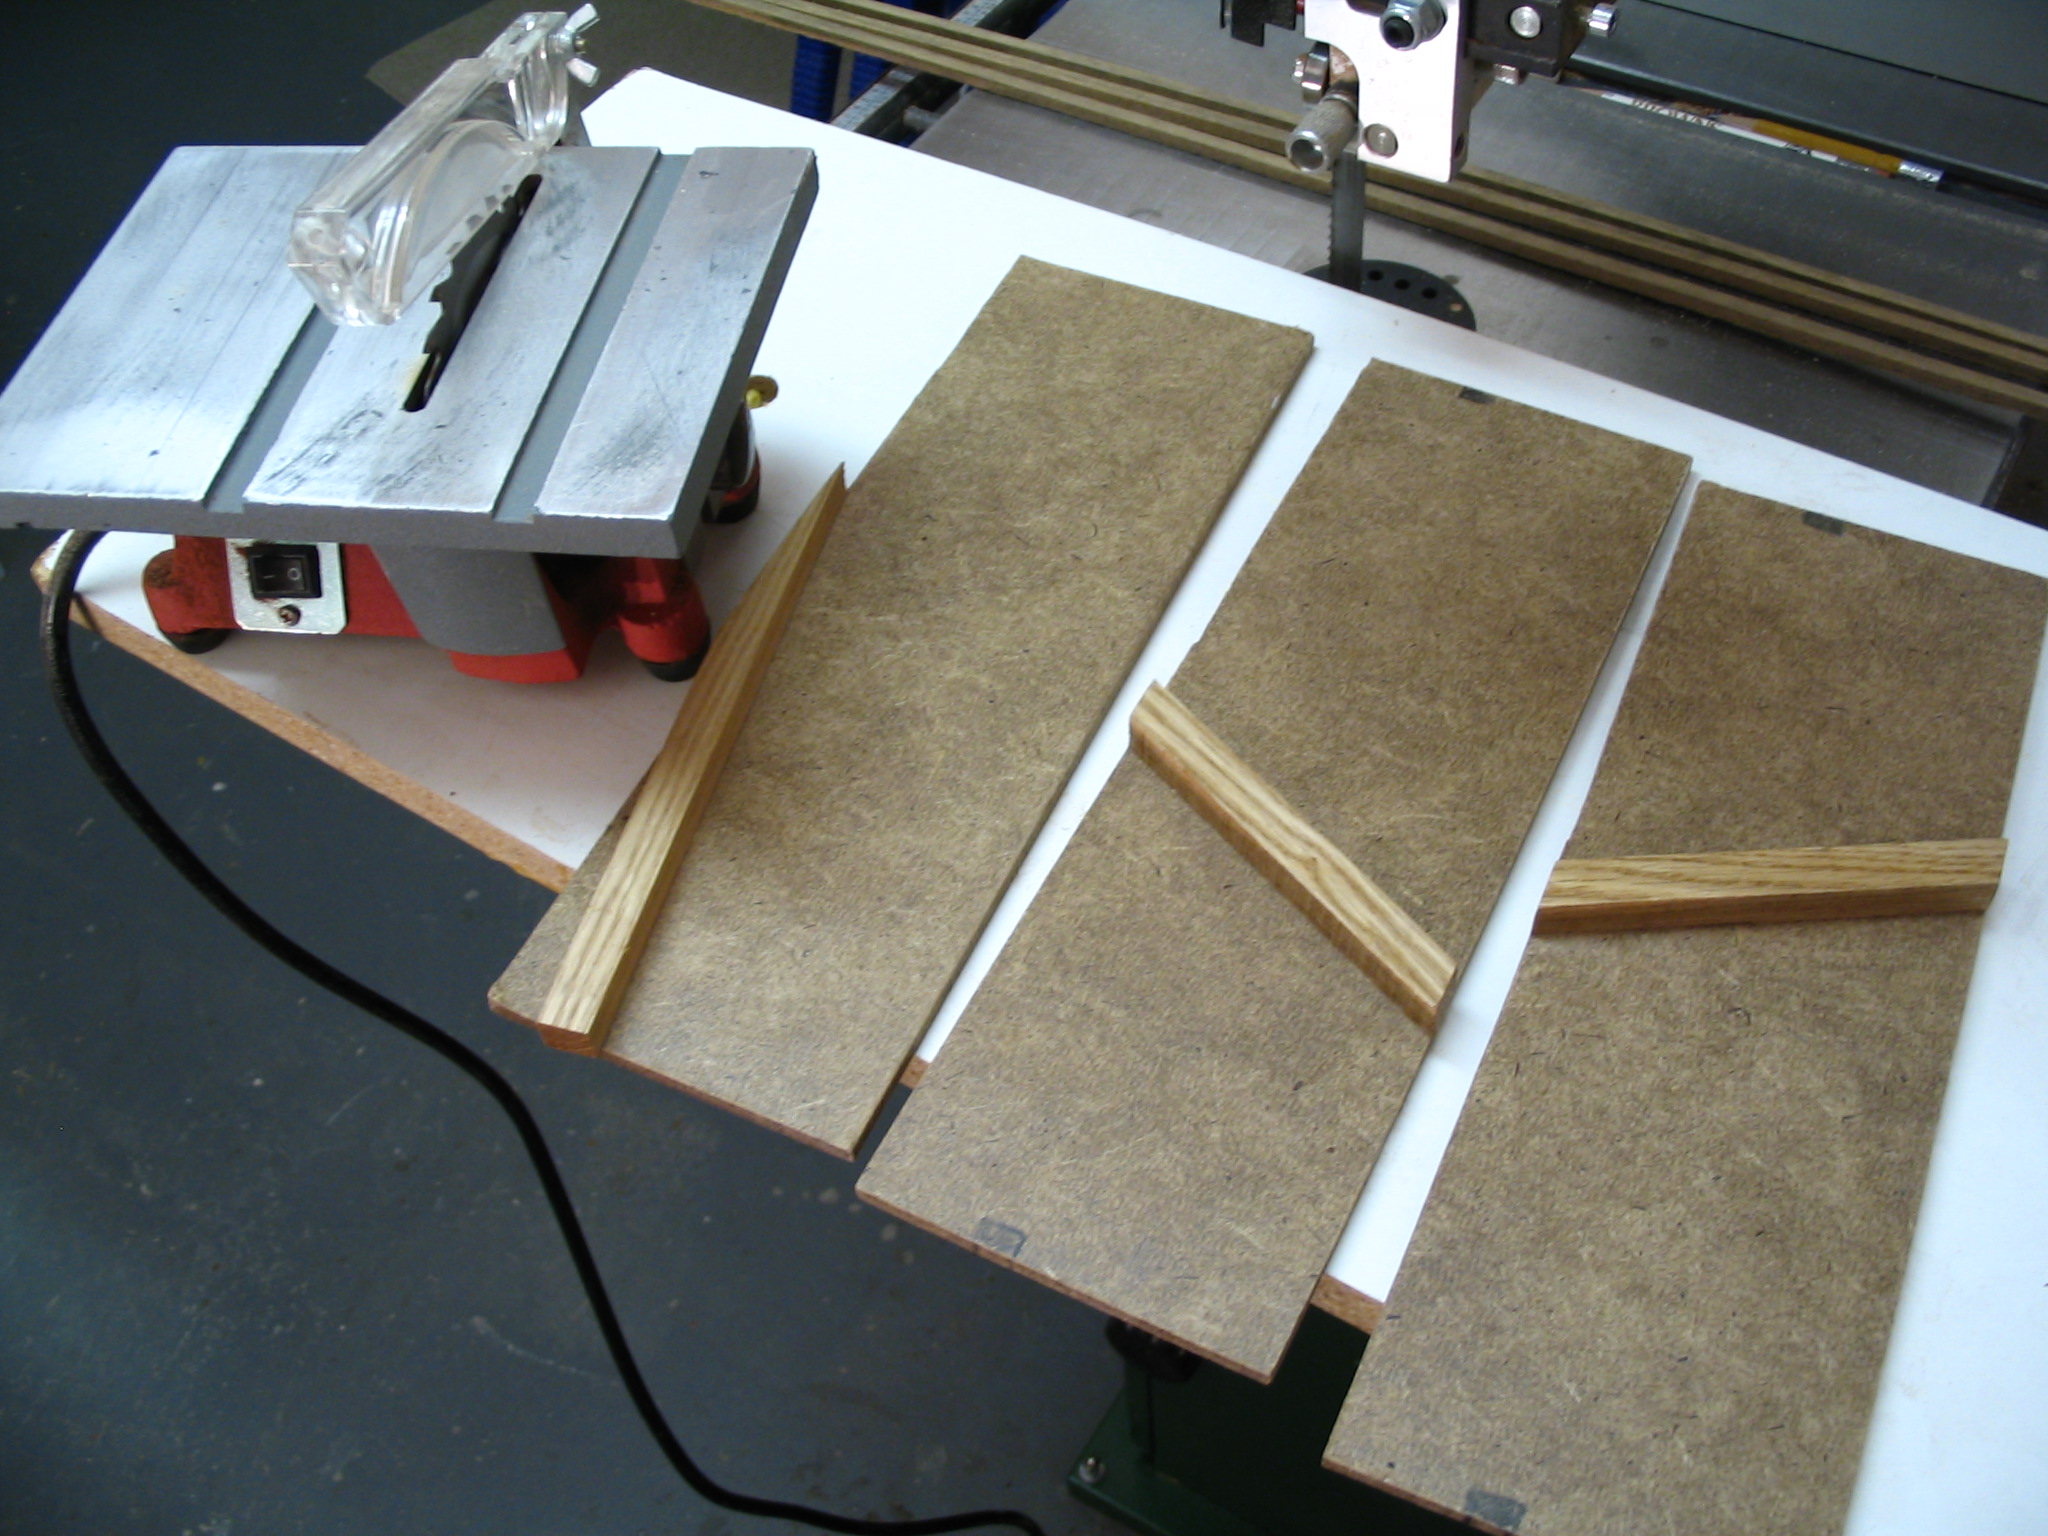
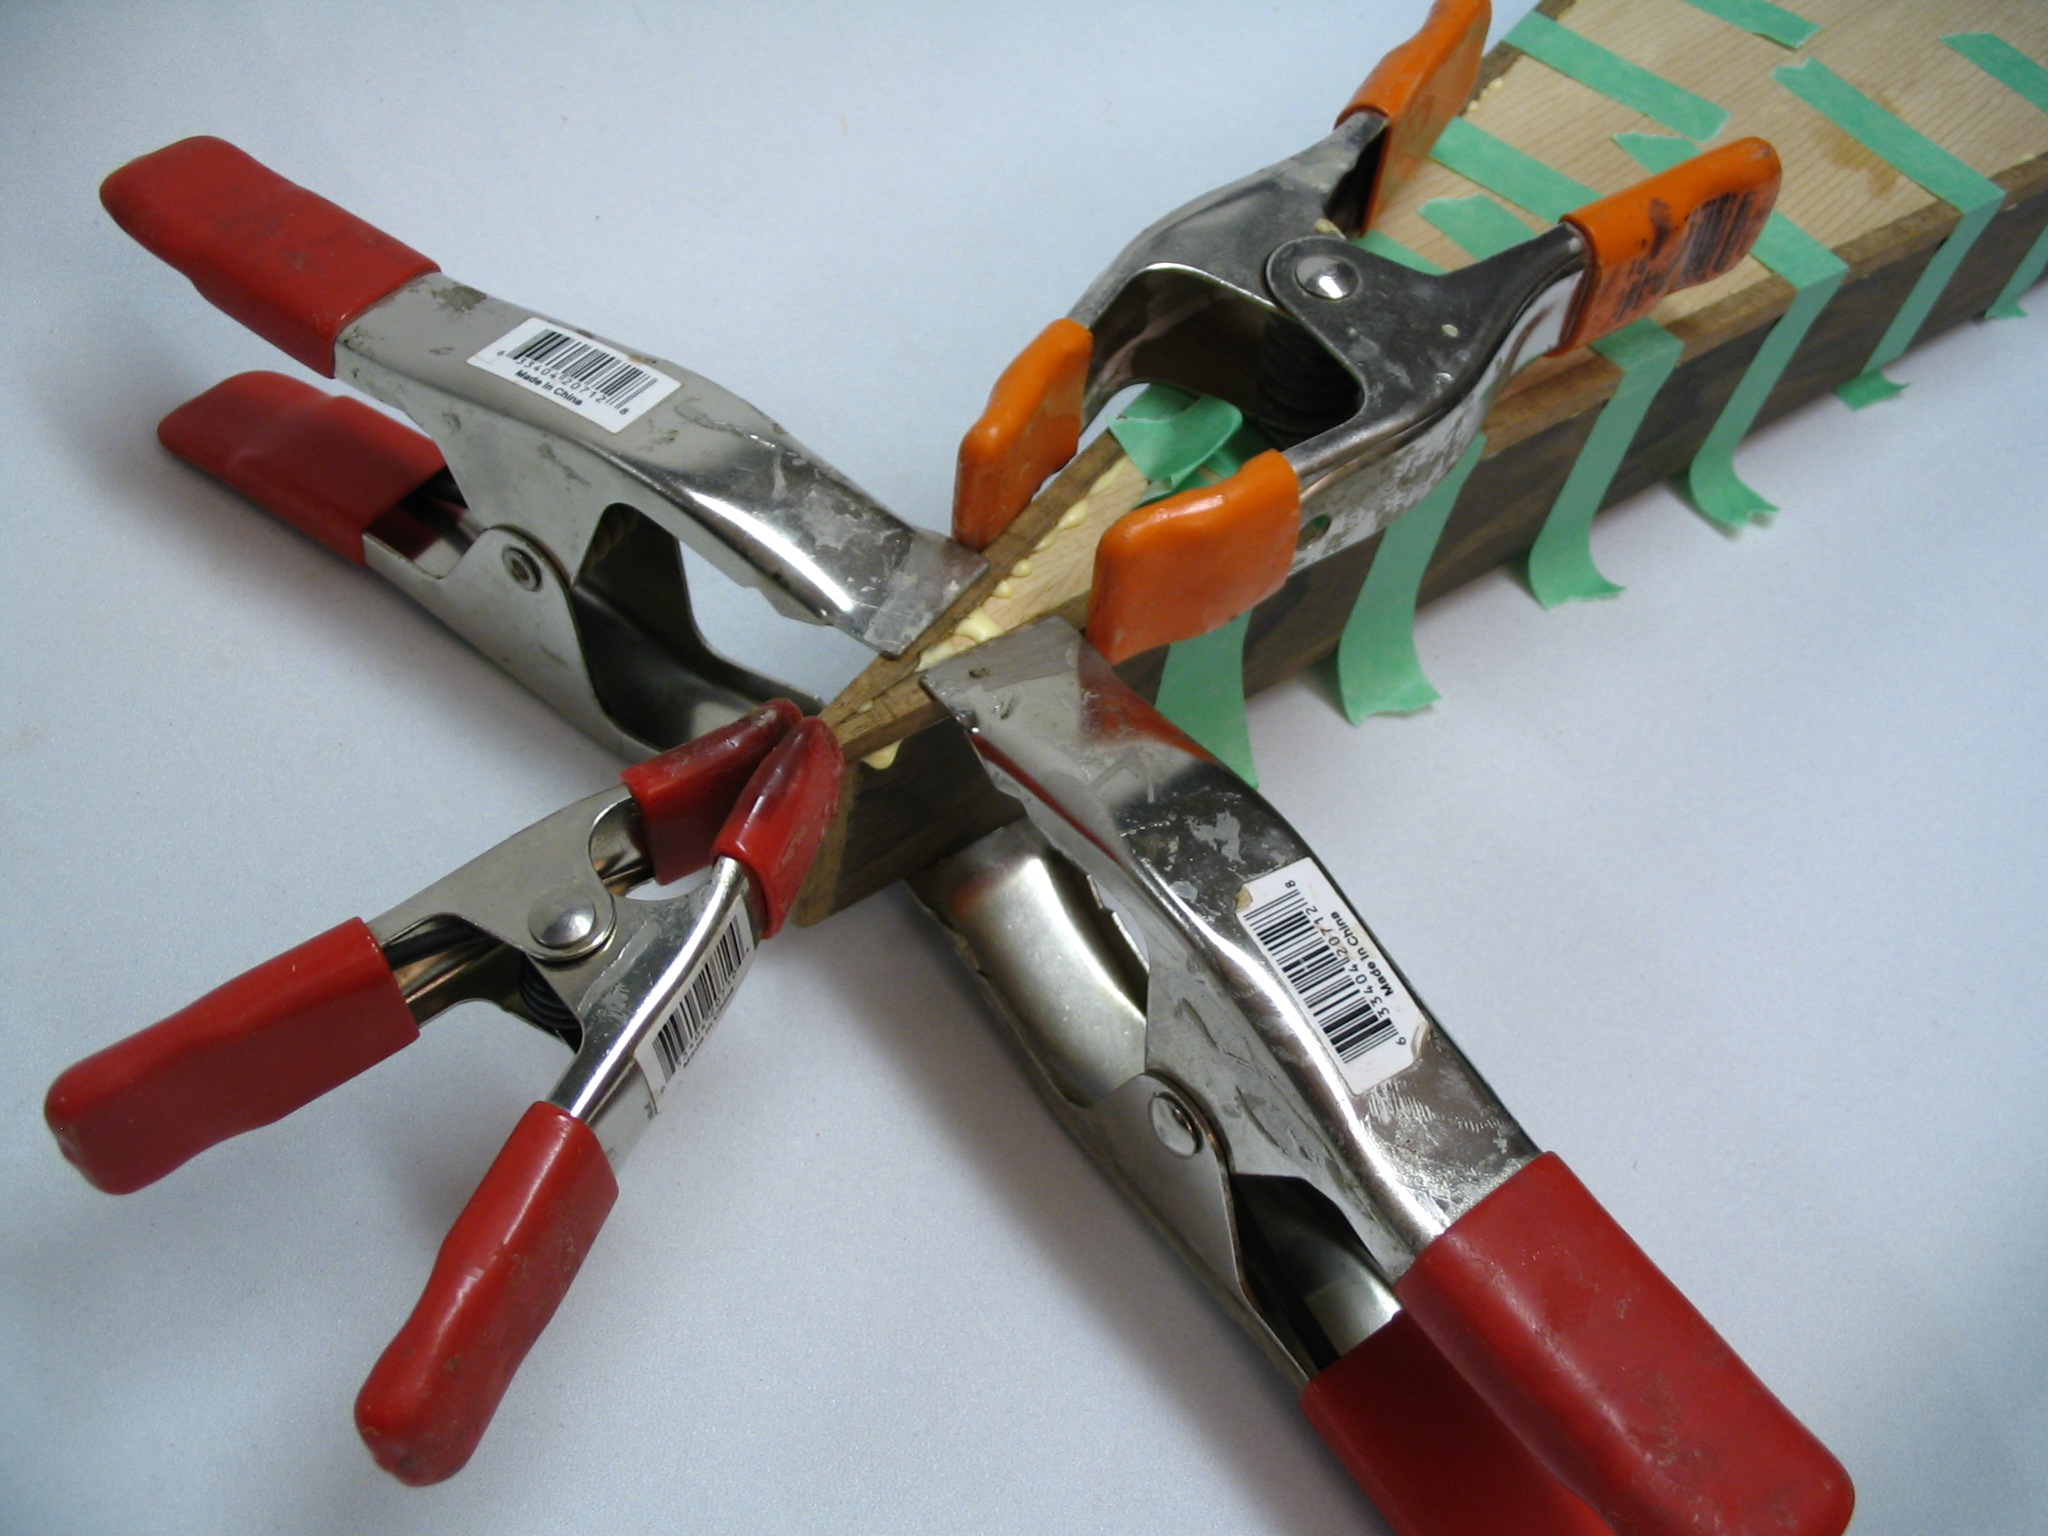
Once a suitable lamination scheme has been determined, the next step is to mill the pieces near their final dimensions and glue the plies together. The selection of glue for this step can greatly influence the overall flatness of the side pieces: almost any time two pieces of wood are laminated together, there is a resulting pull once the glue dries and the clamps are removed. If a PVA glue such as Titebond or another yellow glue is used, the bend can be annoyingly high. (While the gluing mold will tend to straighten out the sides while the frame is being glued, it makes things much easier throughout the building process to work with sides that are as flat and level as possible.) A non-water based adhesive such as epoxy or polyurethane is recommended. Another popular choice among woodworkers for laminated furniture projects has been unibond. I have never personally worked with this glue, so I cannot endorse its use in this application firsthand, though it seems likely to be an appropriate choice.
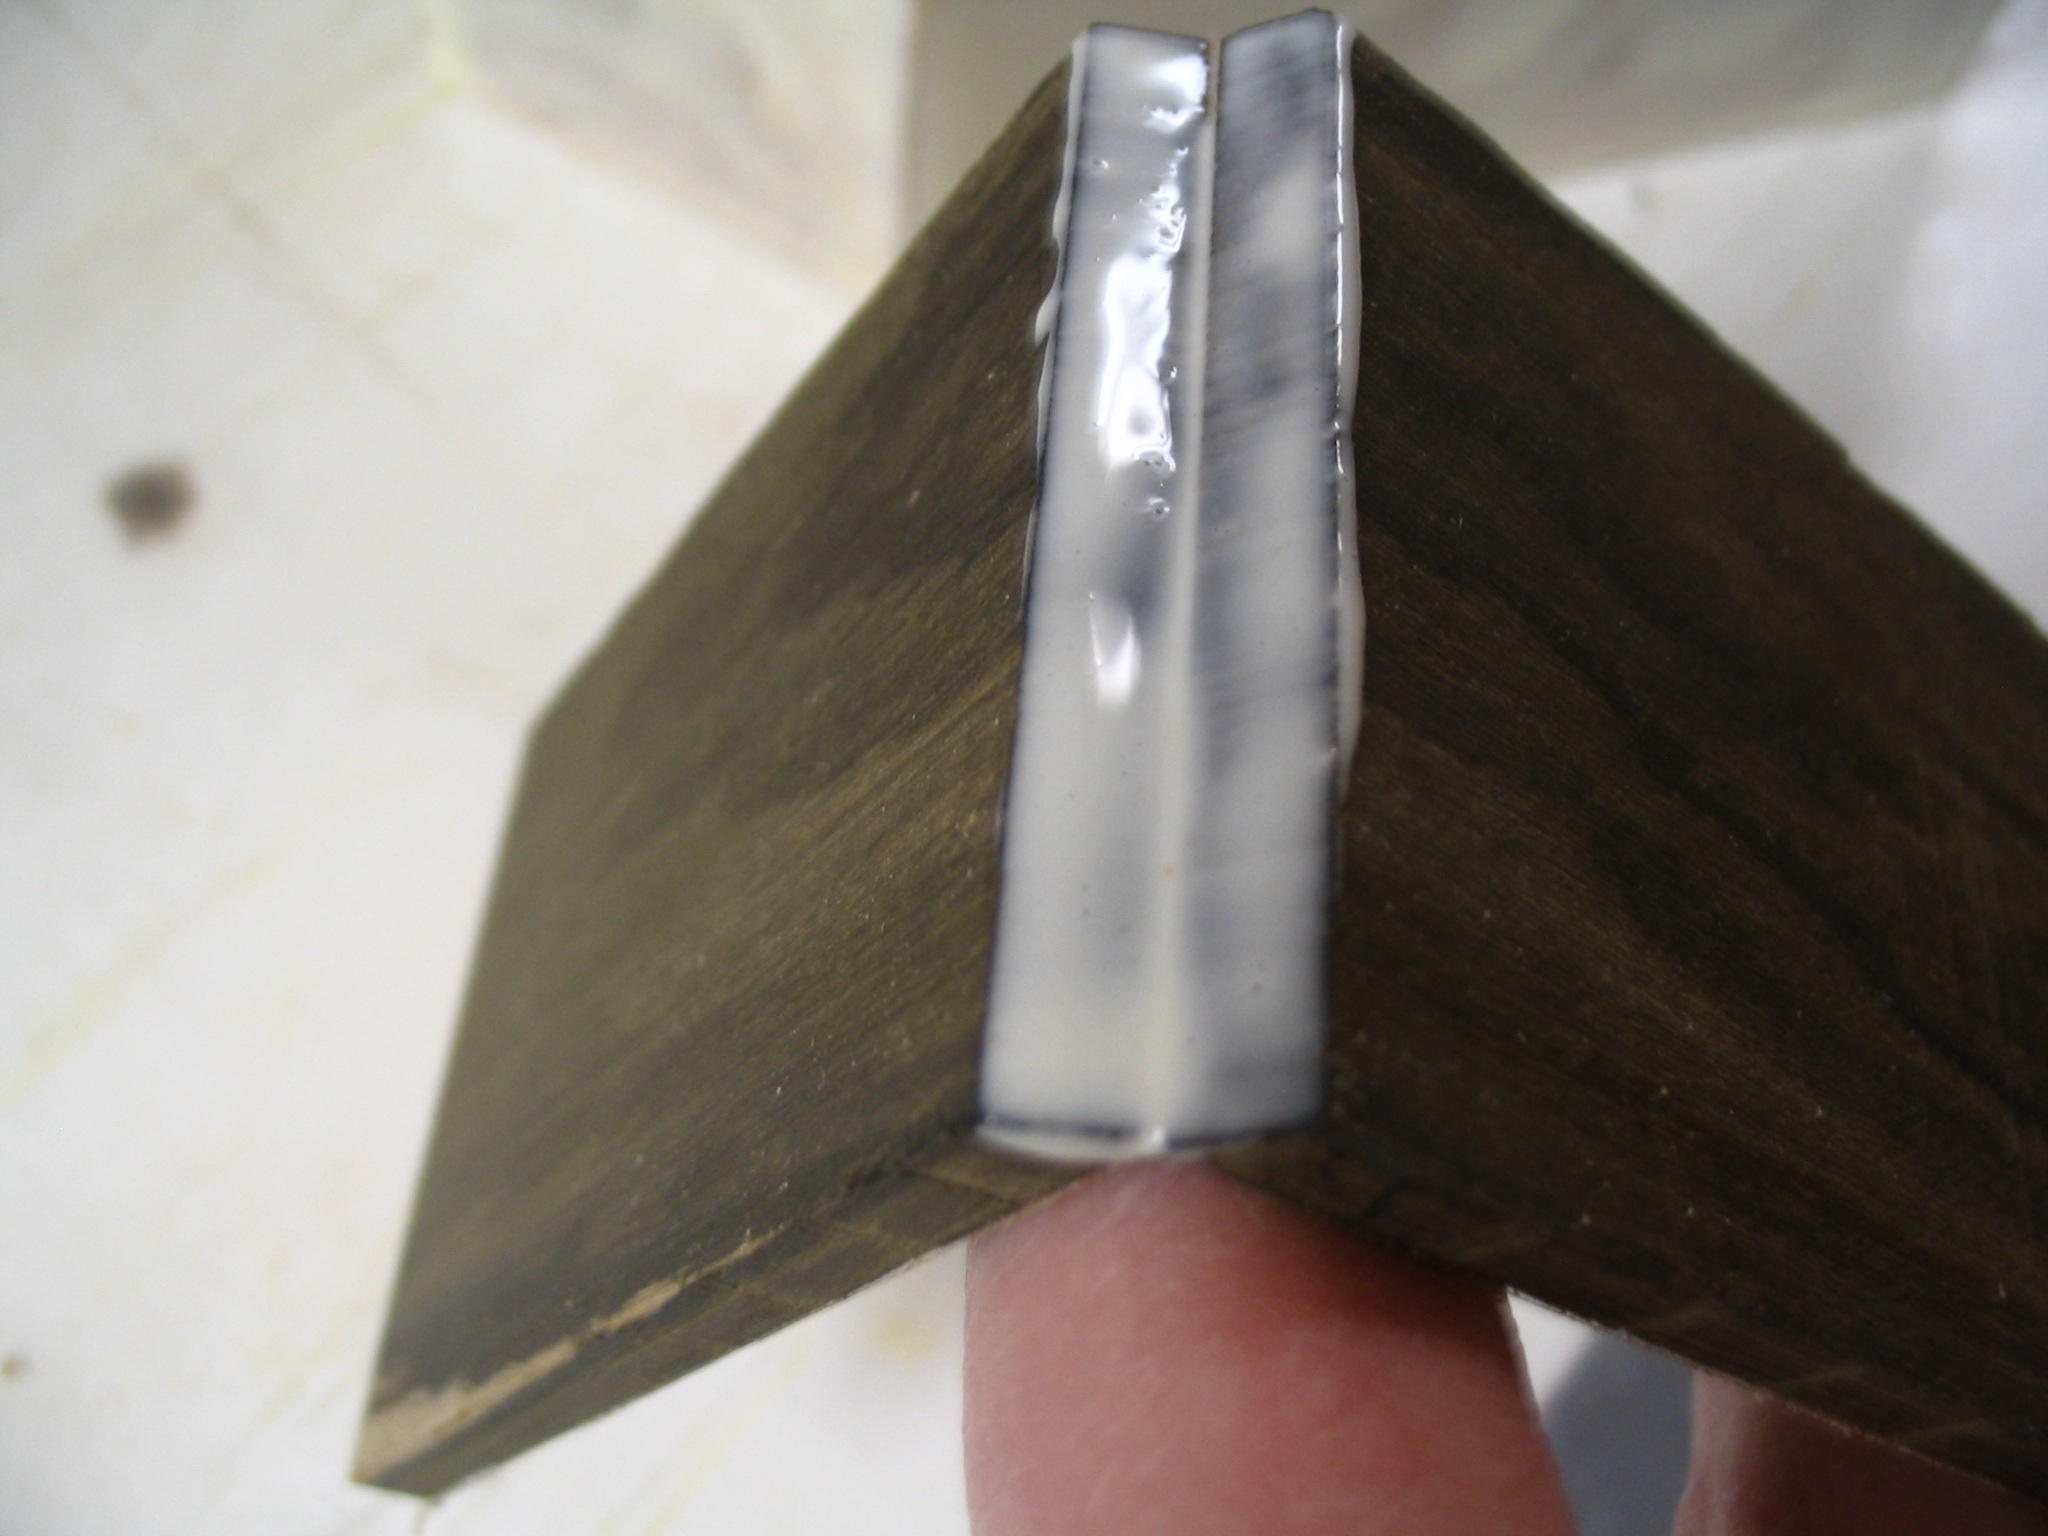
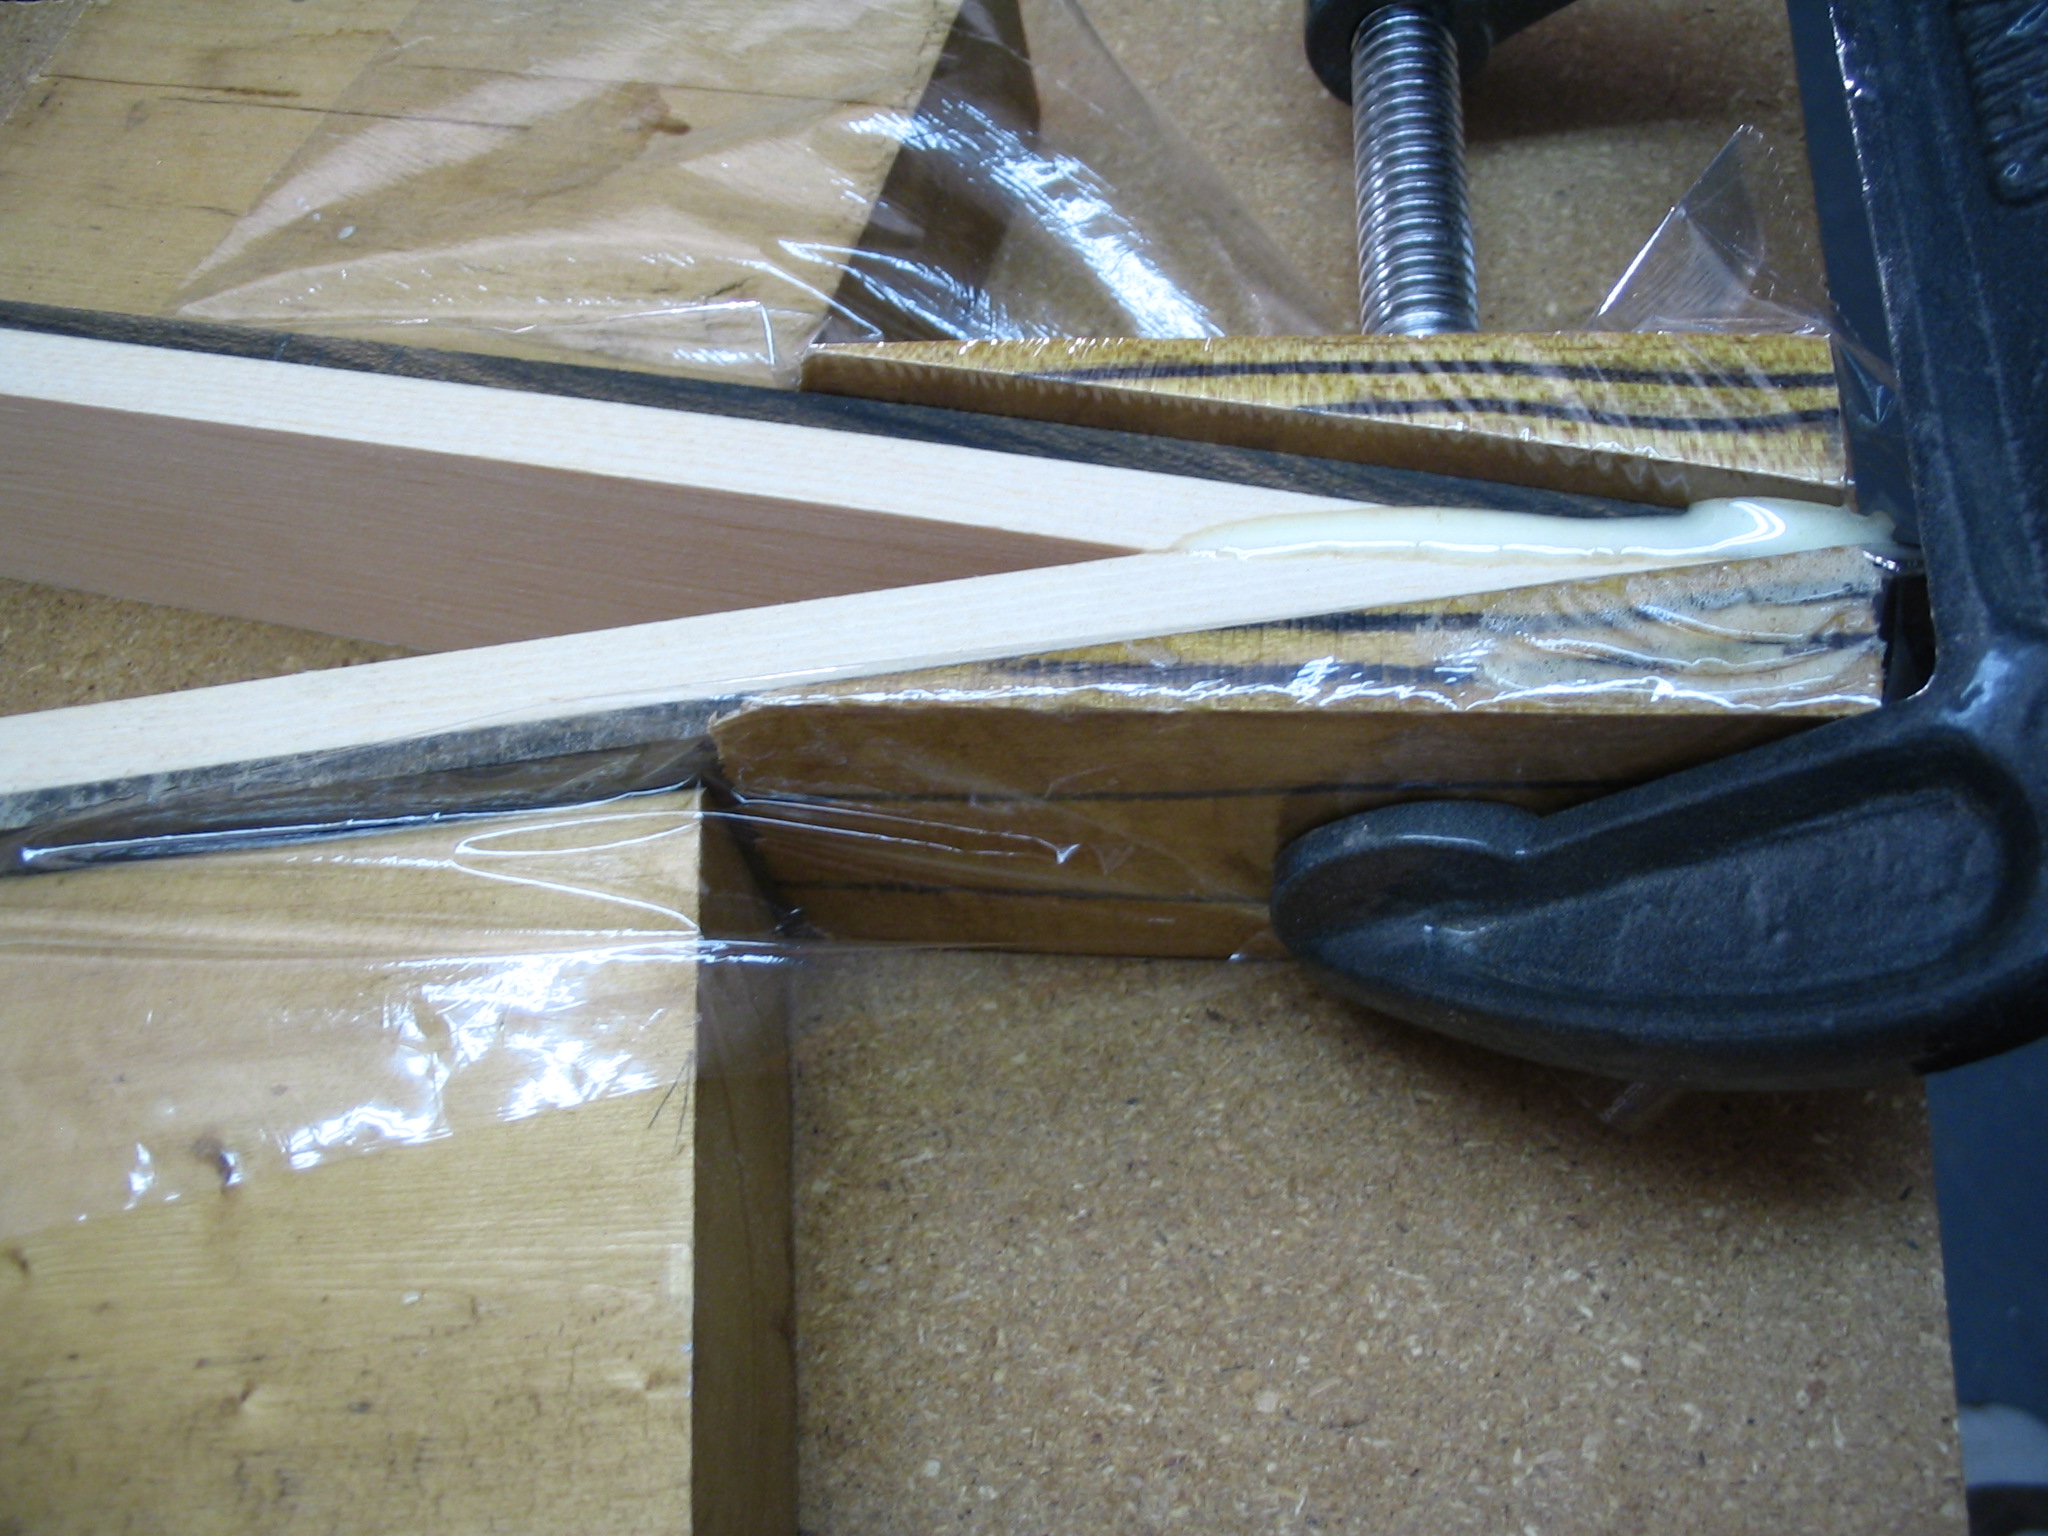
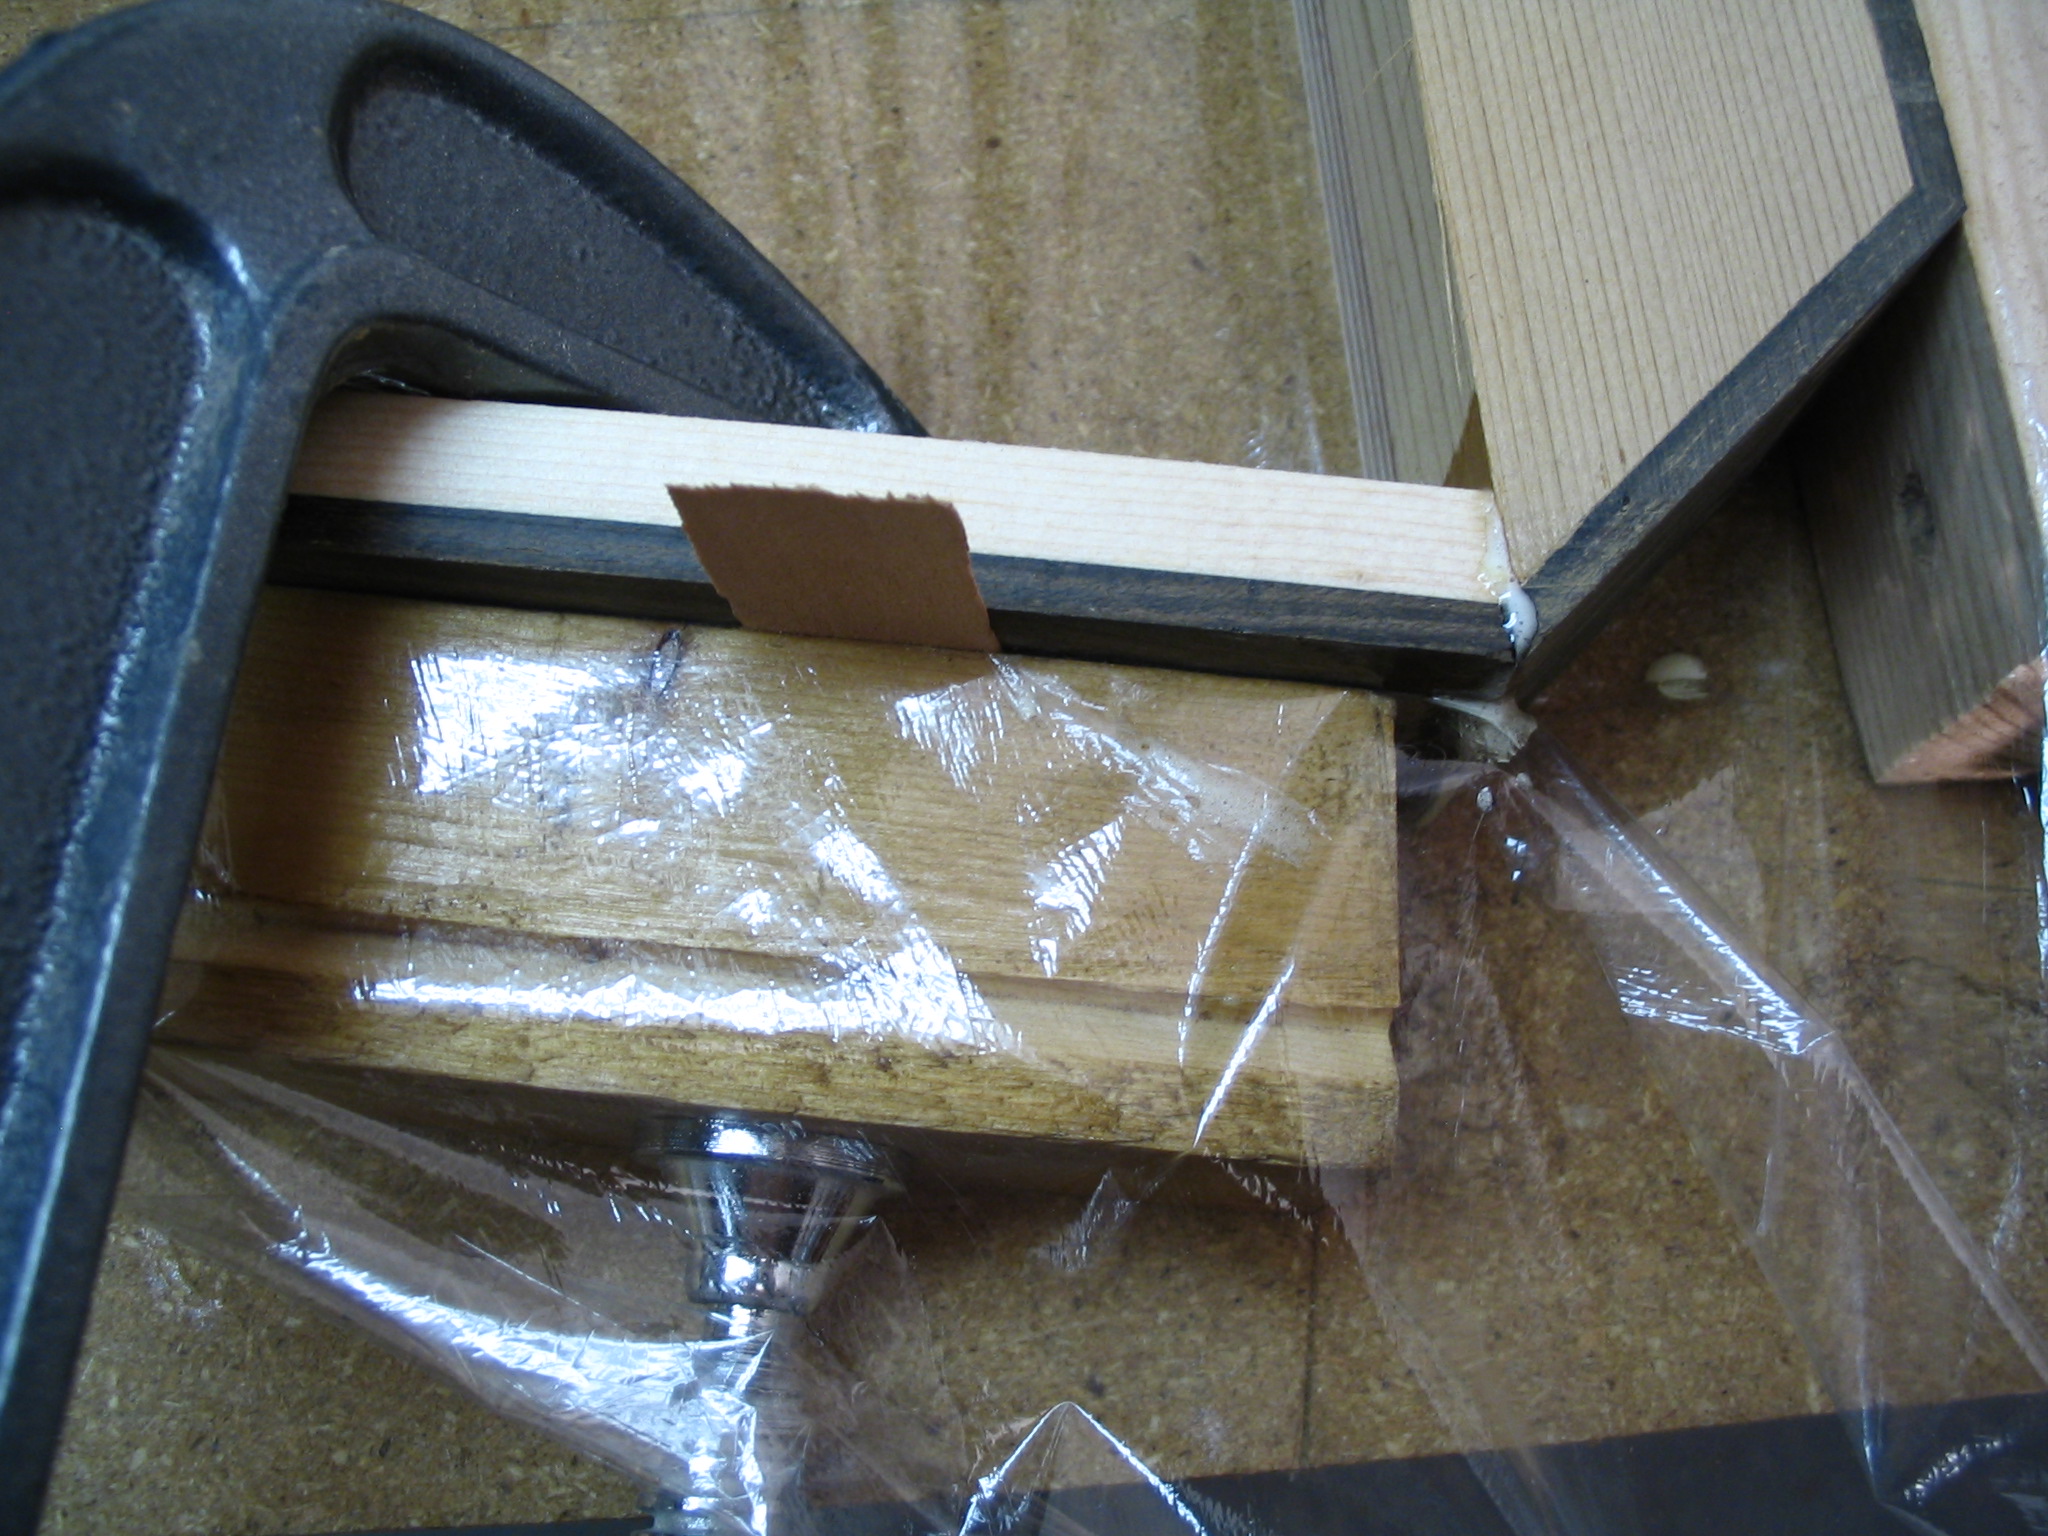
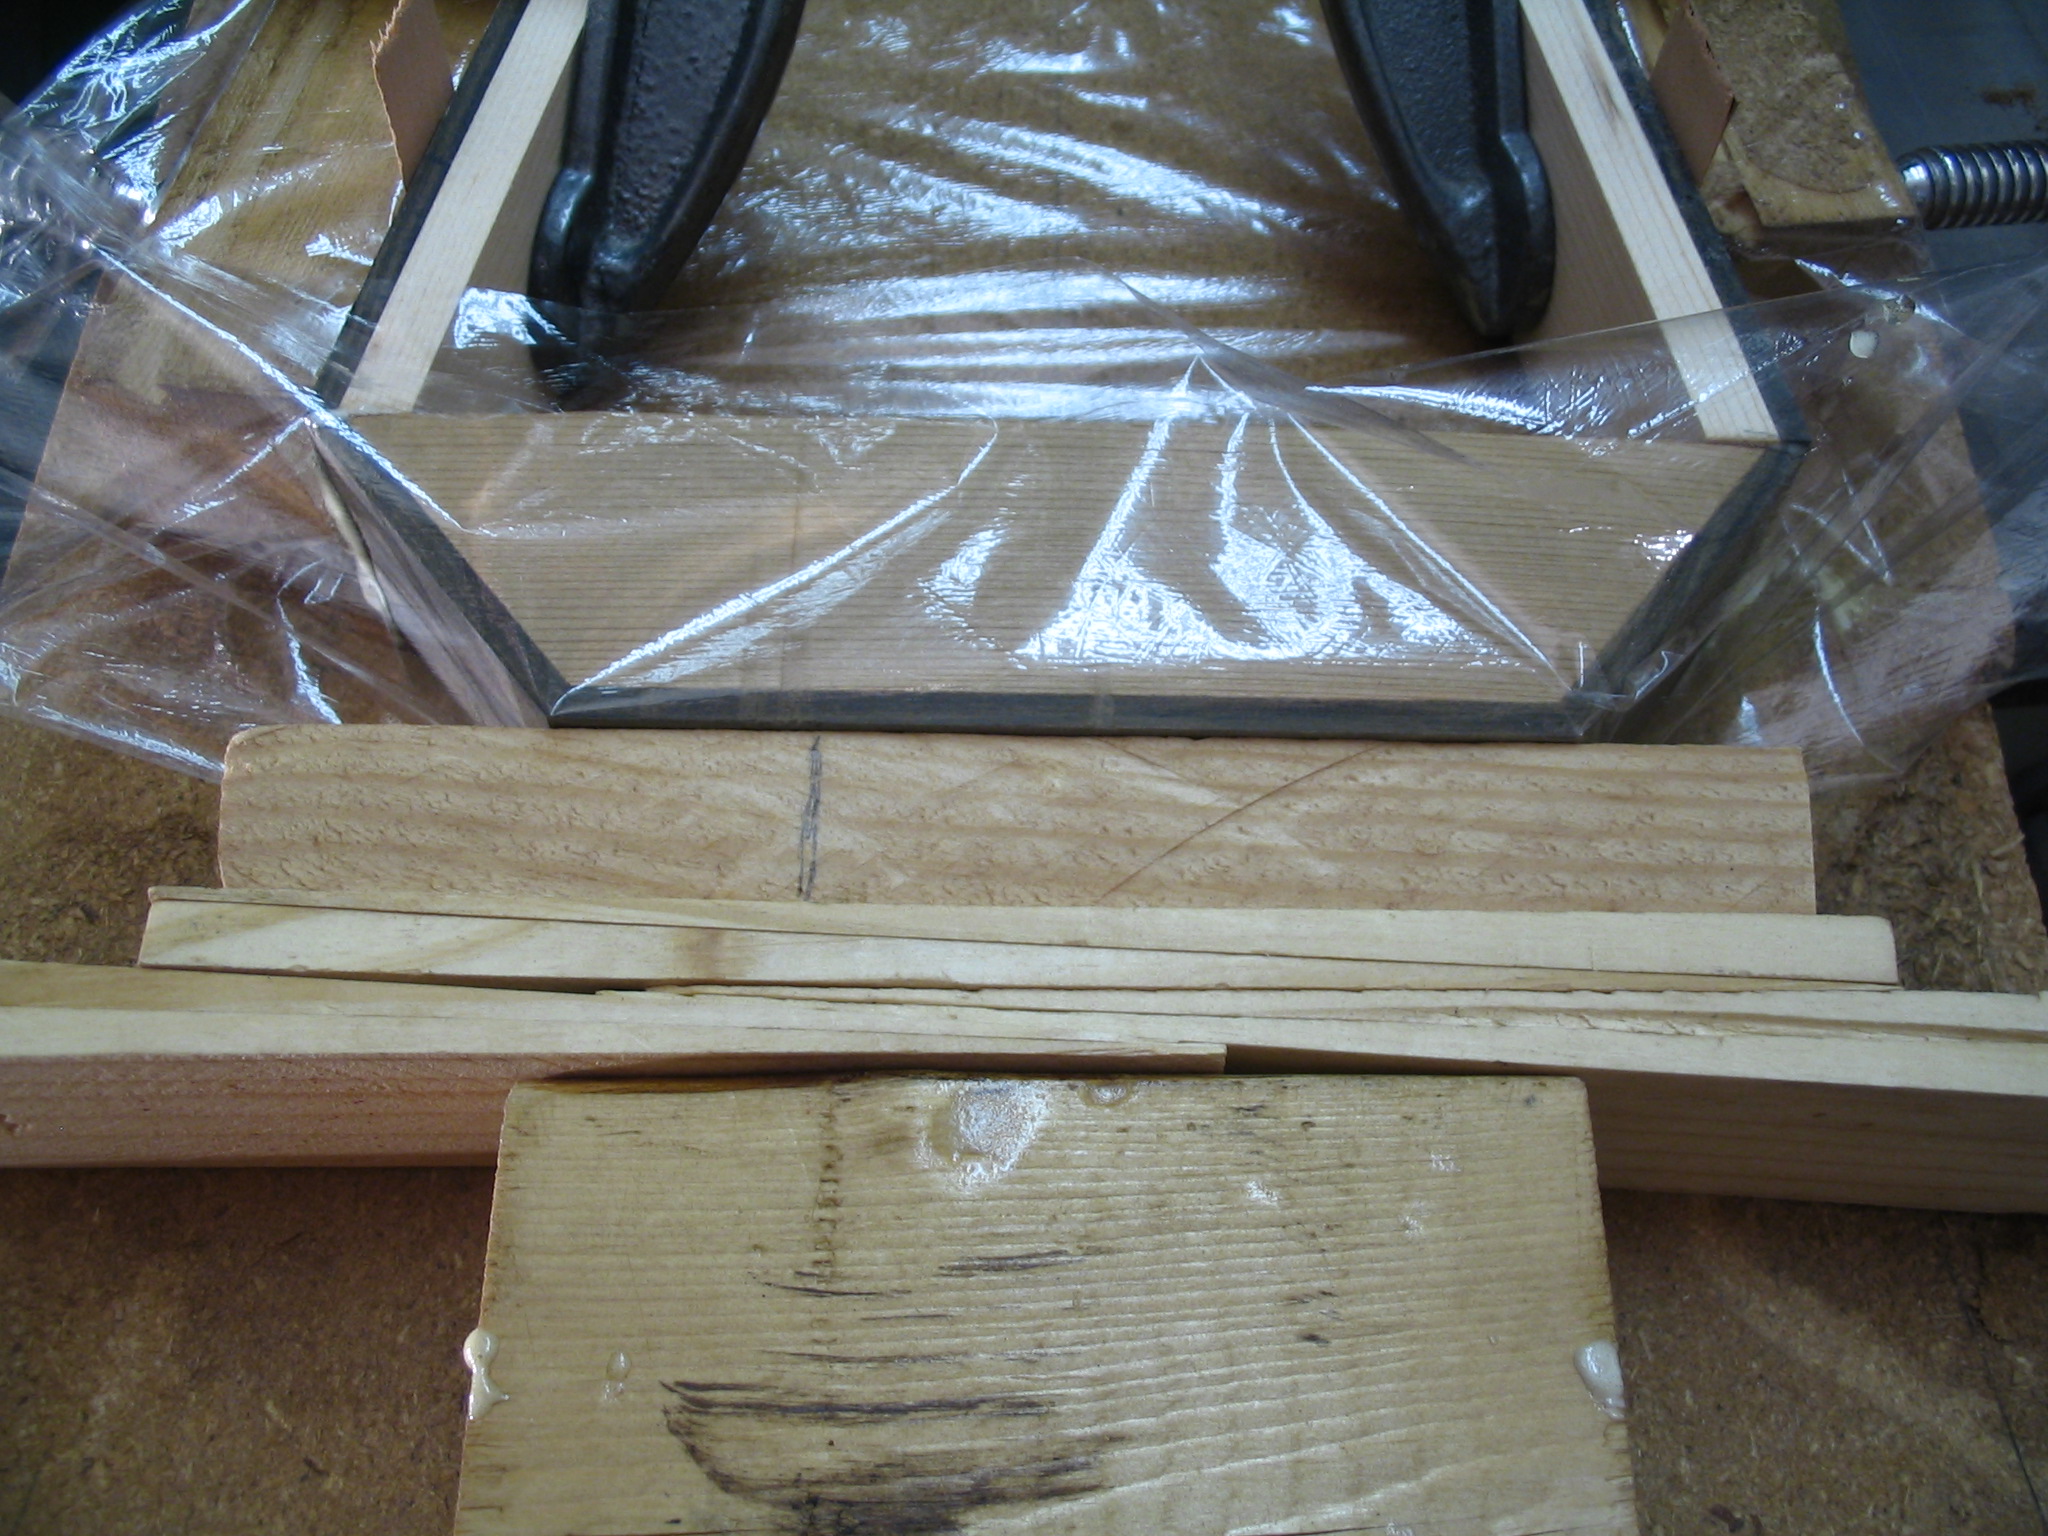
In gluing the two plies together, it’s important to not be deceived by the wood’s relatively small size: any lamination job will require even, firm pressure across the entire length and width of the board. Plan on using at least a dozen small spring clamps for each lamination. Make sure the ends are clamped, as well as the edges on each side of the board: basically, there should be a clamp spaced every few inches around the entire perimeter of the piece.
Gluing both side pieces together simultaneously can save time: a piece of waxed paper can be placed between the sides to ensure they do not get accidentally glued together. Simply begin by placing a length of waxed paper down on a flat work surface, and then stand up the laminations in the following order: outer-ply, glue, inner ply, waxed paper, inner ply, glue outer ply. Press all the plies together with your hands and ensure that they are all standing level and even with each other. Once the pieces are squared and leveled in your hands, proceed to clamps the very ends of the lamination stack, bringing in the clamps horizontally from the side, rather than vertically from the top: this is done to minimize the shifting and sliding the clamps cause, since they tend to pull the wood left-to-right, and not up and down in this orientation. Next, if you’re sure that all the laminations are still level with the end clamps in place, finish by placing clamps every few inches along the entire perimeter of the side pieces. Let the glue dry thoroughly before removing the clamps and moving on to the next step: for polyurethane-based glues, wait overnight before removing the pieces from the clamps to minimize any movement or distortion from the lamination process.
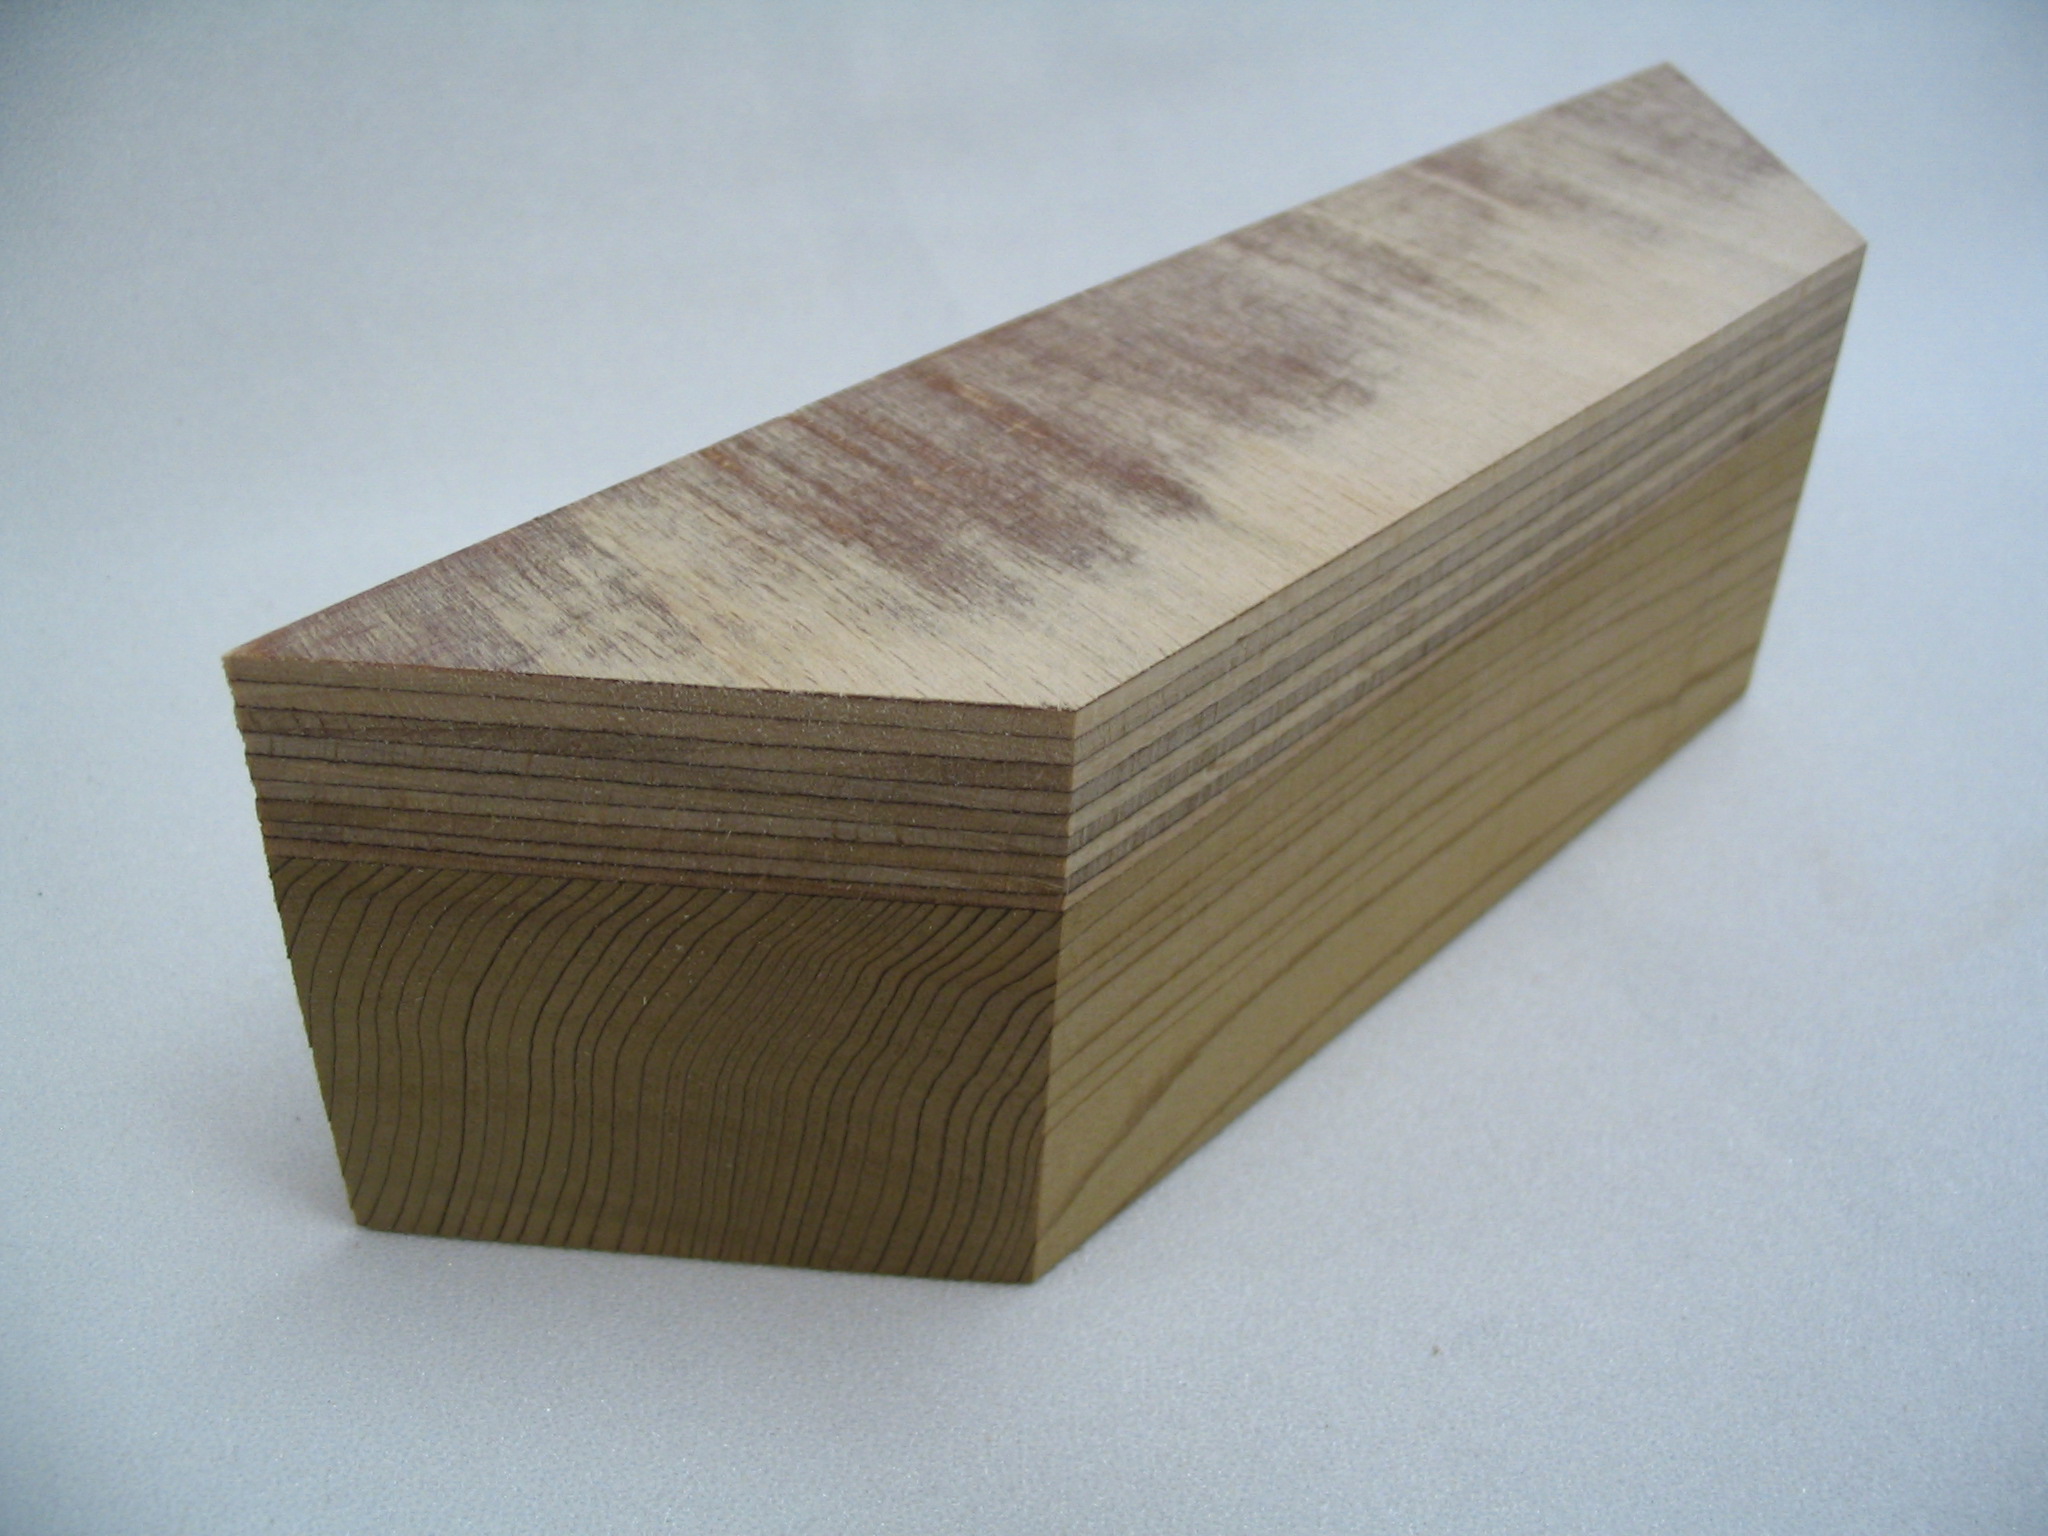
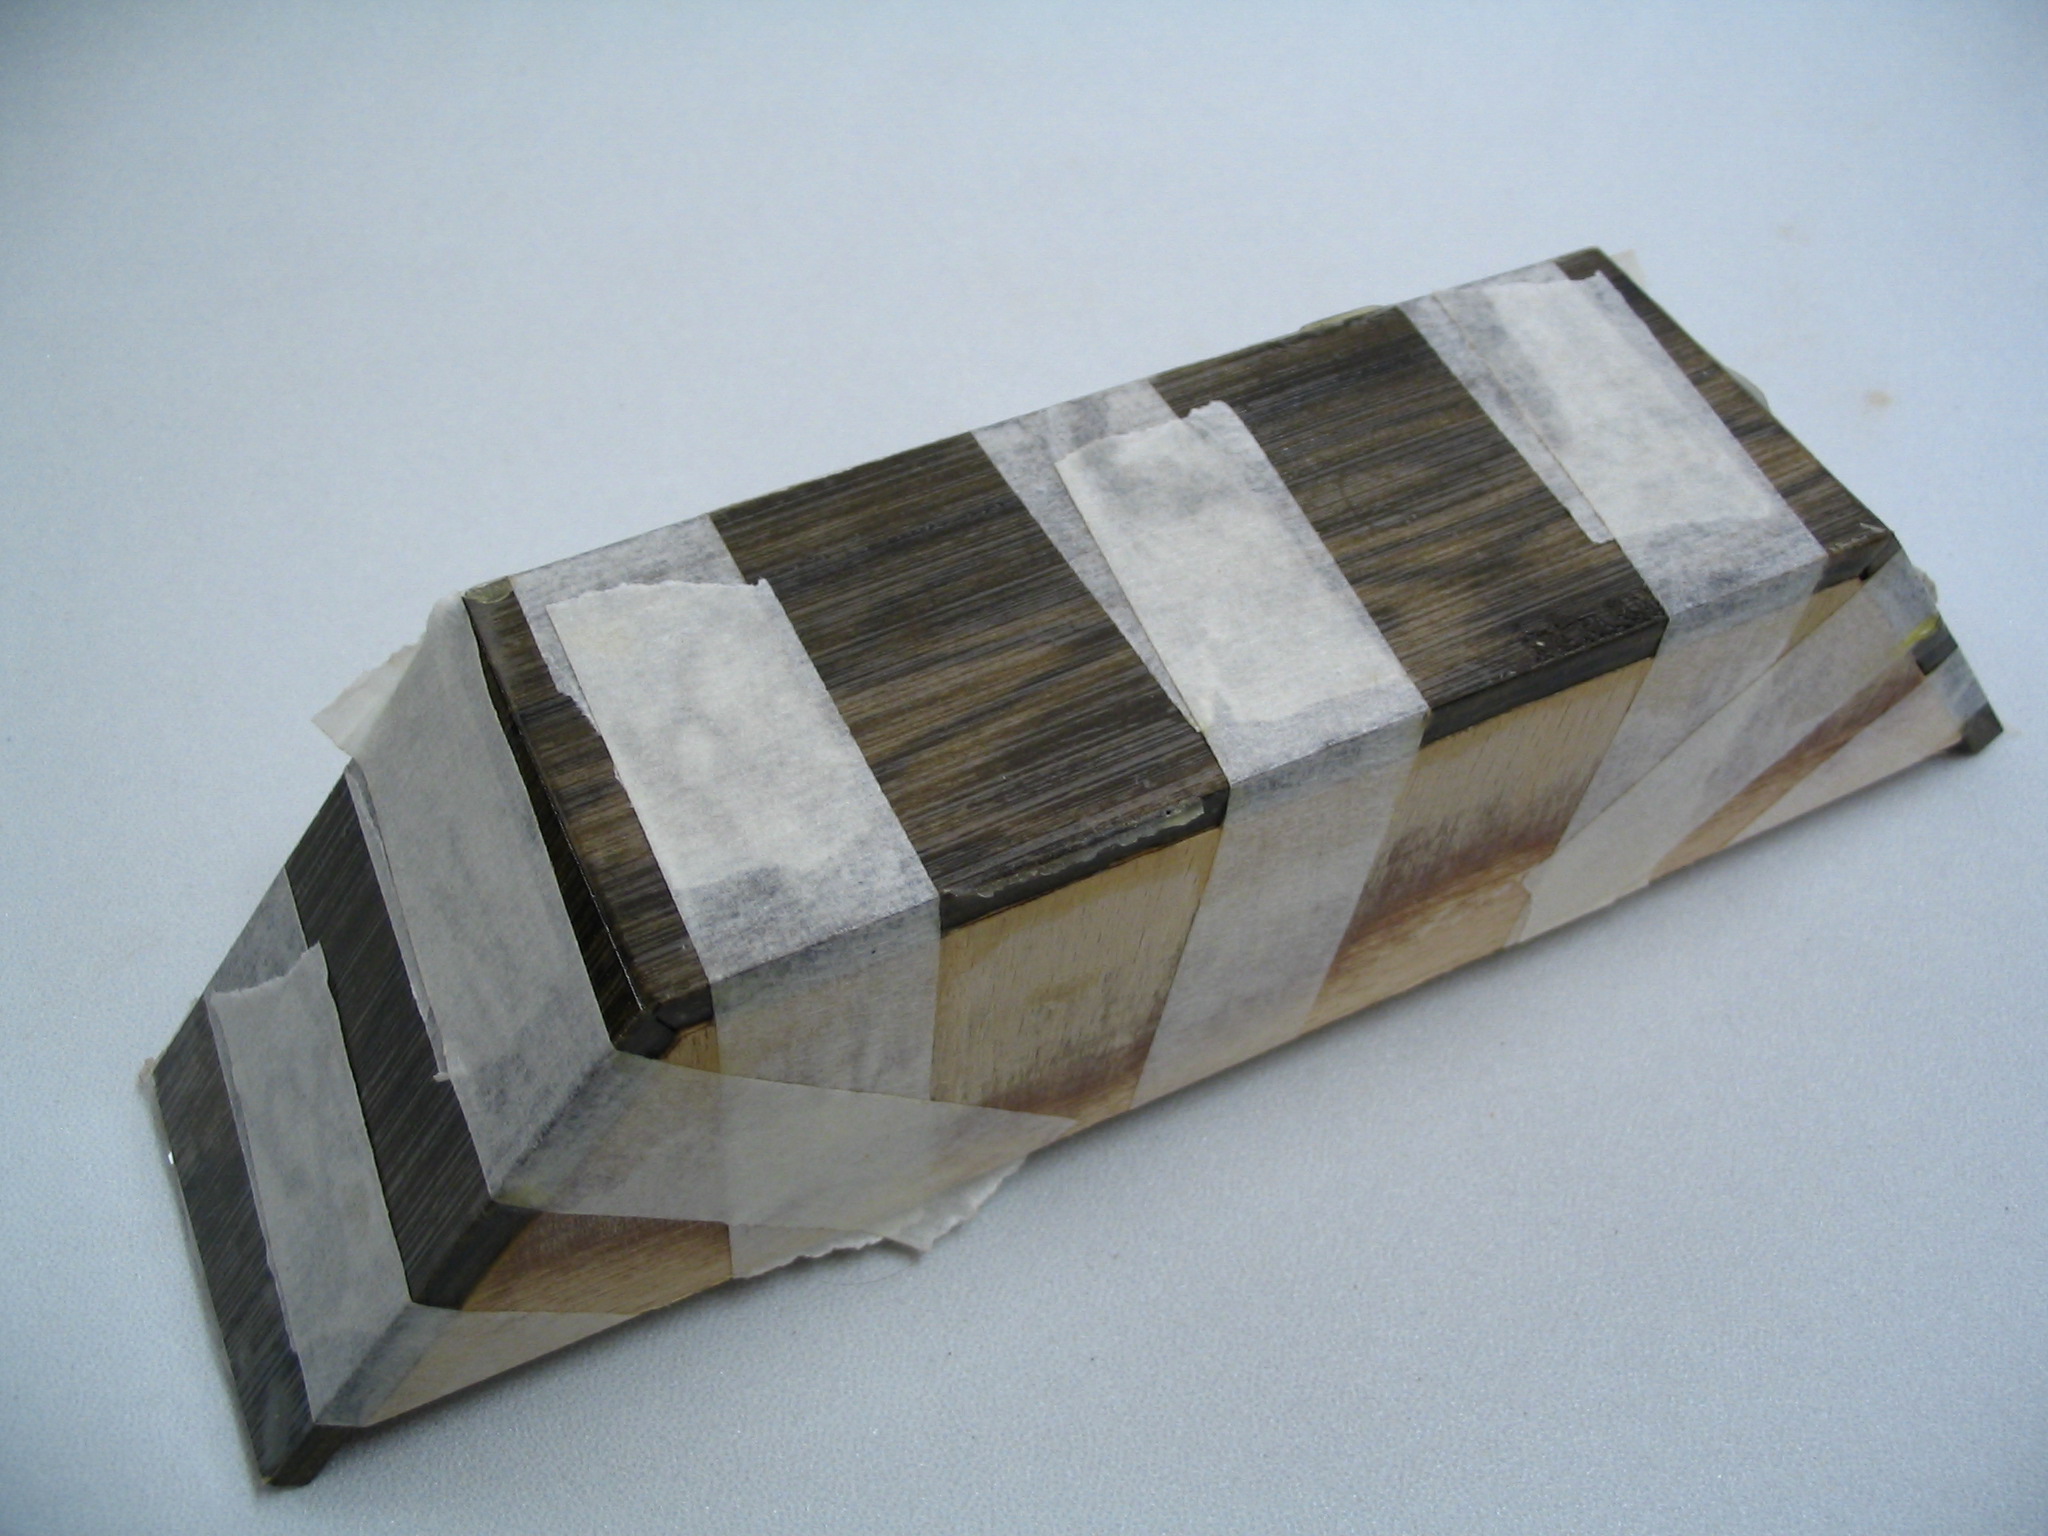
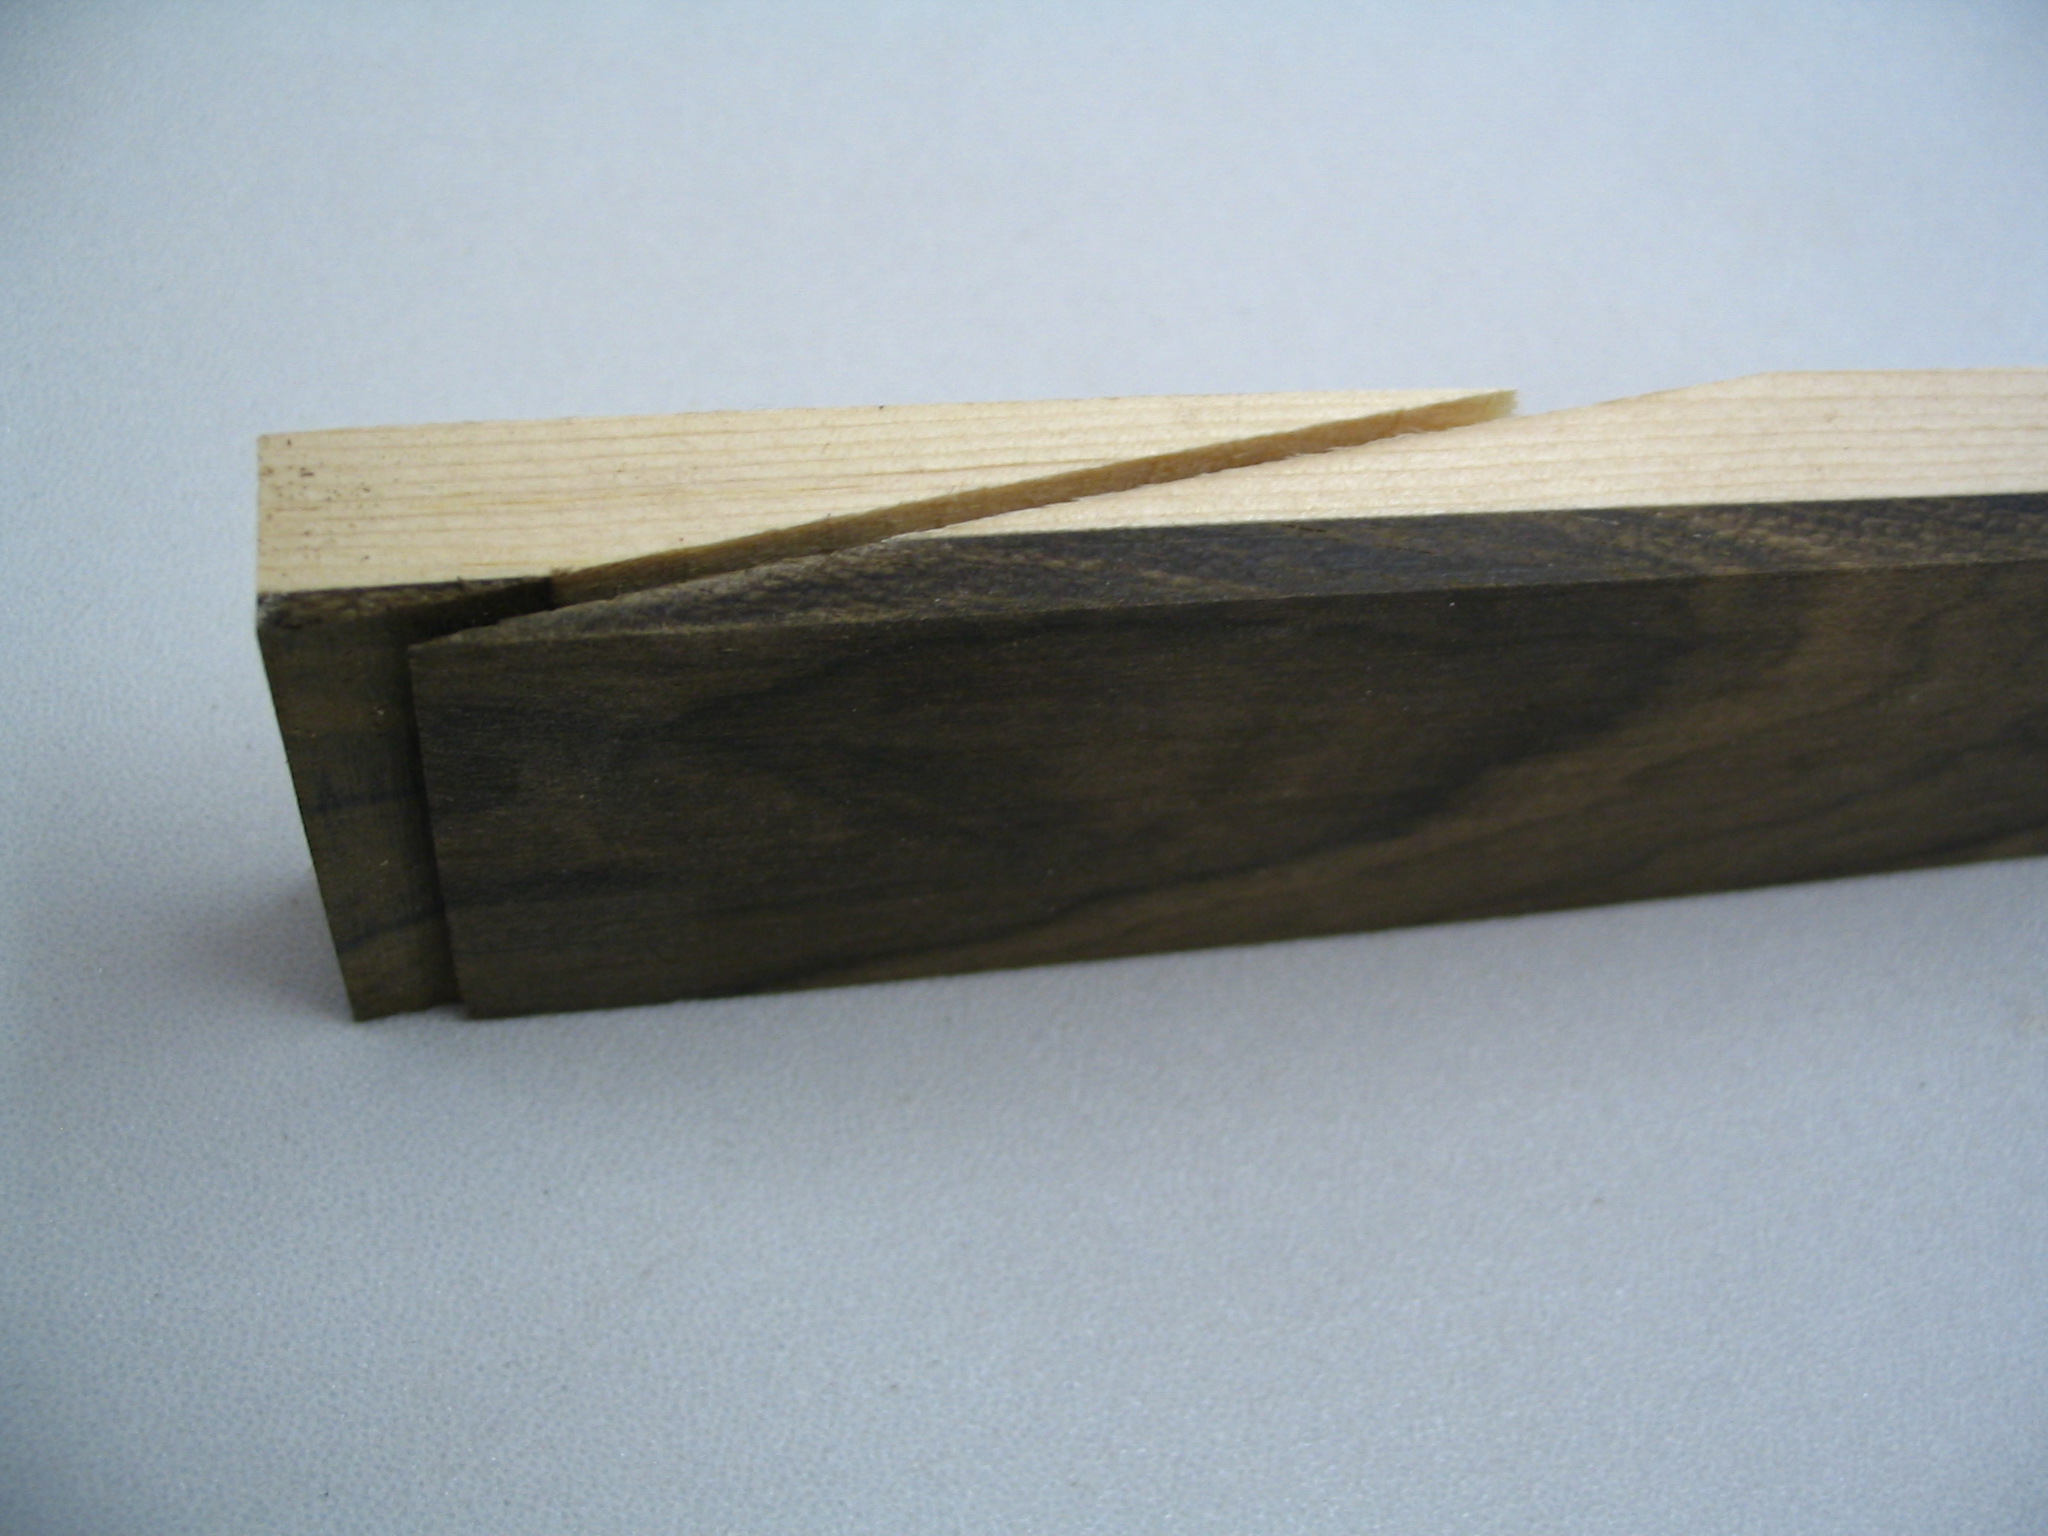
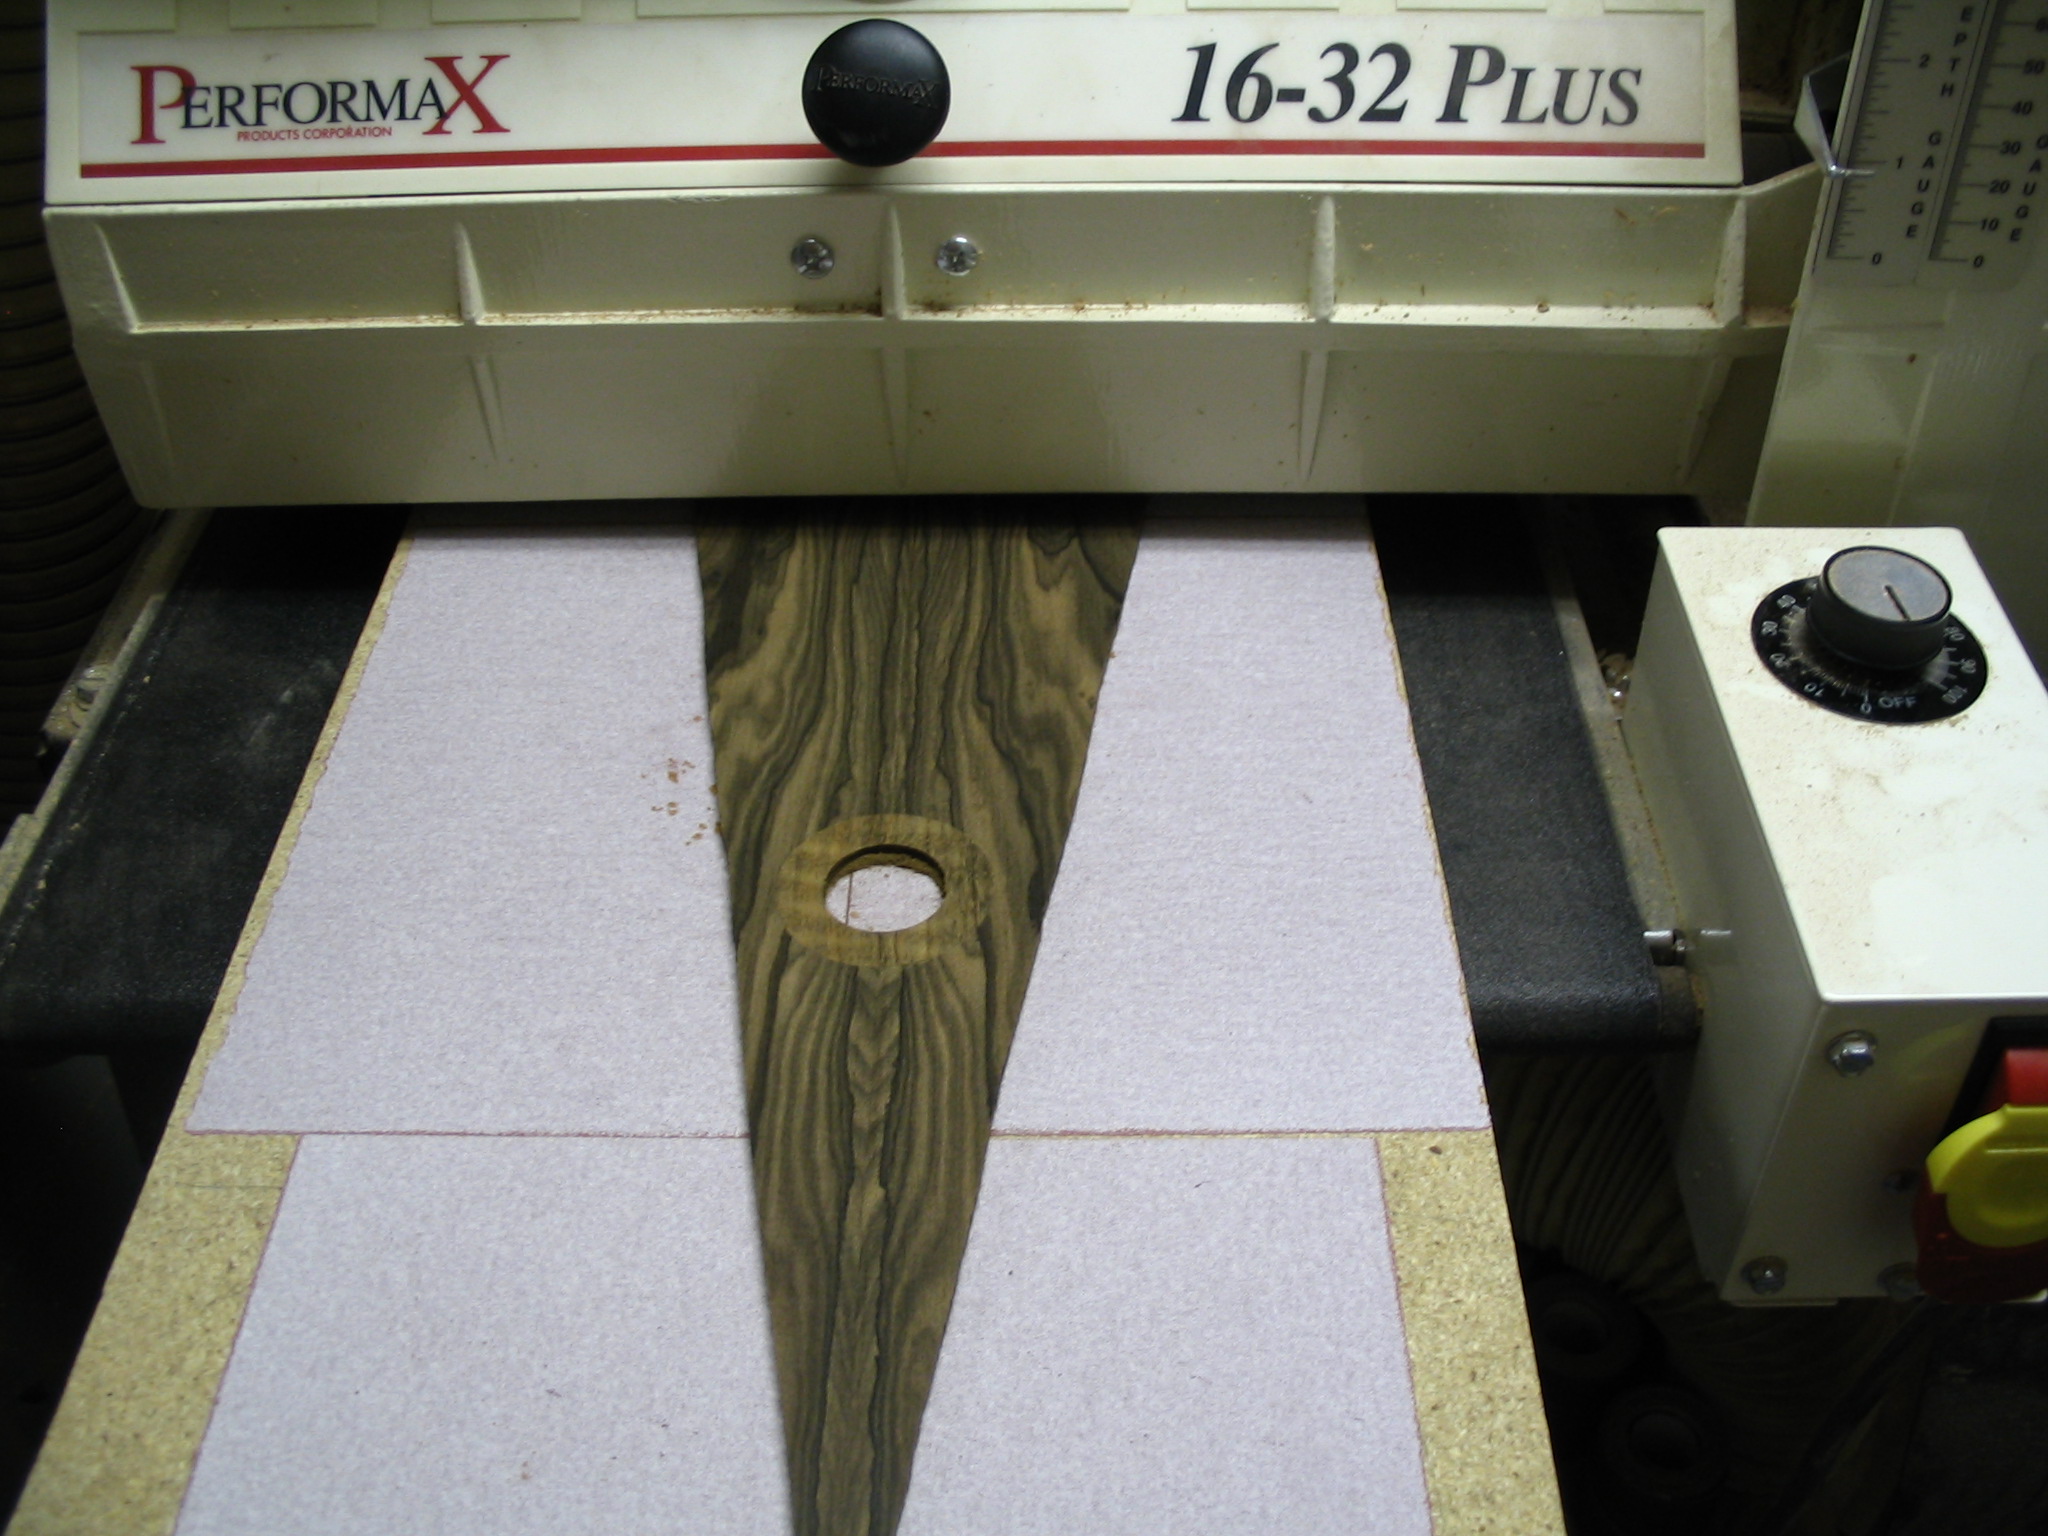
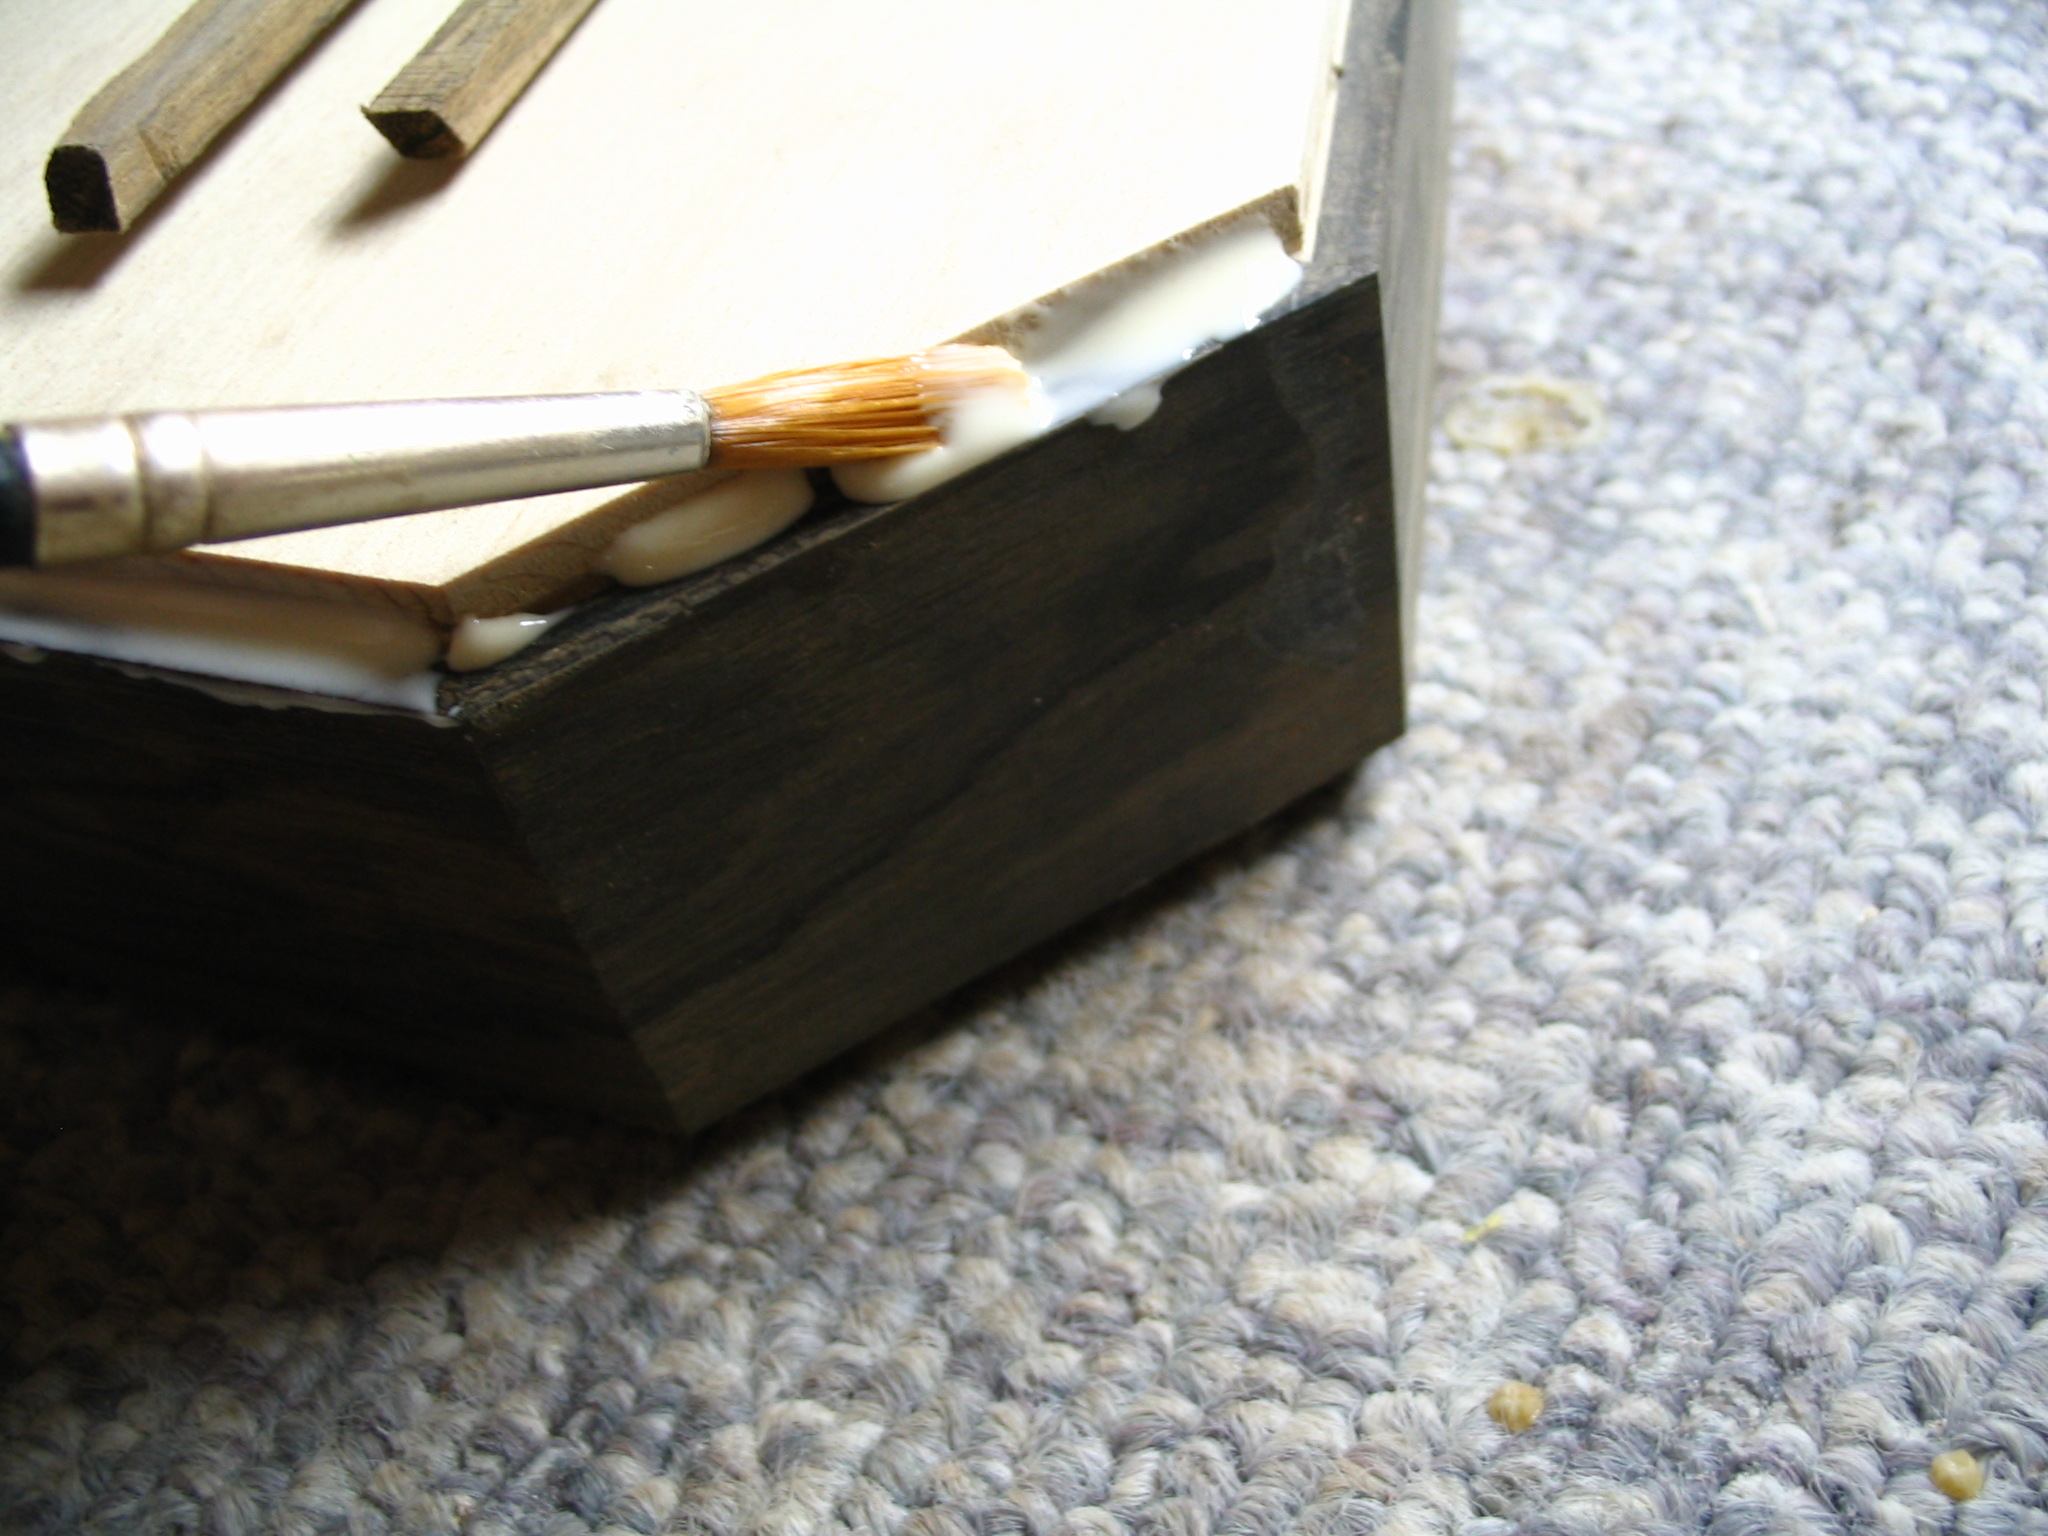
Once the sides have been laminated, clean up the glue squeeze out and assess the flatness of the pieces. Chances are, the pieces are bowed slightly from end-to-end, usually in the neighborhood of 1/32 to 1/8″ along the two foot length of the board. Also, it is not uncommon to have the two laminations shift or slide ever so slightly during glue up, (usually under 1/16″).Use a jointer to square up and level the sides where the pieces have shifted out of square. As for the face-grain of the laminated sides, jointing them flat after lamination may prove impossible, or greatly impractical, due to the thinness of the laminations and the balance needed between the two laminated woods. If the piece is close to flat and needs only minimal jointing, then it may be beneficial to joint the sides completely flat for ease of machining and gluing in future operations. But if there is a pronounced bow in the middle of the laminated board, it may be best to simply leave it as is to preserve a consistent thickness throughout the length of the board and allow the gluing mold to straighten out the sides.
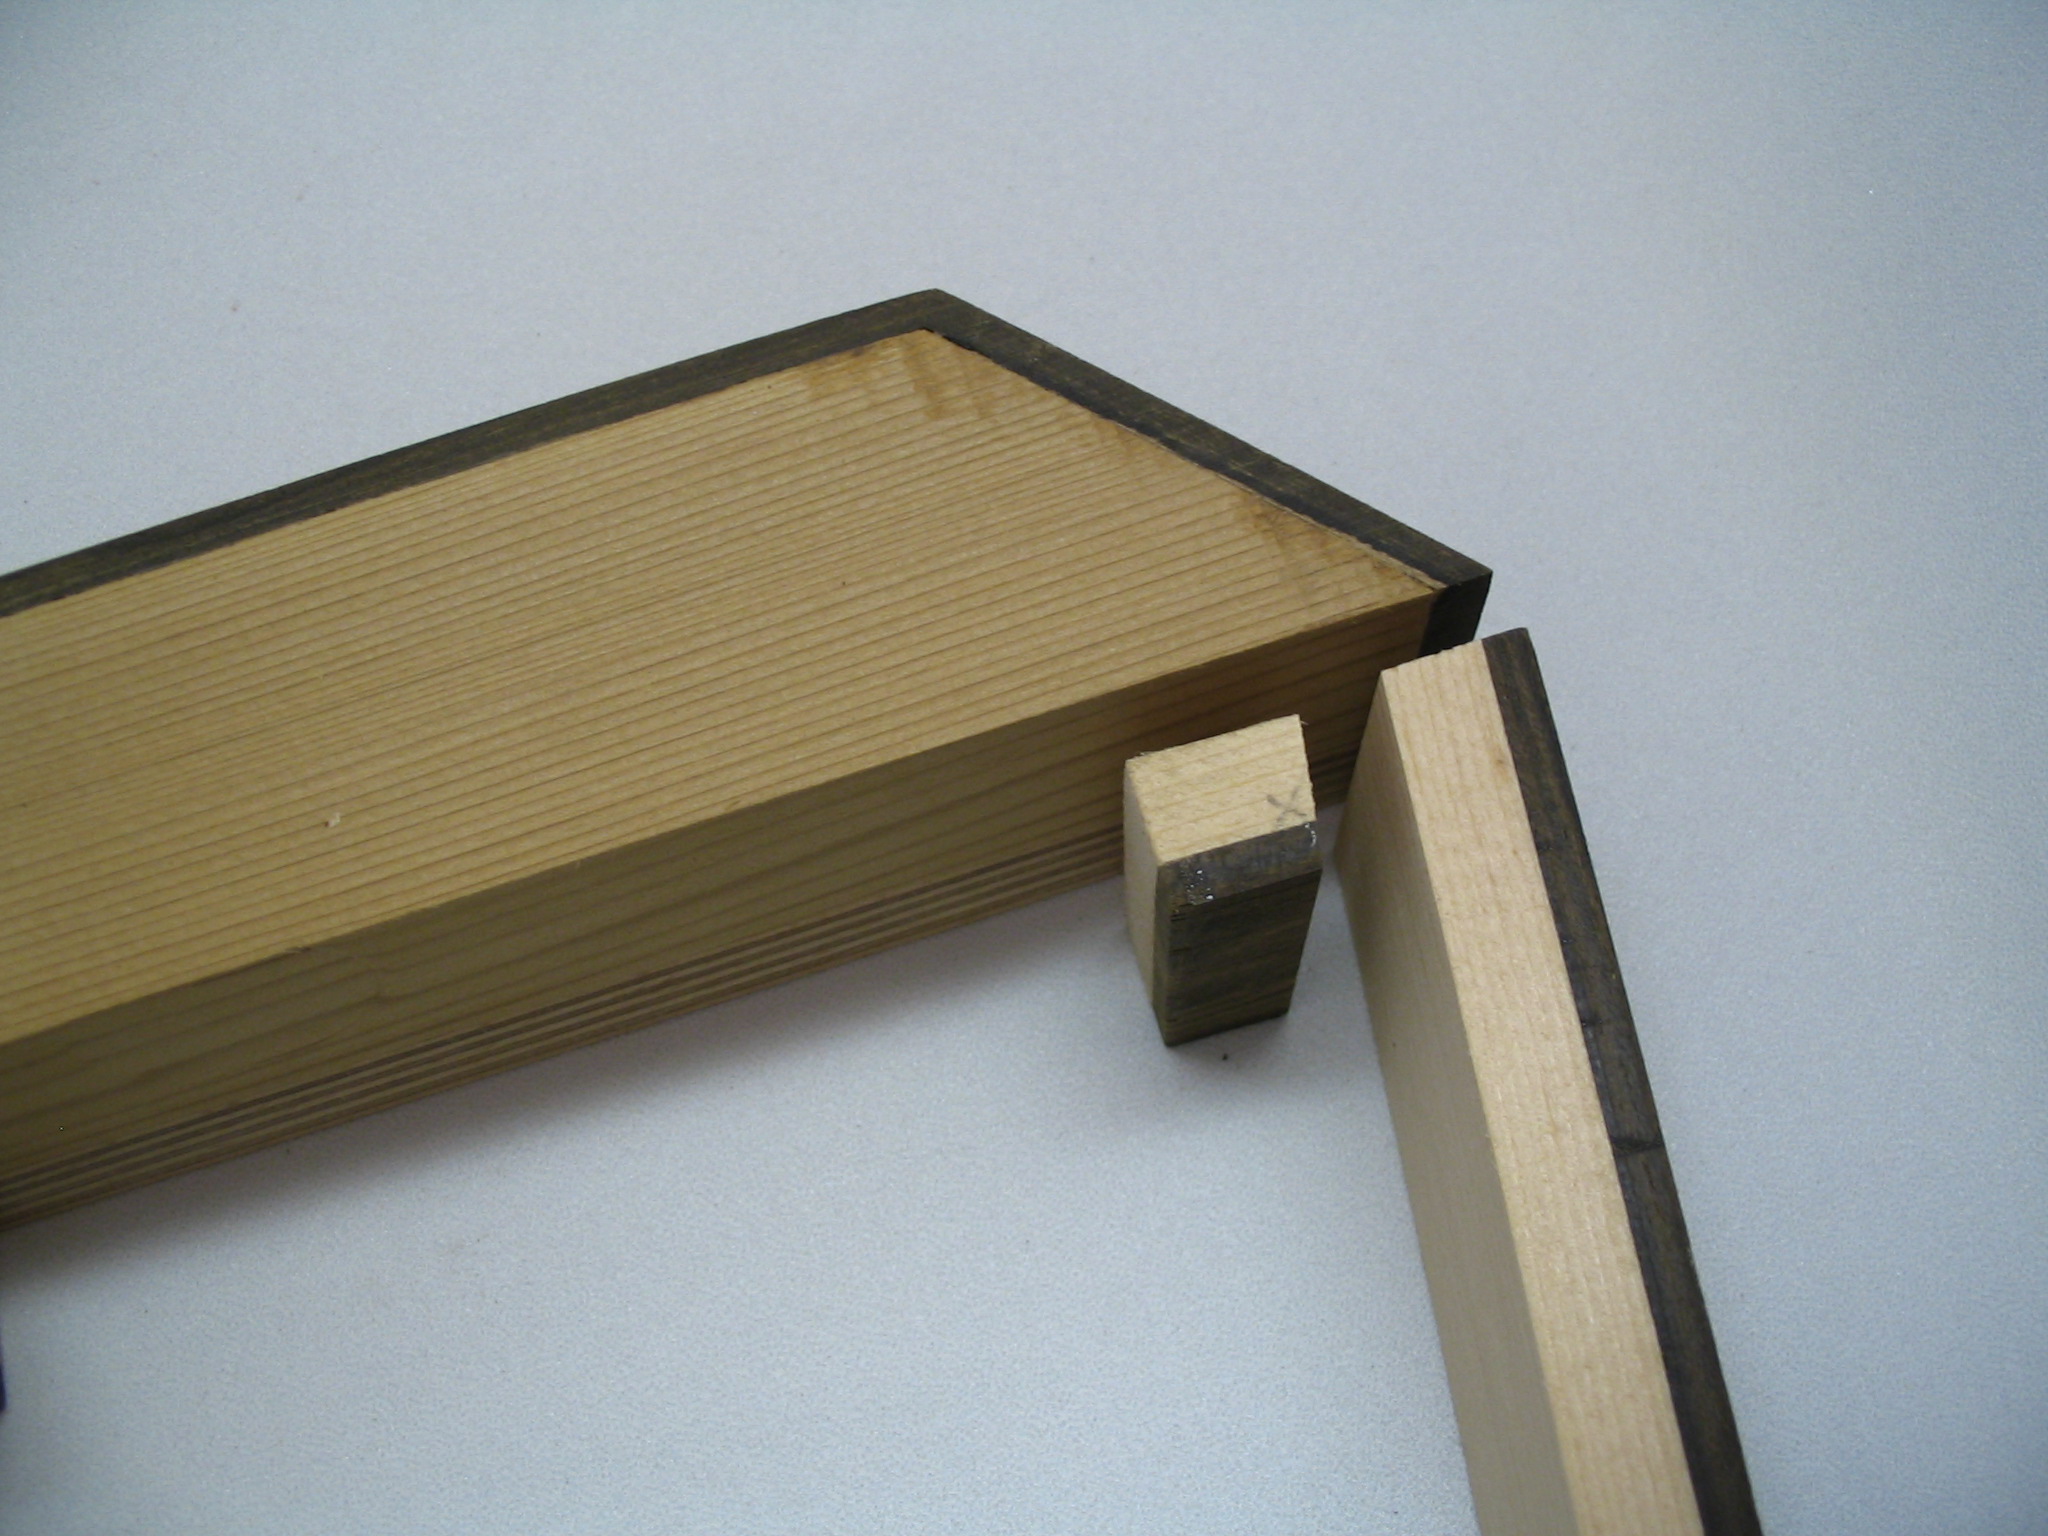
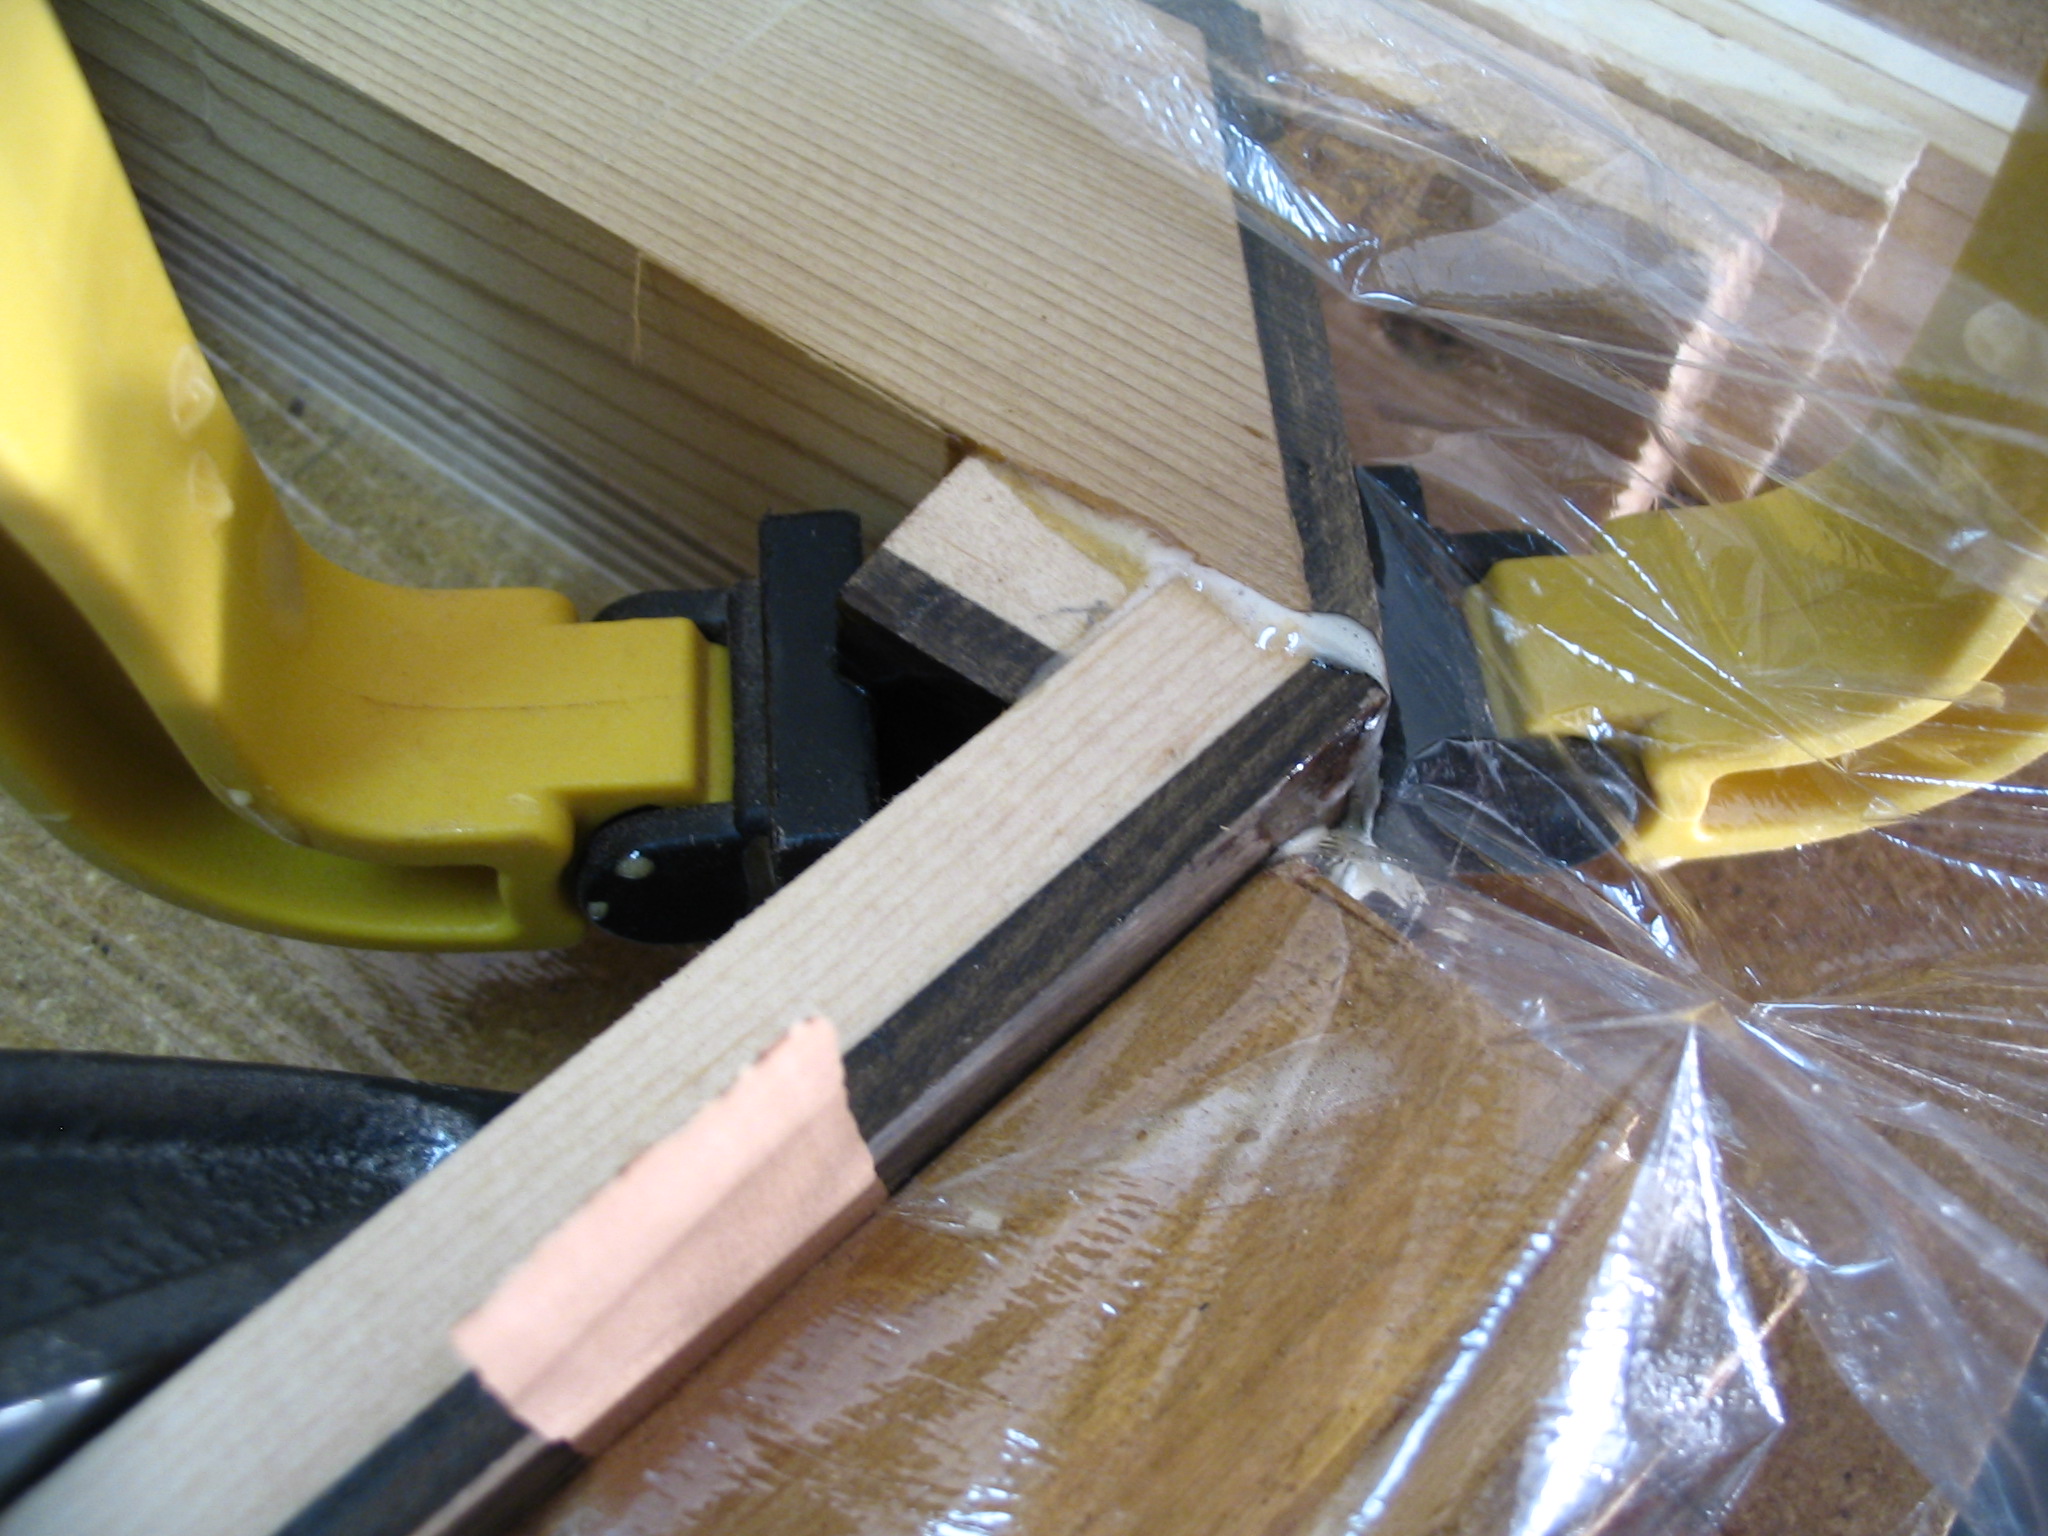
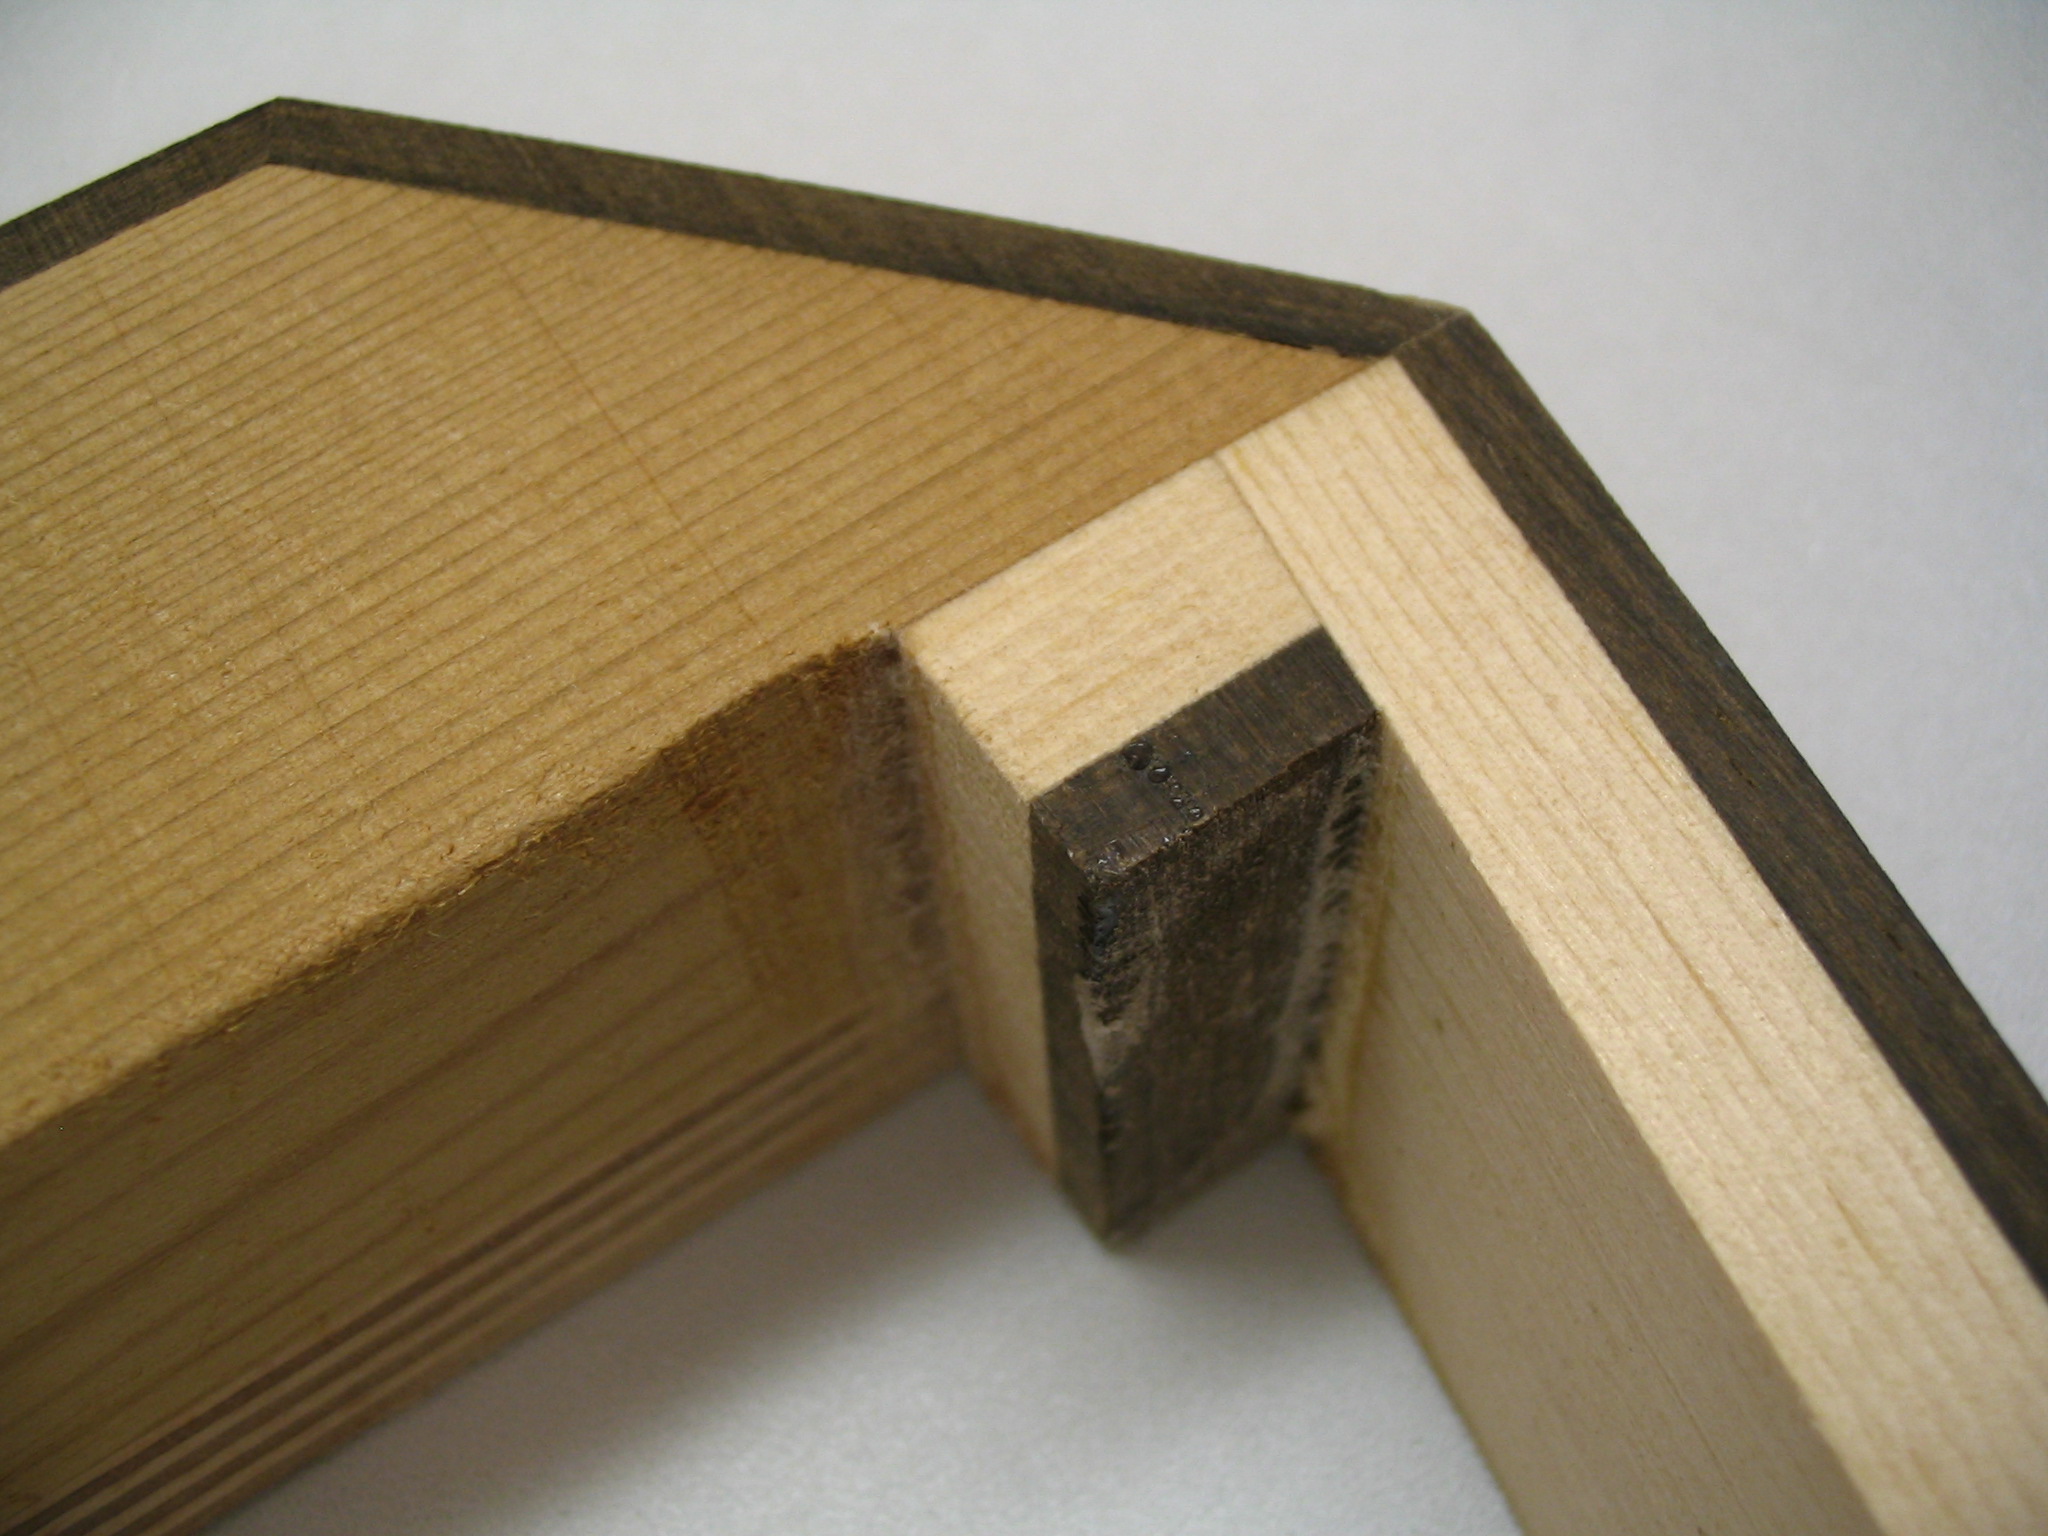
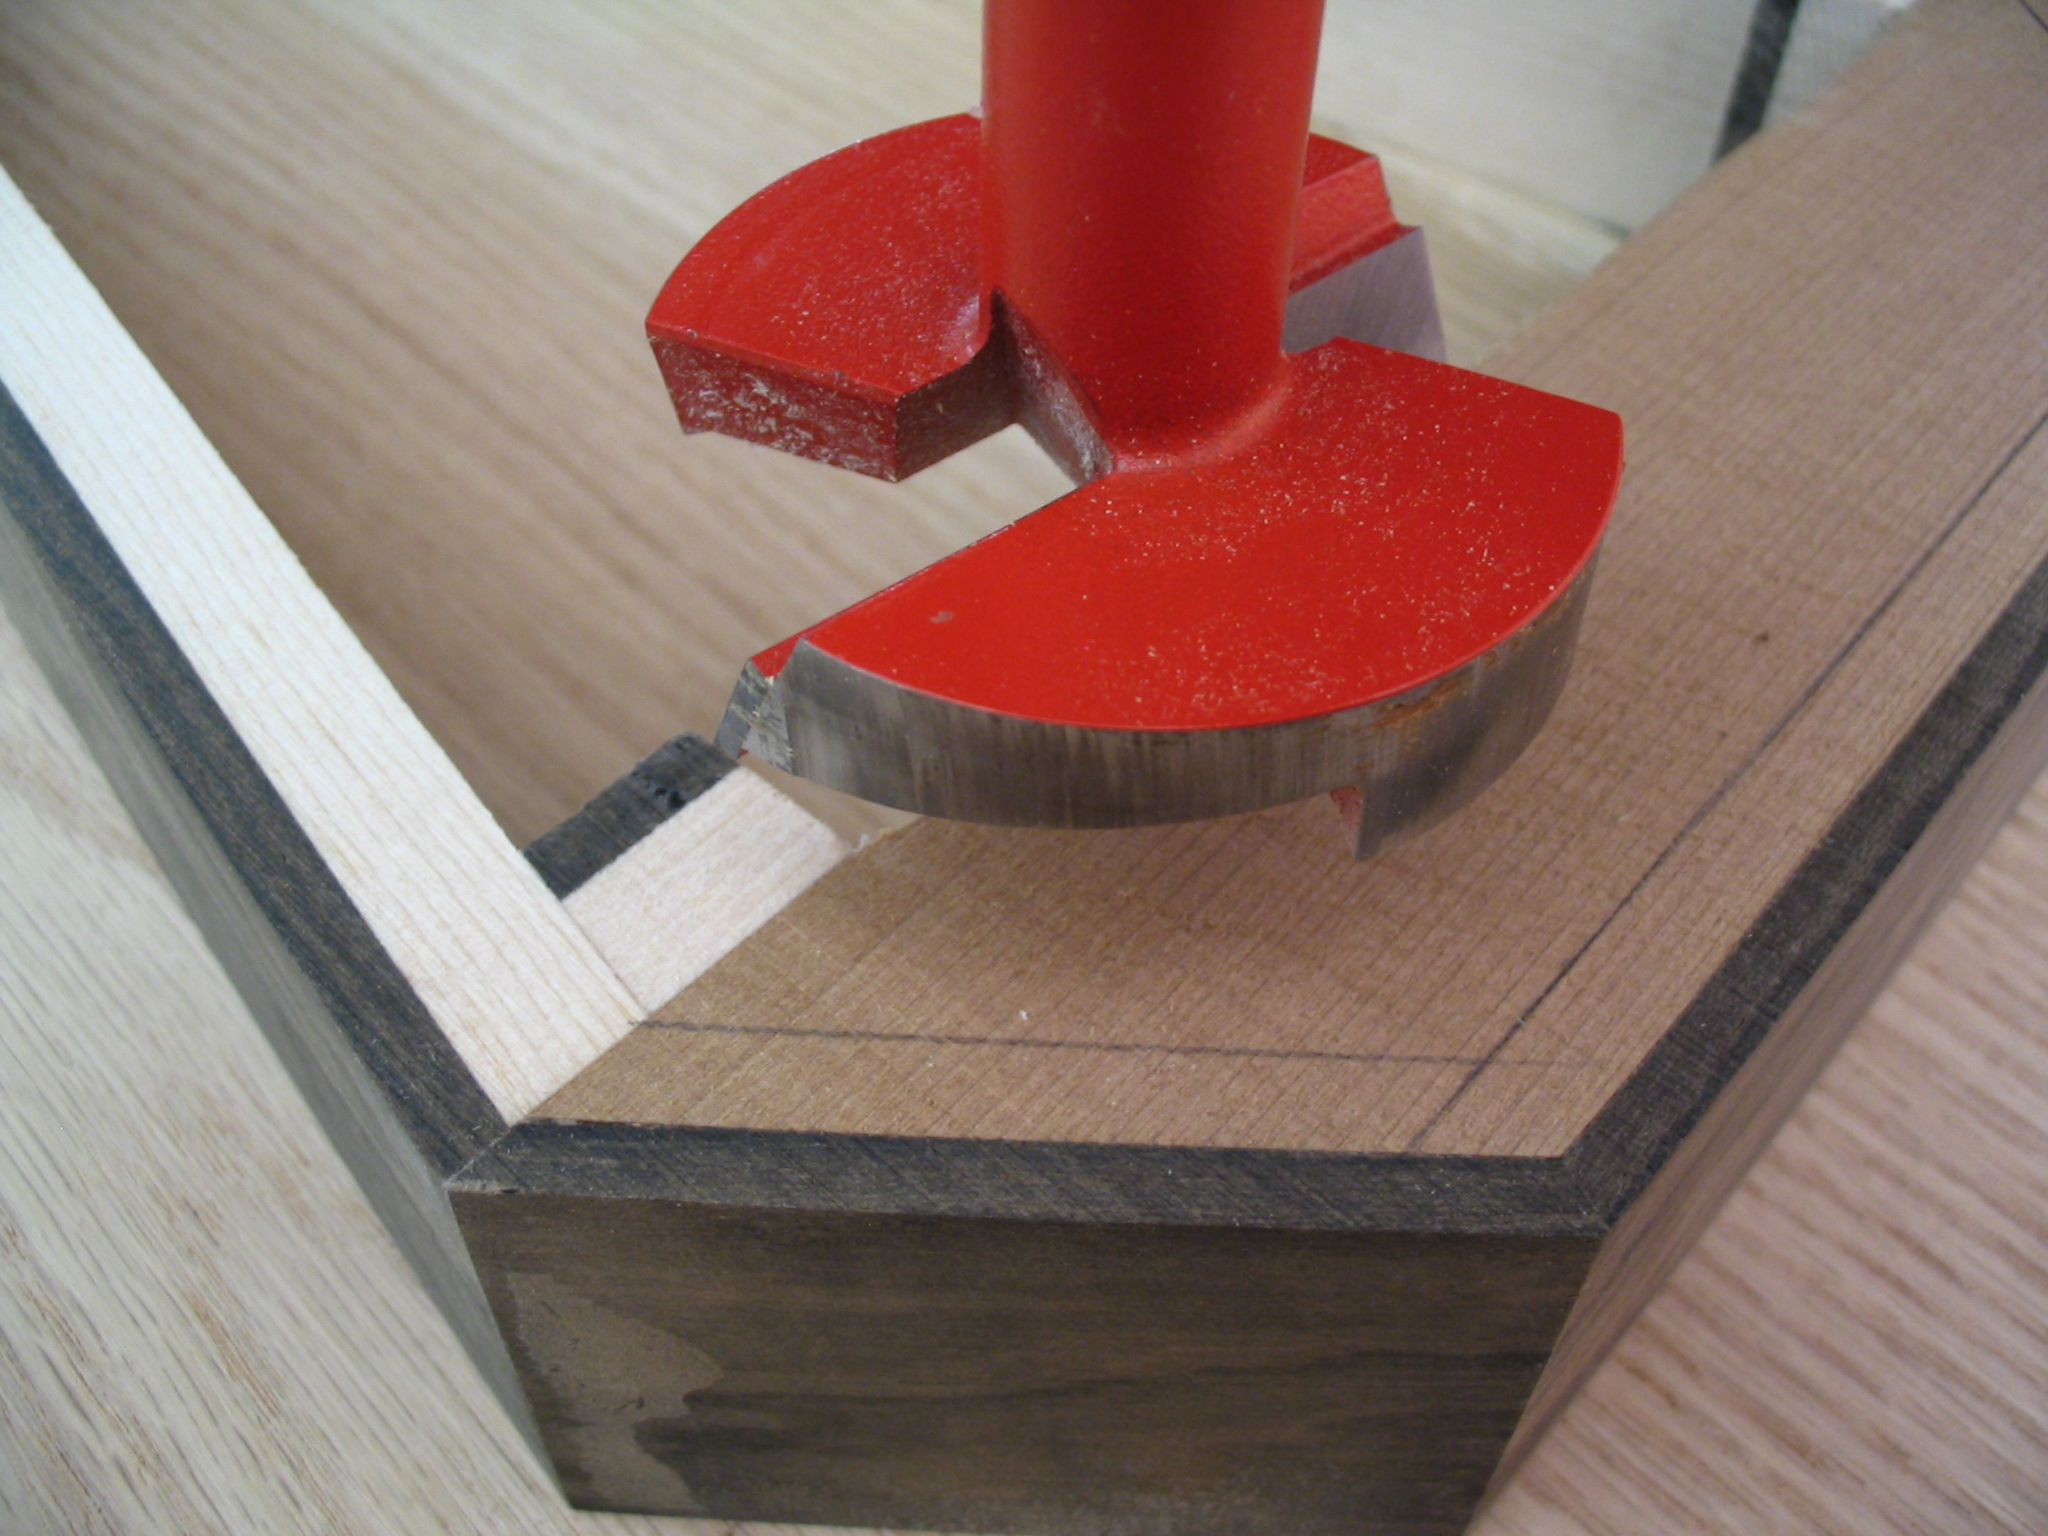
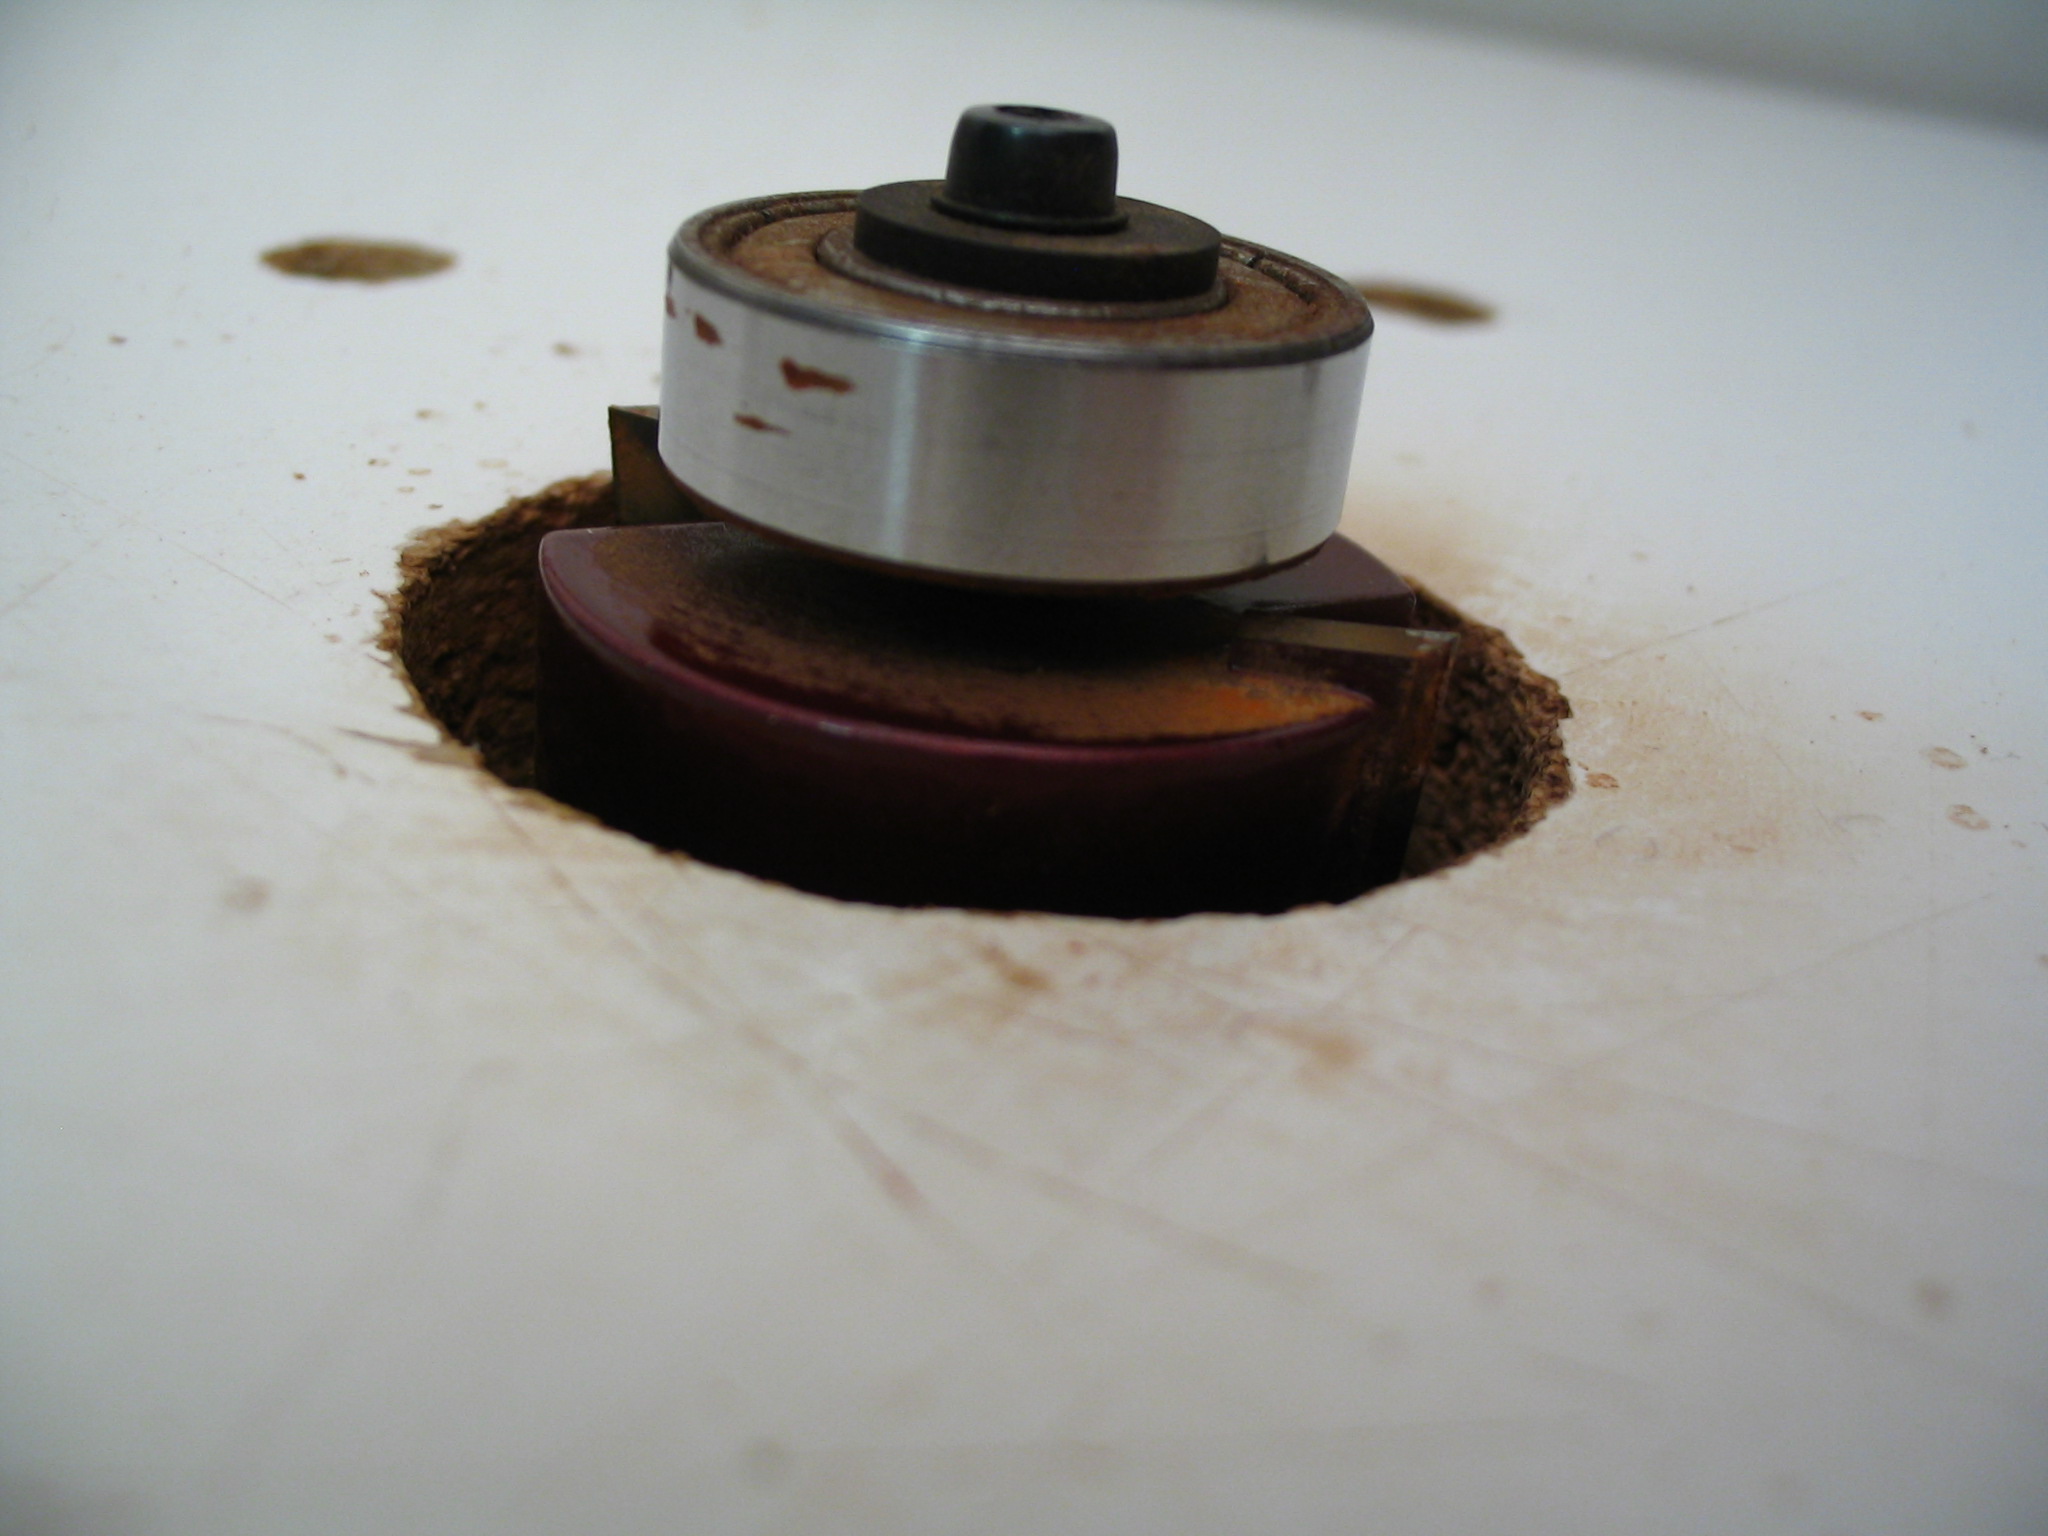
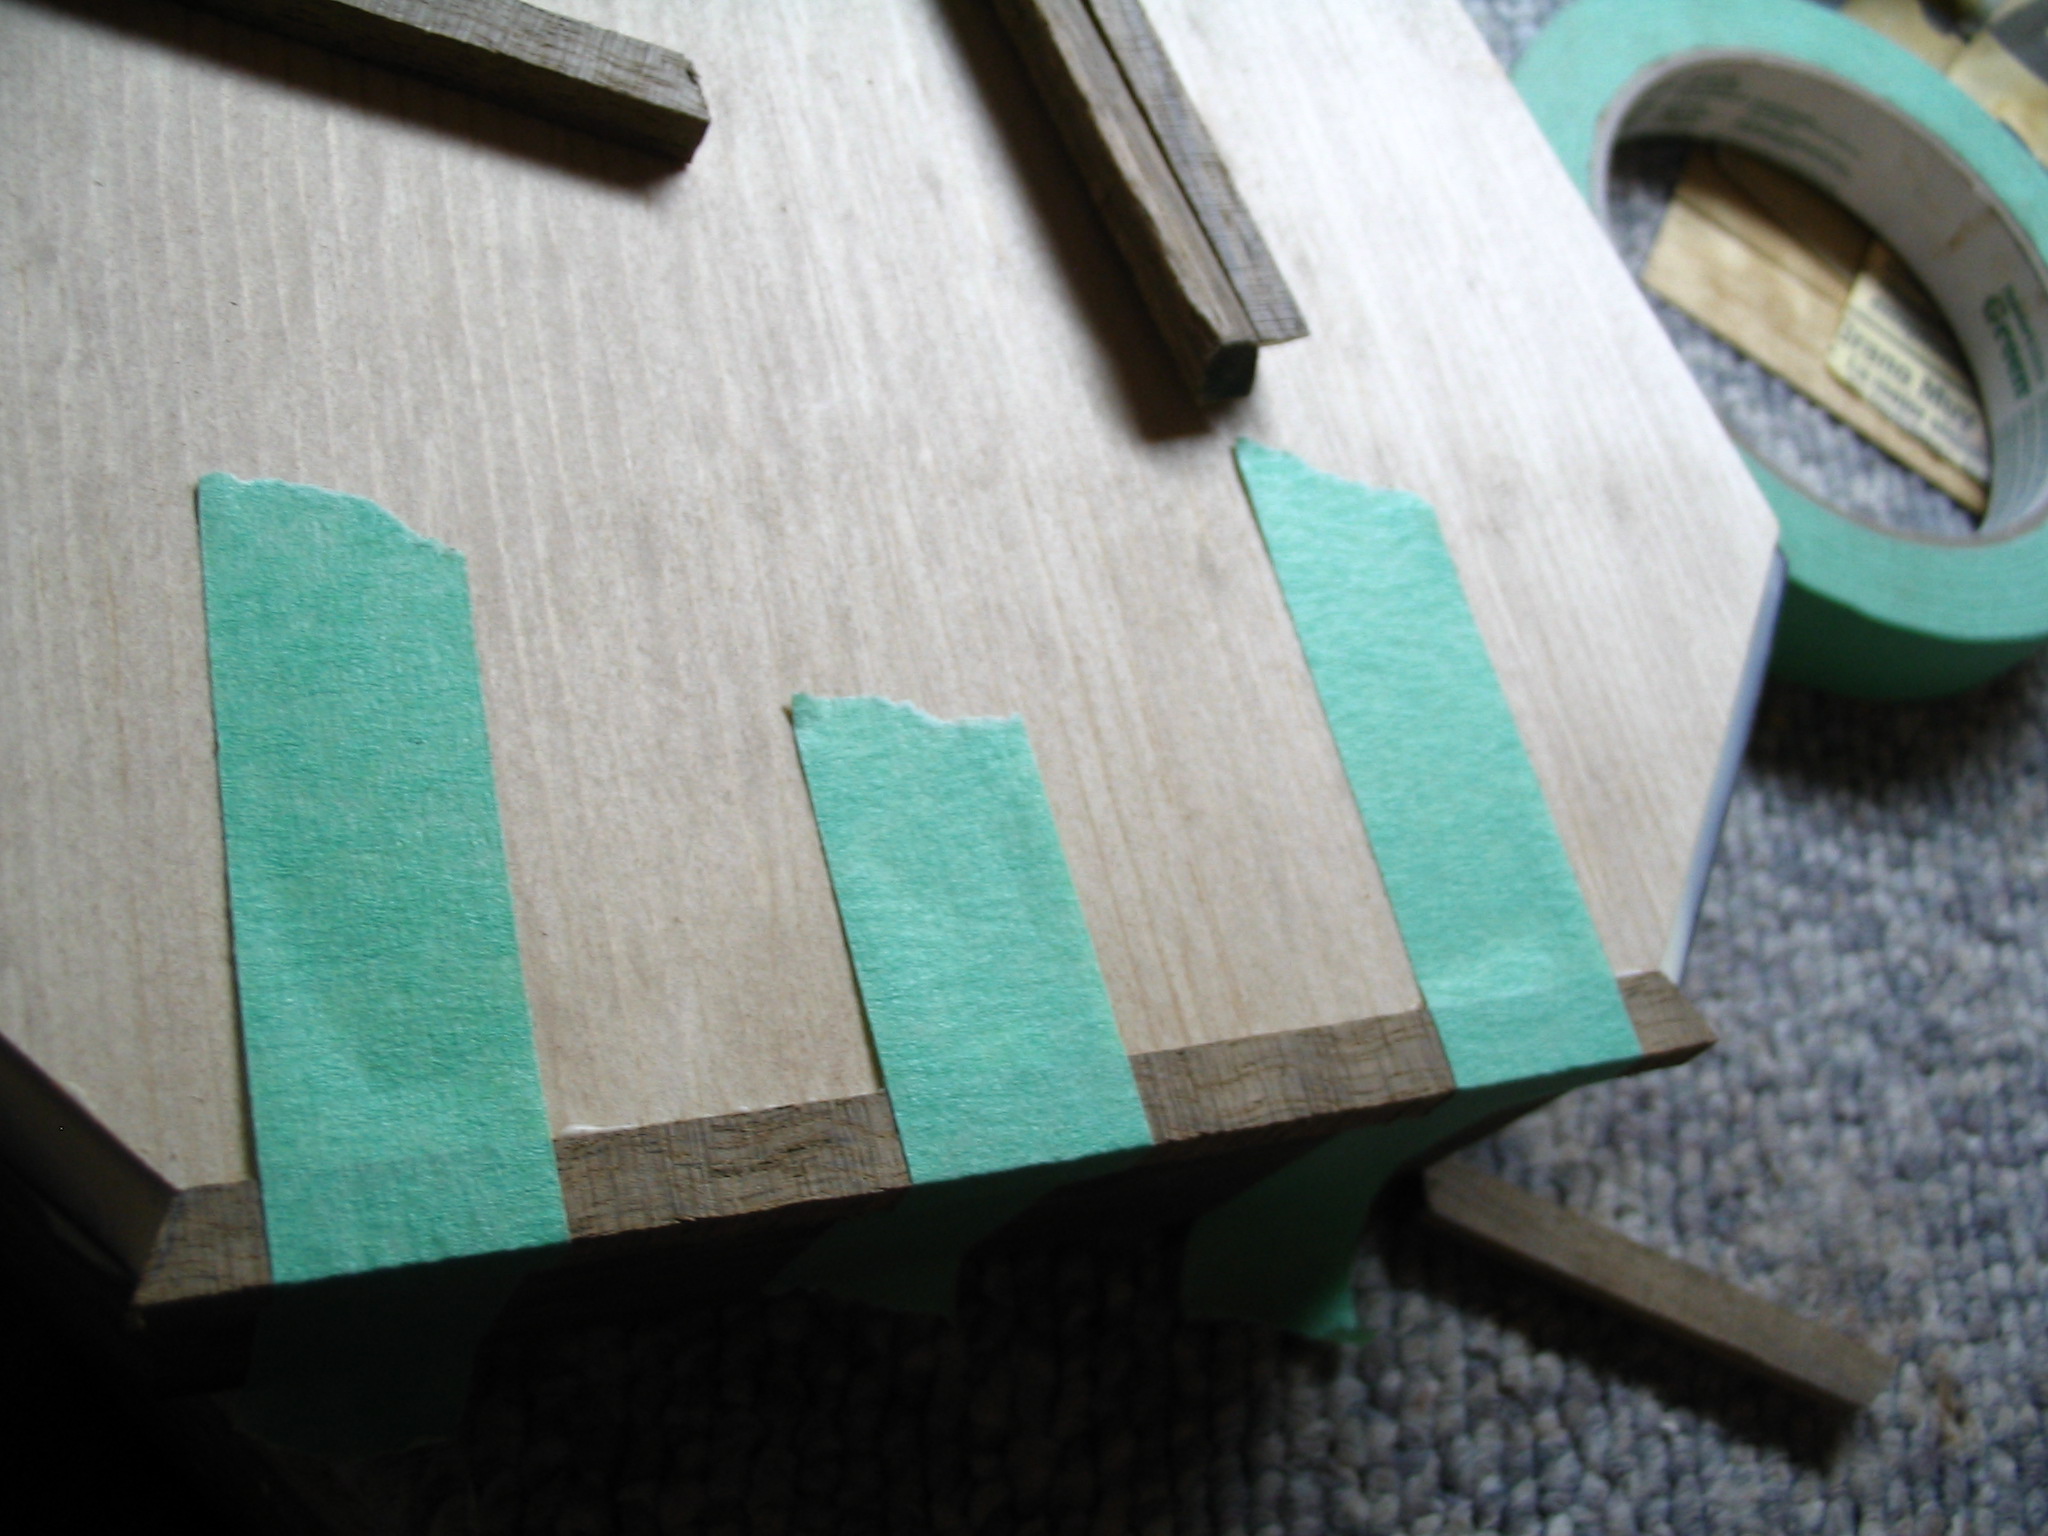
Once the sides have been laminated and squared, they should be mitered and cut to length in preparation for the assembly of the frame with the pinblock. First it’s necessary to construct a cutting jig for the ten degree miter that will form the front tip of the instrument. Miter saws and most conventional tools will not allow you to make an 80 degree cut, usually maxing out at about 45 or 50.
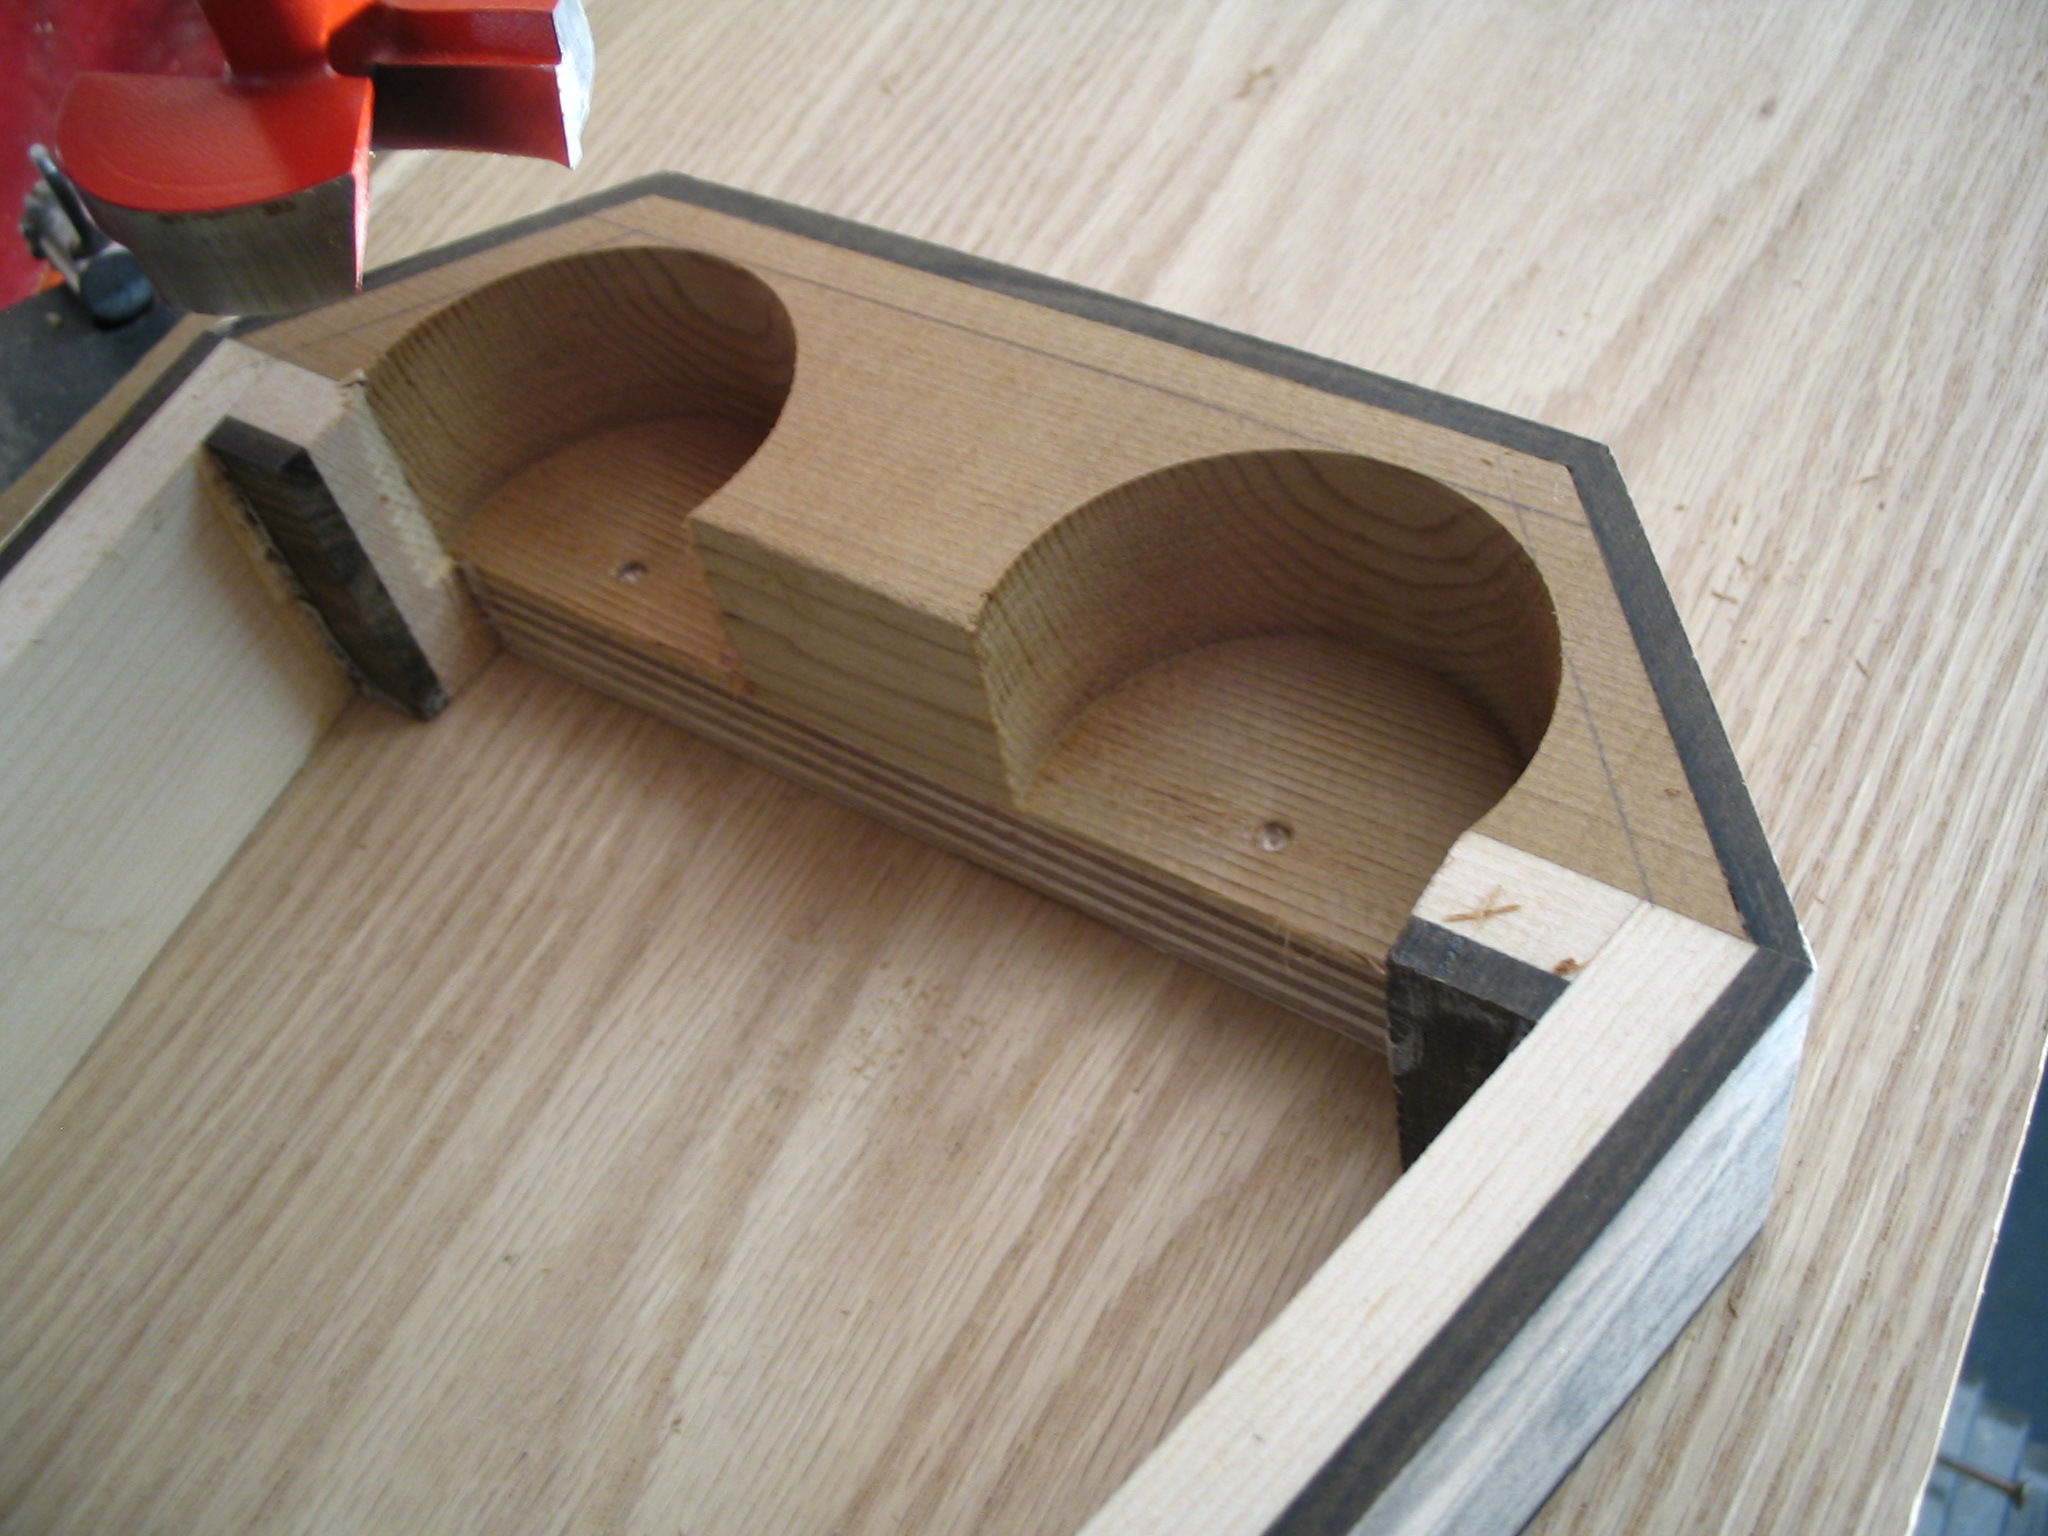
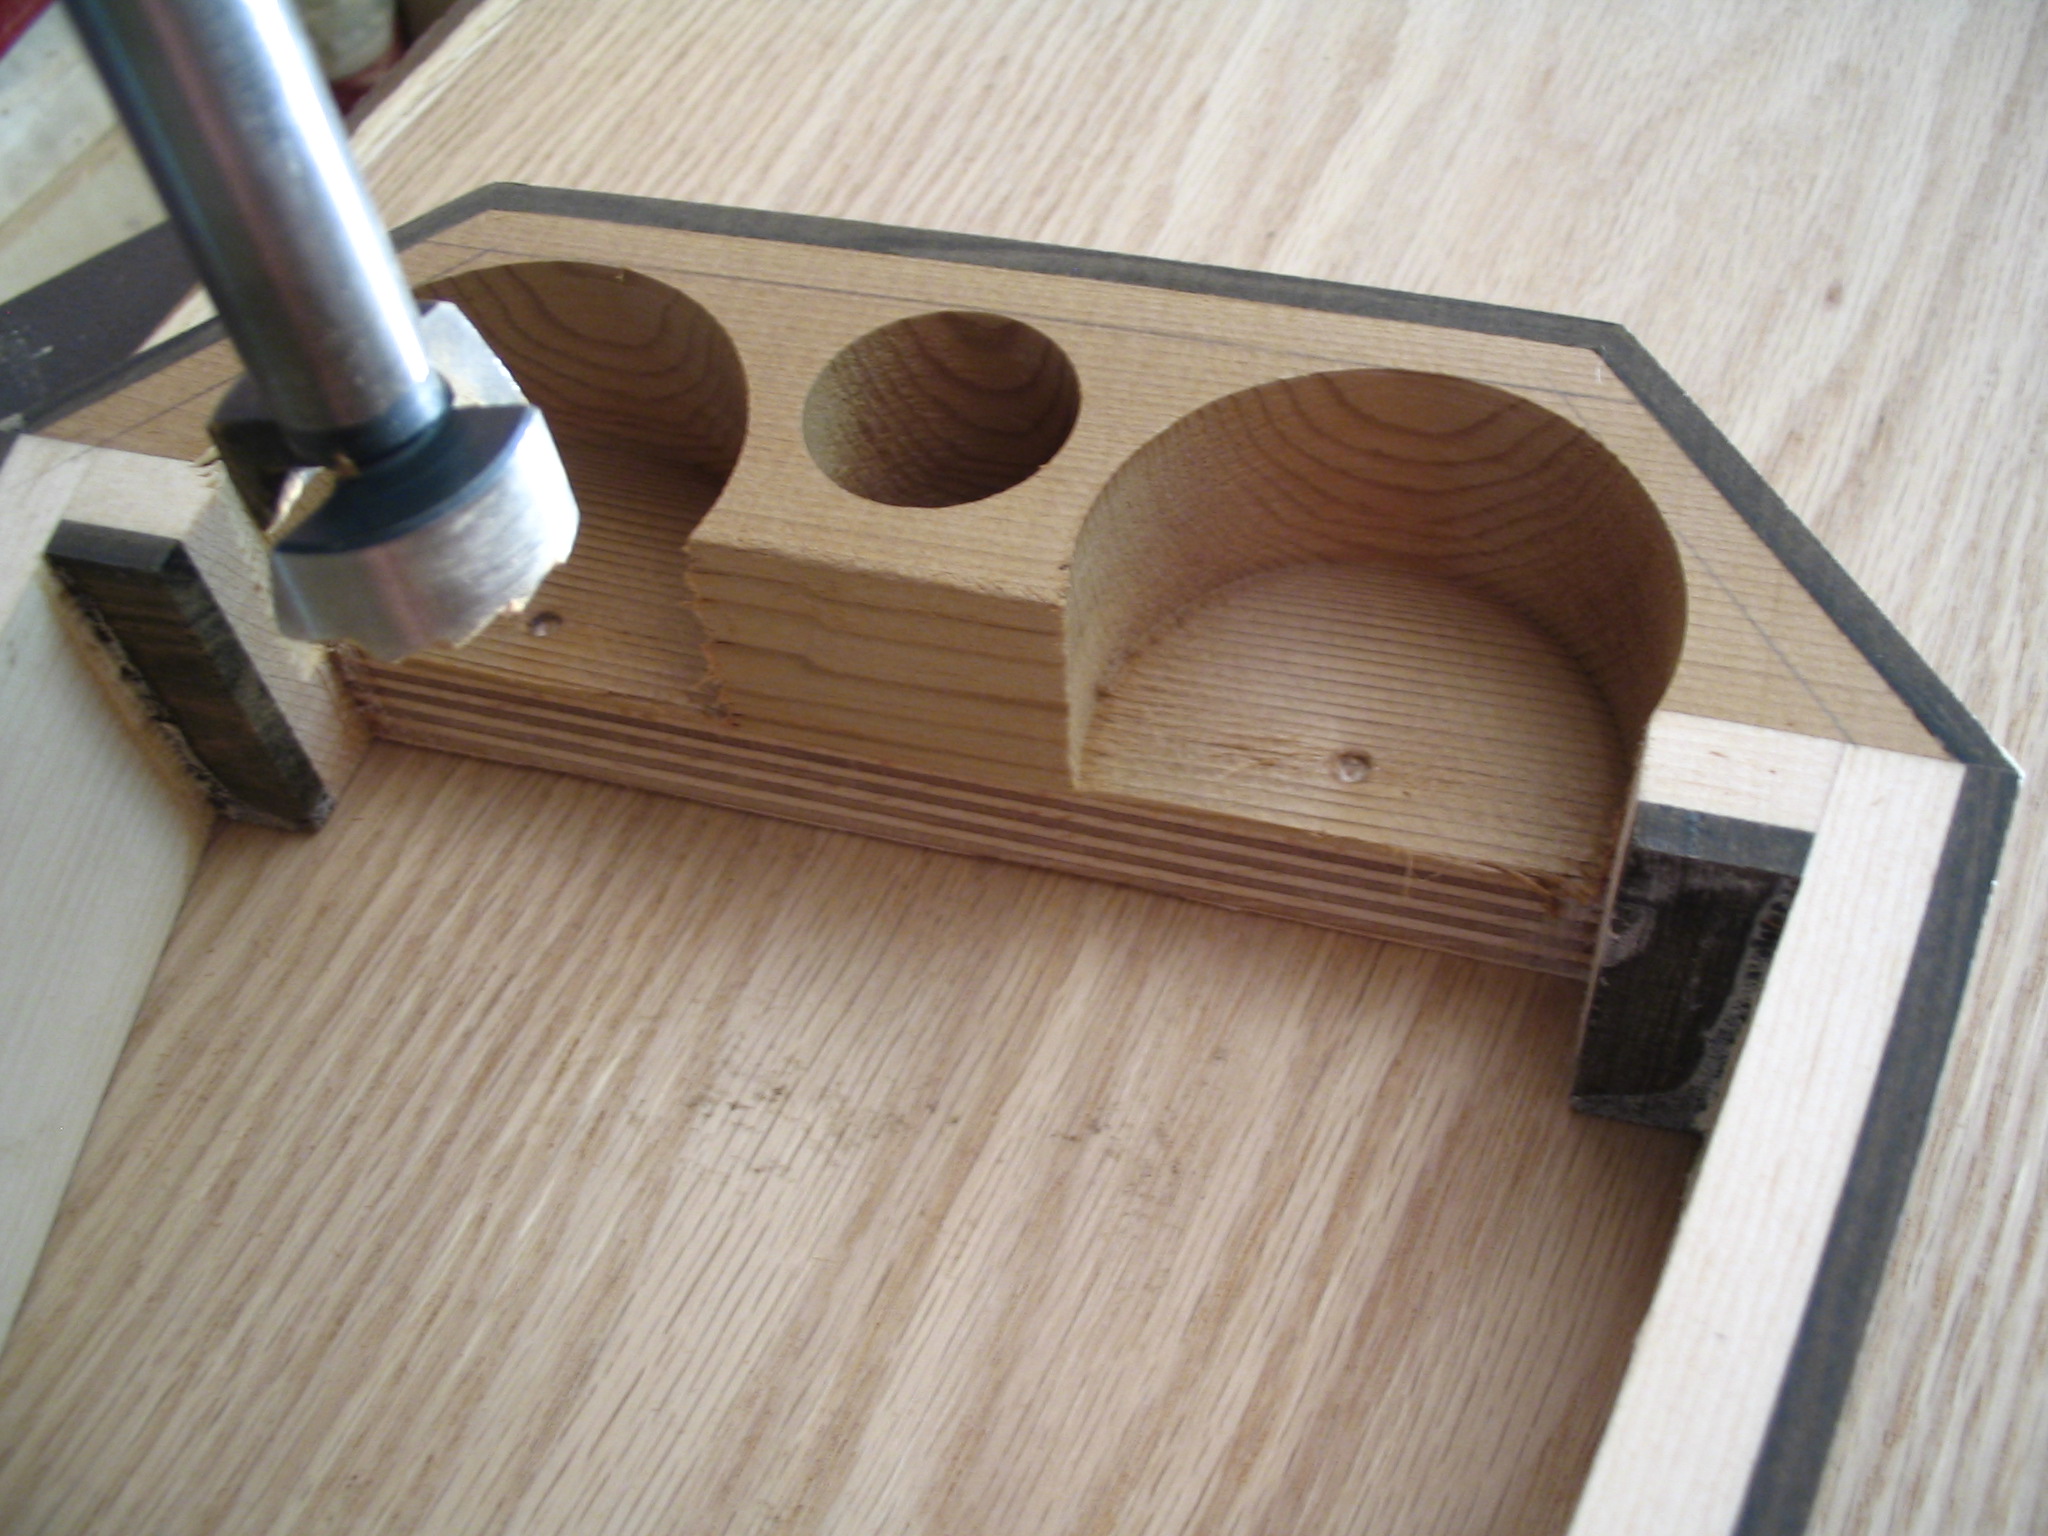
Pinblocks and pinblock liners
Fitting and gluing jig
Chapter 3: The Soundboard
Selection and sizing
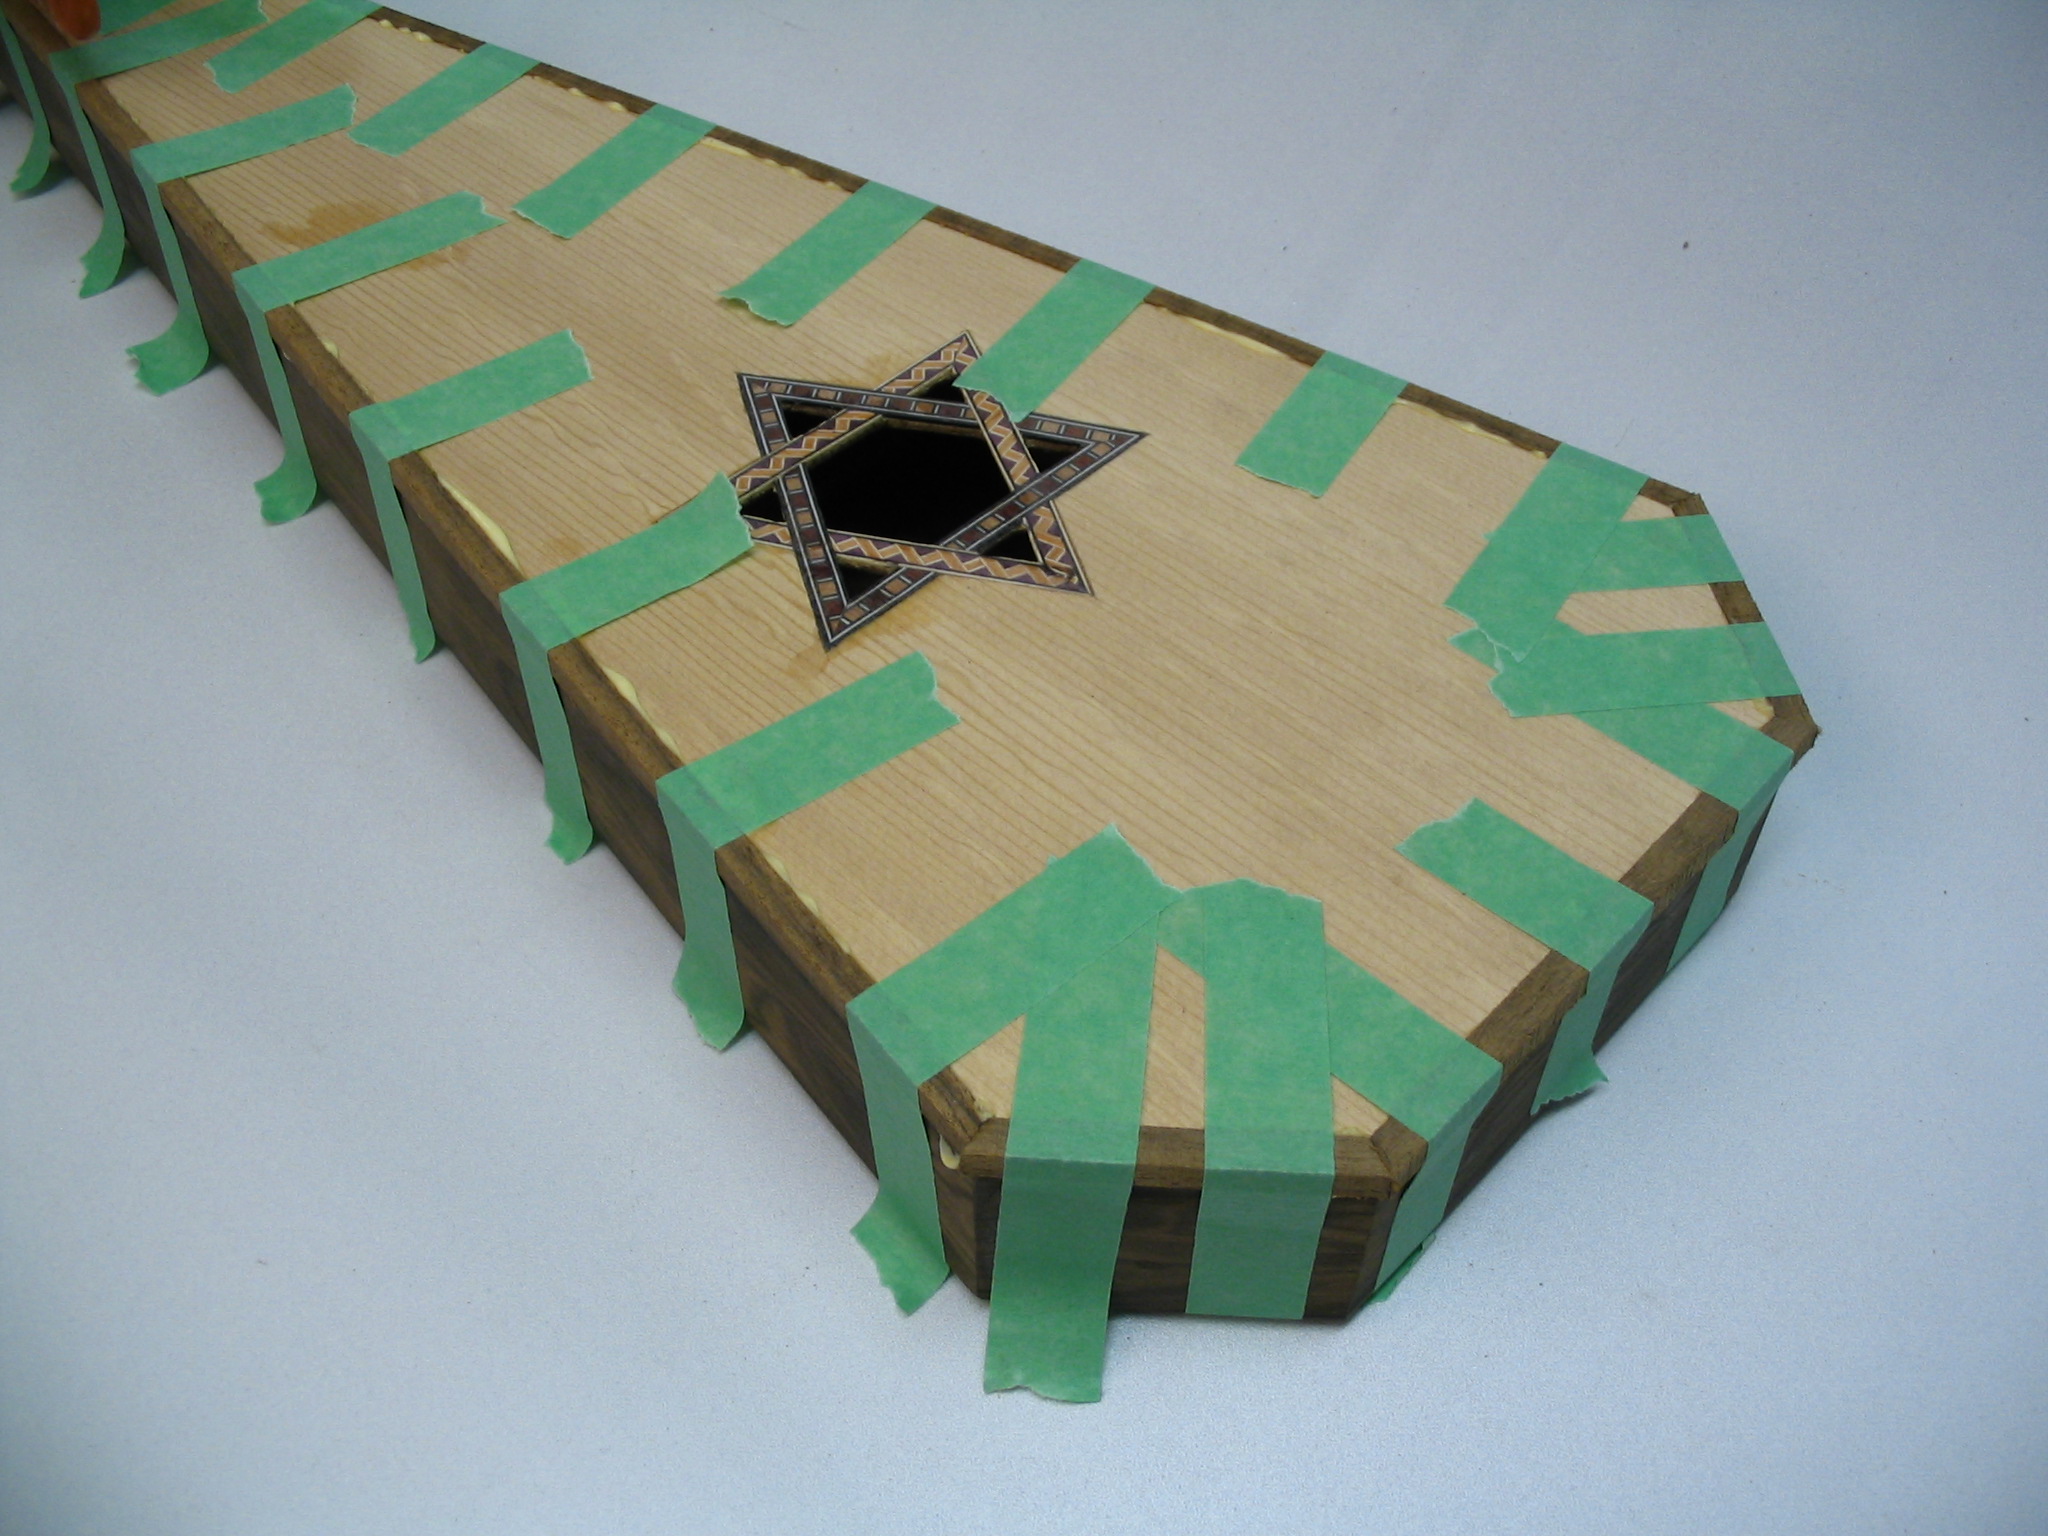
The soundhole
Bracing
Chapter 4: The Back
Selection and sizing
Optional modifications
Chapter 5: The Binding and Bridge
Binding
Bridge
Chapter 6: Finishing Touches
Sanding
Pore filling
Finishing
Chapter 7: Layout and Drilling
Drilling Templates
Drilling
Note Markers
Chapter 8: Stringing
Inserting and notching the pins
Stringing
Tuning
Chapter 9: Playing and Maintenance
The bow
Playing techniques
Maintenance and cleaning
Appendix:
Adhesives
Soundboards
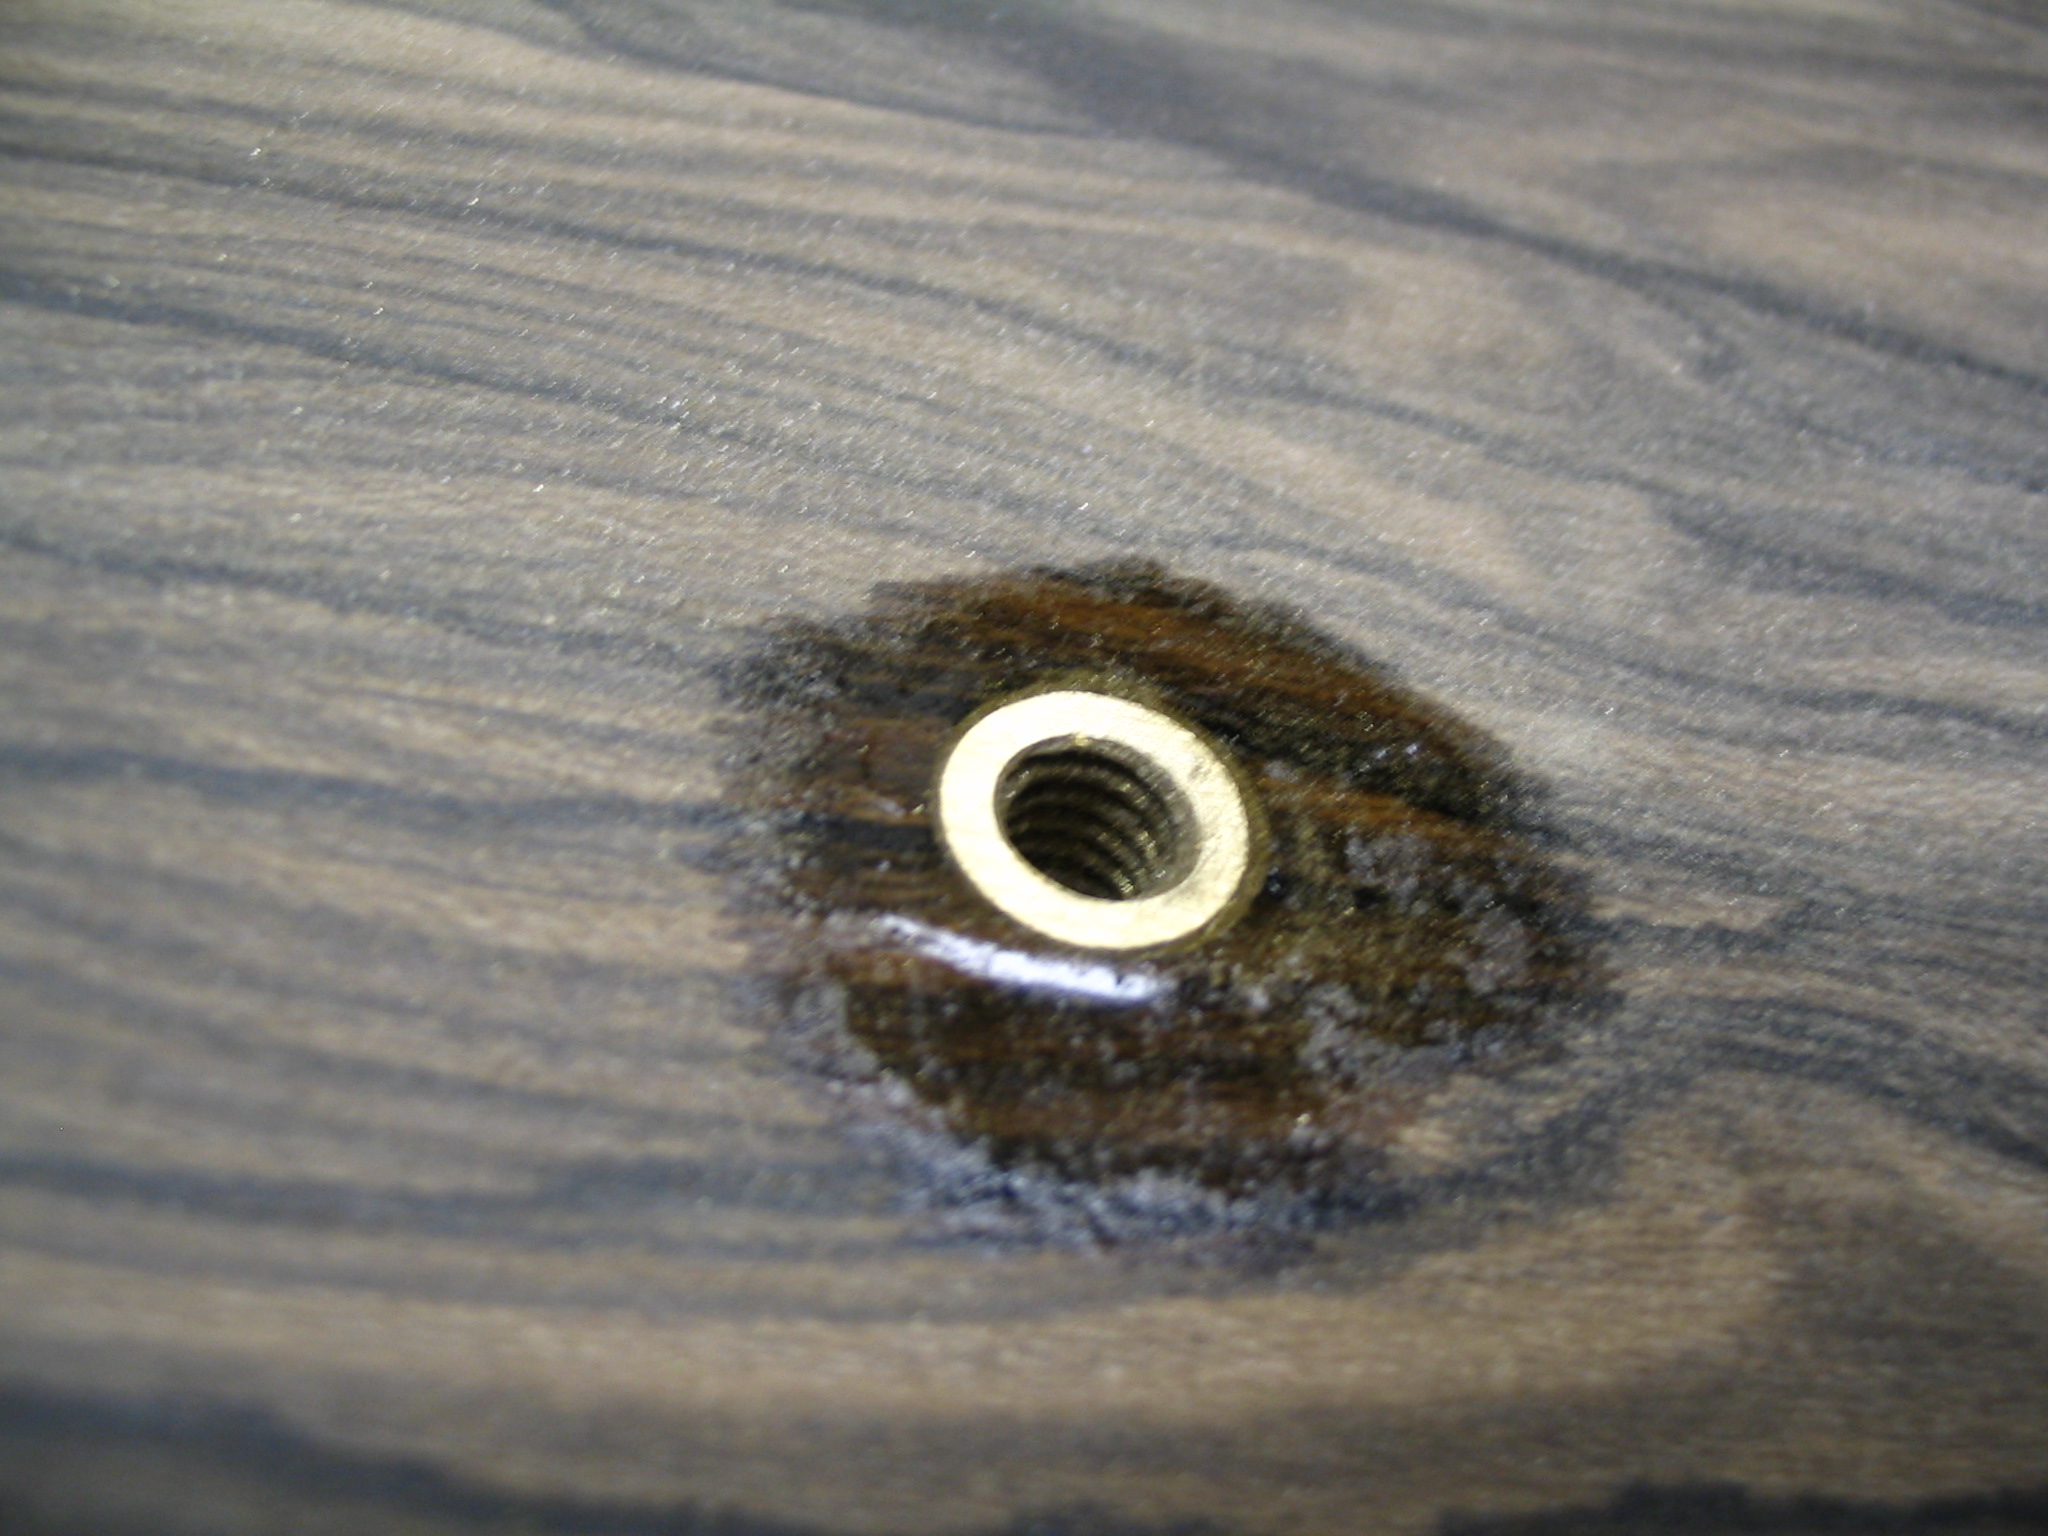
Pin Spacing
Three octaves